
- BoostSolutions
-
Products
-
- Microsoft Teams
- HumanLike Alert Reminder
- View All Apps
- Pricing
- Support
- Company
When you roll up list items from different SharePoint sites on a List Collection Web Part using BoostSolutions’ List Collection, you can choose to collect the list items from the specific folders, instead of all items.
In the example, there are two SharePoint document libraries and each library contains a folder (the folder contains some documents), we plan to roll up documents from these folders into one place.
Now, let’s demonstrate how to roll up list items from the specific folders on the List Collection Web Part.
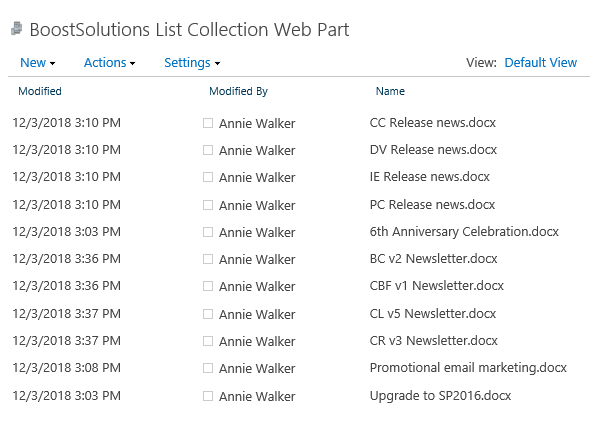
The documents of two folders are rolled up into the List Collection Web Part.
There is a SharePoint document library named as Sales Docs, the library contains a folder named as Release News.

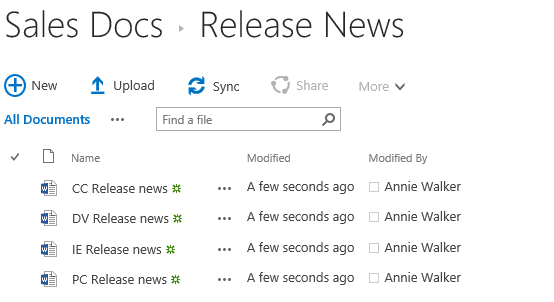
Download the trial version of List Collection and install it to your SharePoint server.
Navigate to page or site where you want to add the List Collection web part to, click the Edit command in the top right of the page.

Or click Settings  and then click
Edit Page.
Click the Insert tab, and then click Web Part.

Under Categories, select BoostSolutions Web Parts; then select BoostSolutions List Collection Web Part; lastly click Add.
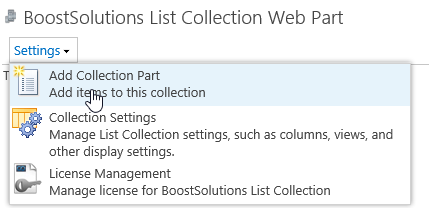
On the Web Part, click Add Collection Part from Settings menu.
On the Add Collection Part page, in Collection Information From Site section, select site BoostSolutions; select list Sales Docs, and select folder Release News.

Select Include all sub folders option, which that all documents or items in the sub folders will be shown on the list collection web part.
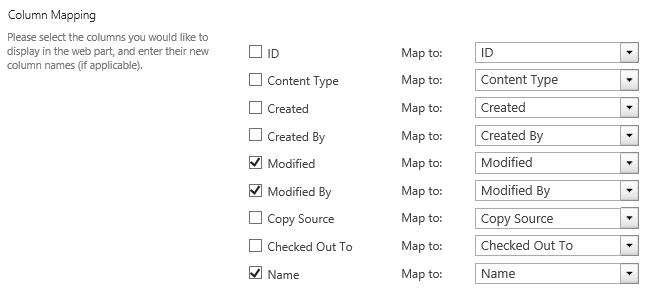
In Column Mapping section, select the following columns.
Then click OK.
On the Web Part, click Add Collection Part from Settings menu.
On the Add Collection Part page, in Collection Information From Site section, select site BoostSolutions; select list Marketing Docs, and select folder Newsletters.

Select Include all sub folders option, which that all documents or items in the sub folders will be shown on the list collection web part.
In Column Mapping section, select the following columns.

Then click OK.
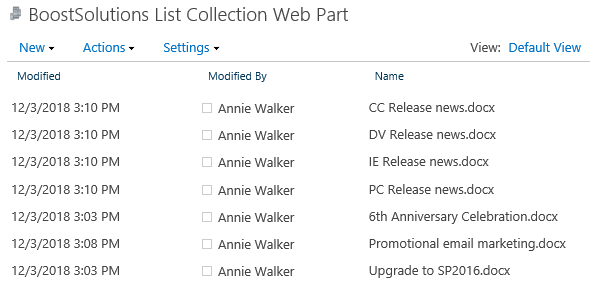
And then, you will find that the items of above two library folders are shown on the List Collection Web Part as following.
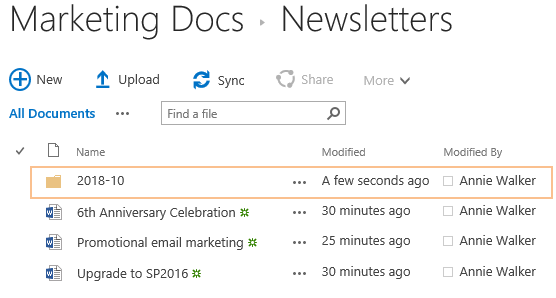
Navigate to Marketing Docs library, create a sub folder in folder Newsletters and named it as 2018-10.
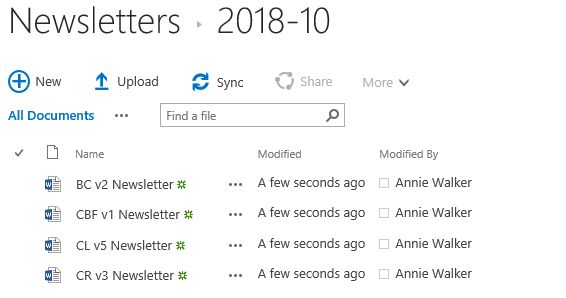
And in the folder 2018-10, upload several documents as following.
Back to List Collection Web Part, you will find that the new uploaded documents in sub folders are shown on the web part as followings.

