- BoostSolutions
-
Products
-
- Microsoft Teams
- HumanLike Alert Reminder
- View All Apps
- Pricing
- Support
- Company
Collect and consolidate lists/items into a single view
Harness the power of fast data collection

Efficiently and quickly pull relevant data from lists in different SharePoint sites for a combined view, making it easier to access, manage, sort, analyze and share data.
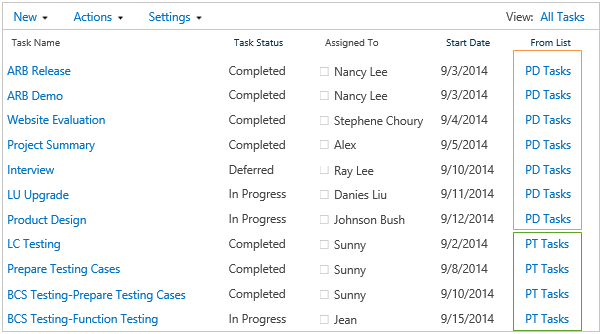
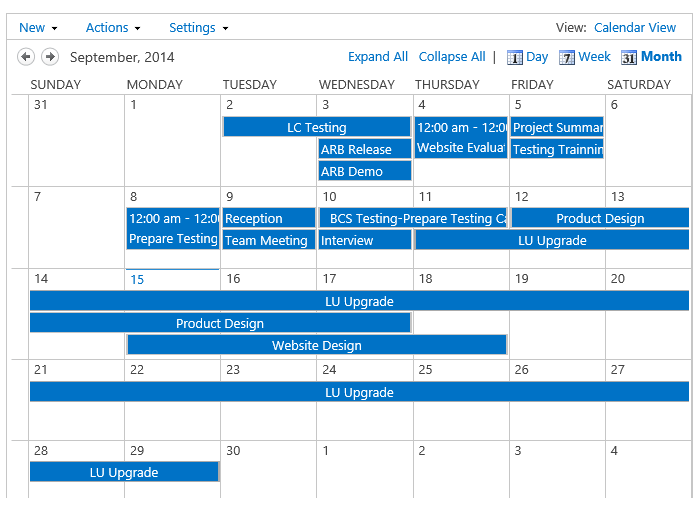
A choice of Standard, Calendar or Gantt view is available to filter, sort or group data the way you want. The creation of these views is similar to those found in SharePoint list view.

Filter or sort items according to column headers in the views you created, helping you efficiently understand, locate or organize the information you need.
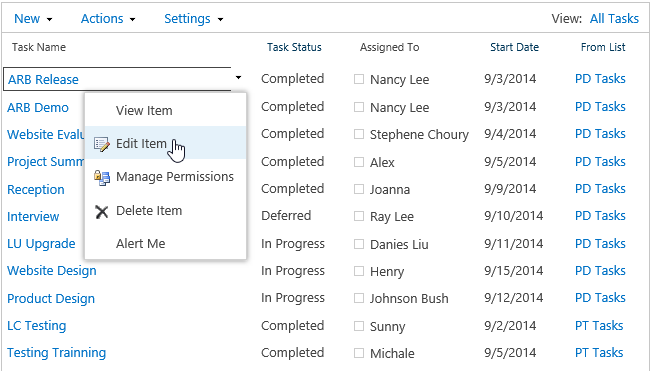
You can manage an items permissions and version history as well as create, view, edit, delete and send an Alert Me email directly in the Web Part. Source lists will automatically update.
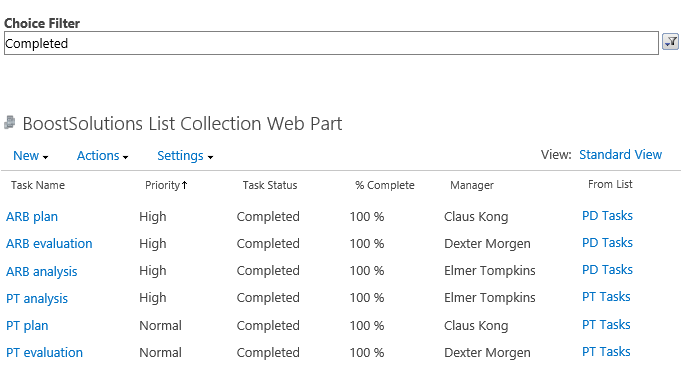
SharePoint List collection supports two types of SharePoint filter Web Parts: Choice and Text. You can connect the List Collection Web Part to either of these Filters to get your desired results.
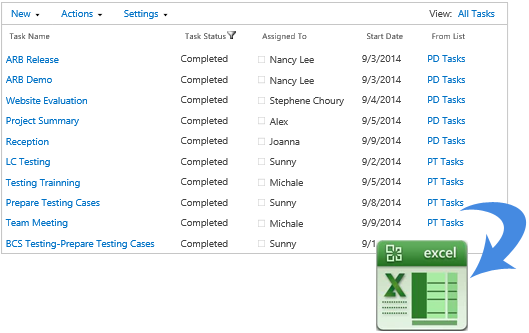
Export collected and sorted data to Excel easily, for offline analysis or reporting. This saves you time and gives you a convenient way to view data.
Explore BoostSolutions' product user guides, releases, tutorials, and more.
Gain a deep understanding of the product's functionality and learn how to utilize it in your SharePoint server.
Read