- BoostSolutions
-
Products
-
- Microsoft Teams
- HumanLike Alert Reminder
- View All Apps
- Pricing
- Support
- Company
BoostSolutions’ Password Change & Expiration allows users to change their own passwords from SharePoint without administrator intervention. This product also has a feature that notifies the end users about their password expiration date. Both Password Change and Password Expiration Web Parts has that feature but with the small difference. In this article we will explain the difference and demonstrate how to use it.
Password Change Web Part notification will be shown no matter how many days is left.

But Password Expiration Warning Web Part warning message will appear only on identified day in the Configuration settings.
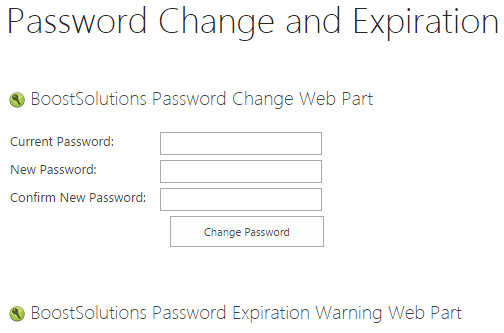
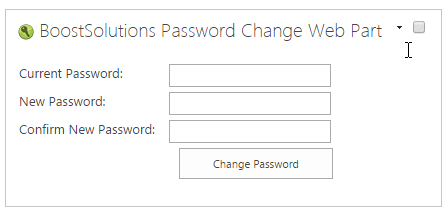
The web part is added to the SharePoint site. For this article we added it to the site page called Password Change and Expiration. You can check our other article to get more information on how to add the web part.
Download the trial version of Password Change & Expiration and install it to your SharePoint server.
Navigate to the Site page created above.
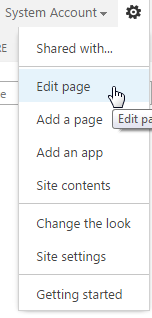
Find Site Settings menu on upper right corner and click on Edit Page.
You will see the web part changed to edit mode after clicking on Edit Page.
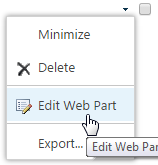
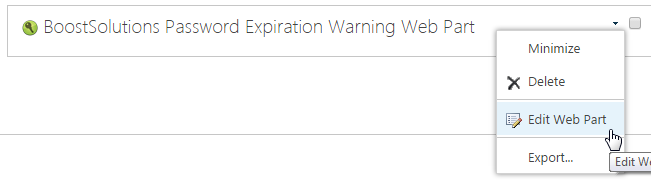
Next step, click on small black triangle on the right side of the web part, next to the check box. After clicking you will see the drop down menu appear.

Click on the Edit Web Part option.
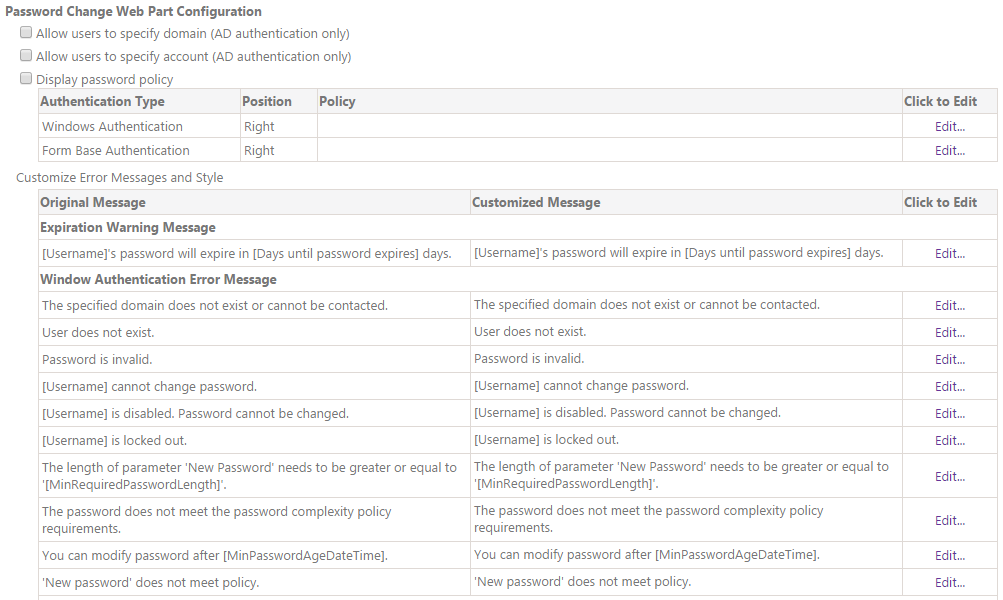
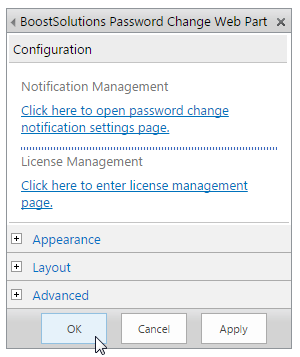
Following Password Change Web Part Configuration table will appear under the web part after clicking on the option.

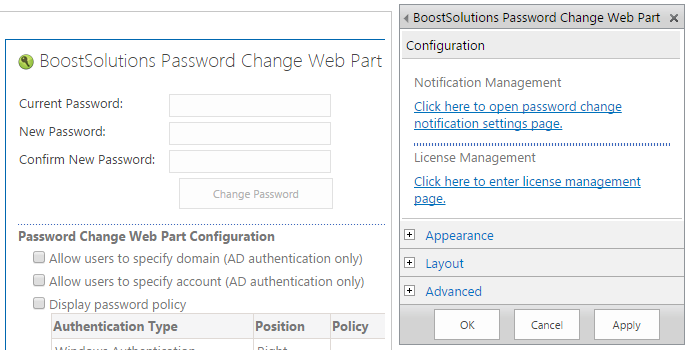
We will also see the Configuration settings box appear on the right side of the page.
Here we will focus on Expiration Warning Message. In this section we can customize the expiration message that shows how many days left for end user’s password to expire.

To do it, first we need to click on Edit… on the right side of the of the Expiration Warning Message.

The following window will appear when we click on Edit… button.
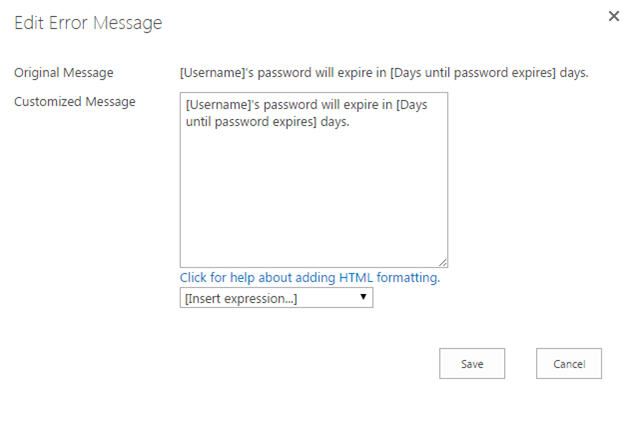
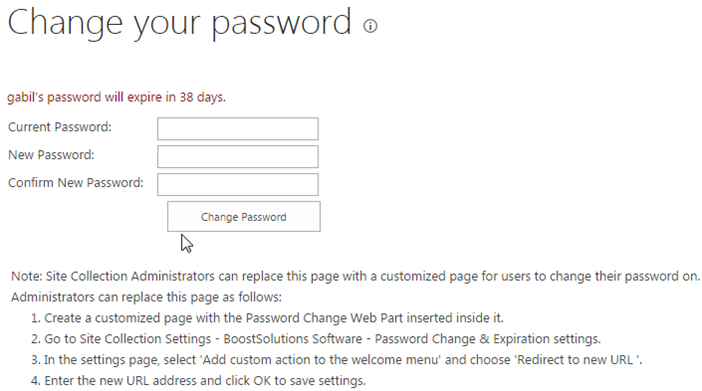
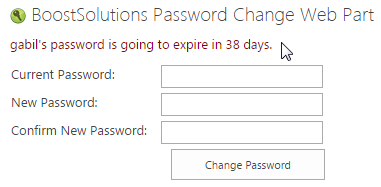
The message inside the box that says [Username]’s password will expire in [Days until password expires] days is the message that the user will see.
For example let’s login as Gabil and check it.
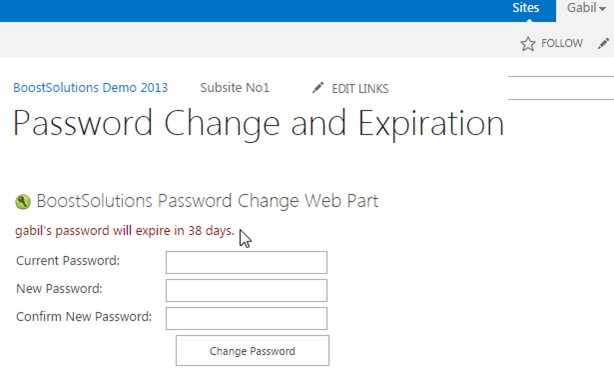
The message will be visible for Gabil as following. [Username] expression will change to user name (in this case Gabil) and [Days until password expires] will change to the number which is equal to the days password will be valid for (in this case 38).
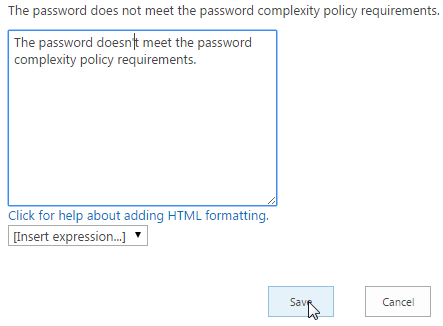
Let’s go back to step 11 and customize the message as following and click Save.
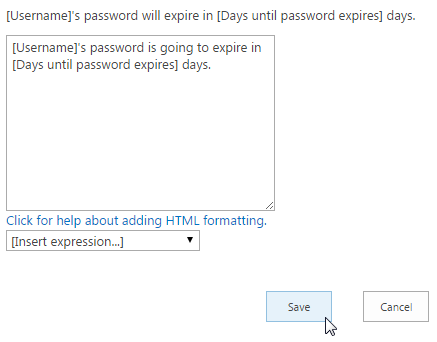
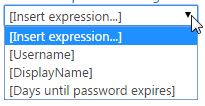
We also can add expression from the drop down list below.
You will see the result after saving the changes.

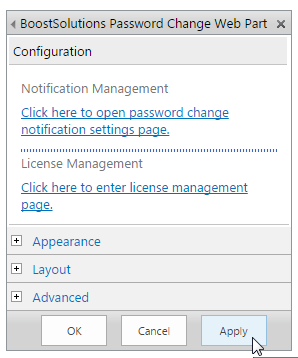
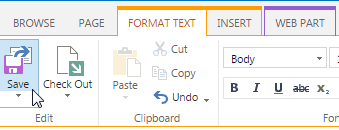
Navigate to configuration settings box and click on OK or Apply buttons. Then go to FORMAT TEXT tab on the ribbon. Find Save button in Edit group and click on it to save the changes.
You will see the result after checking the web part.
Now let’s click on Edit Page, which is in Site Settings menu on upper right corner again. But this time focus on Password Expiration Warning web part. Click on small black triangle on the right side of the web part, next to the check box. After clicking you will see the drop down menu appear. Click on Edit Web Part.
You will see the following window box appear on the right side of the page.
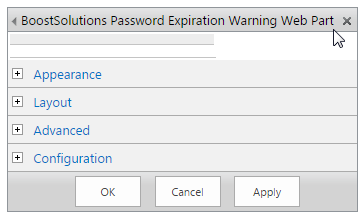
Click on Configuration tab to open it as following.

In the box under the How many days before the password expiration date should the user be warned? you will see the number 10. It means when there are 10 days left for password to expire, the user will see the warning message. Below that we will see the Password change URL with the empty box under it. Here we can paste the link for Password Change web part. This link will appear together with the warning message as Click here to change your password and the user will just need to click on the link to be redirected to the Password Change web part. Let’s change the number 10 to 38 and paste the URL where user will find the web part.

Click on OK or Apply and then Save button located in the Edit group, FORMAT TEXT tab to see the changes.

Let’s click on Click here to change your password to be redirected to the password change web part.