- BoostSolutions
-
Products
-
- Microsoft Teams
- HumanLike Alert Reminder
- View All Apps
- Pricing
- Support
- Company
SharePoint allow users to upload zip files to a document library. But it doesn’t allow users to unzip/extract zip files within a document library. It will be very inconvenient for users to check what’s inside the zip file within a document library, users will have to download the zip file to local computer to peek inside.
With BoostSolutions’ Bulk Zip&Unzip, users can import an ZIP archive and extract its content into a document library. The ZIP file will not upload and store in SharePoint.
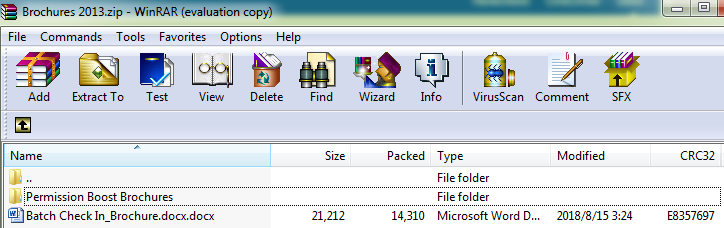
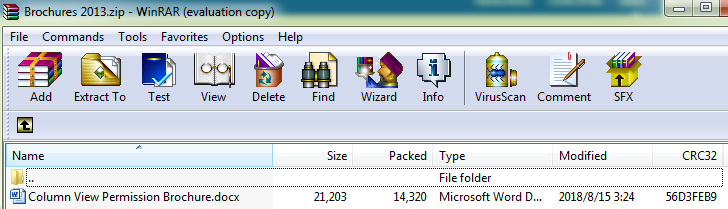
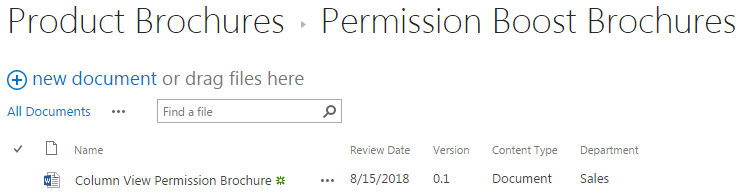
The folderPermission Boost Brochuresand theBatch Check In_Brochureare imported intoProduct Brochureslibrary from a ZIP file named asBrochures 2013.
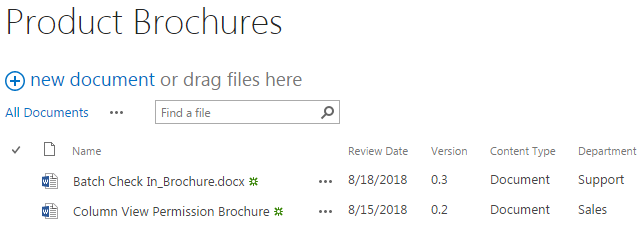
Note that the Batch Check In_Brochure and the Column View Permission Brochure are already existed in the Product Brochures. We store these documents in the ZIP file is for showing how overwrite existing files works when we unzip/extract the ZIP file into the current location.
Download the trial version of Bulk Zip&Unzip, and install it to your SharePoint server.
Navigate to the Product Brochures library prepared above.
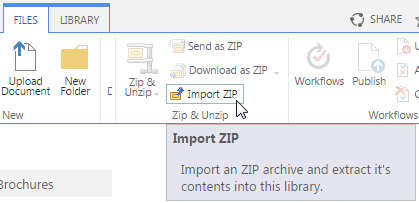
Go to FILES tab, in the Zip & Unzip group, click Import ZIP to import an ZIP archive and extract its content into this library.
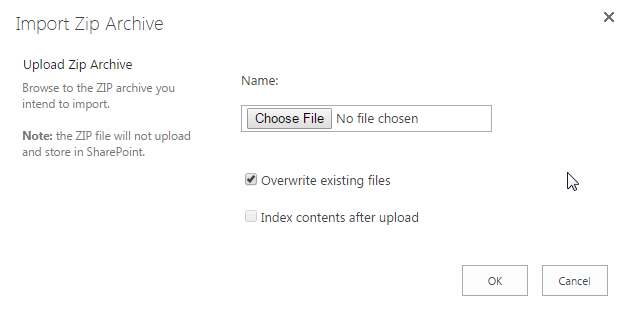
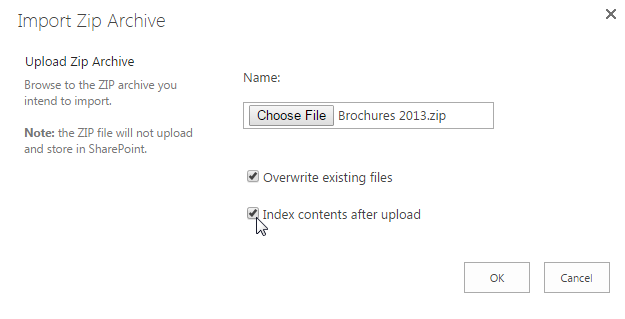
Then, the Import Zip Archive window will pop up. In the Import Zip Archive dialog, click Choose File to browse to the ZIP archive you intend to import. Note that the ZIP file will not upload and store in SharePoint, only the files within the ZIP file will be extracted and uploaded to the document library.
There are 2 options in the dialog:
Overwrite existing files: With this option checked, the existing files in the document library will be overwritten by the new extracted ones from the ZIP file under the same path if the existing documents in the document library are included in the ZIP file. If this option is unchecked, and the existing documents in the document library are included in the ZIP file, after extraction, under the same path, the existing files in the document library will stay the same, and the new extracted ones will be just ignored. Note that only existing files under the same path will be overwritten by the new extracted ones if you checked this option. This option is checked by default.
Index contents after upload: With this option checked, you will be enabled to edit document properties for the documents after they have uploaded successfully. This option will redirect you to the bulk edit page. This option is unchecked by default. Not that you must install Bulk Properties Editor to your SharePoint server to use the Index contents after upload function.
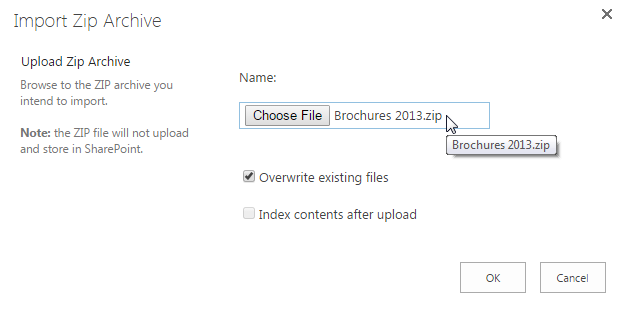
Here we select the ZIP file Brochures 2013 we prepared to import its content to Product Brochures. Keep the options as default and click OK.
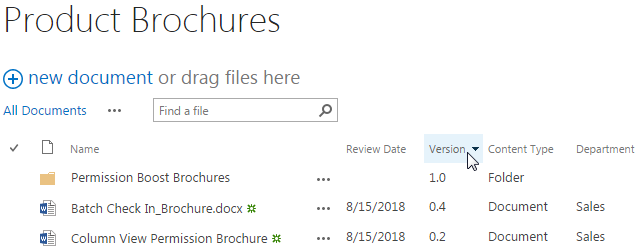
After a short loading process, you will find that all documents (the single WORD document Batch Check In_Brochure and the folder Permission Boost Brochures) contained in the ZIP file ( Brochures 2013) have been extracted and uploaded to the Product Brochures library as following. And the structure of the document is just the same as that in the ZIP file.
Note that the two existing documents ( Batch Check In_Brochure and Column View Permission Brochure) in Product Brochures are included in the ZIP file Brochures 2013. After extraction, the new extracted Batch Check In_Brochure is under the same path with the existing Batch Check In_Brochure, so the existing Batch Check In_Brochure in the library will be overwritten by the new extracted one (you can see the version of Batch Check In_Brochure has been changed from 0.3 to 0.4). And although the existing document Column View Permission Brochure in Product Brochures is included in the Zip file Brochures 2013 as well, but because Column View Permission Brochure is located in a folder in Brochures 2013, after extraction, the new extracted Column View Permission Brochure (will be located in a folder as it was) is not under the same path as the existing Column View Permission Brochure, so the exiting Column View Permission Brochure will not be overwritten by the new extracted one (you can see the version of Column View Permission Brochure retains as 0.2 after the extraction).
Now, let’s try to select the two options in Step 5. We assume that you have installed Bulk Properties Editor to your SharePoint server.
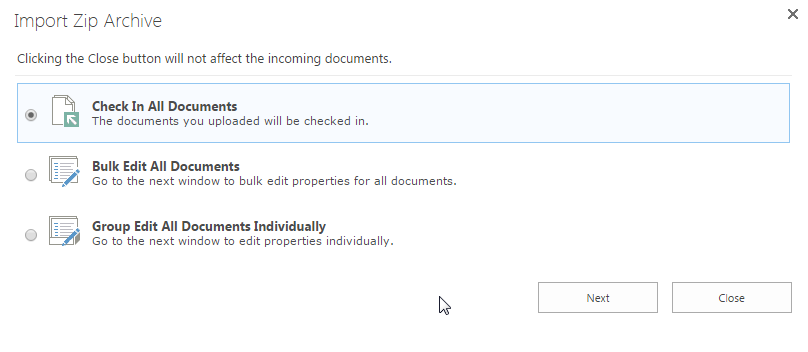
Then, after clicking OK, you will be redirected to the bulk edit page. You will be enabled to edit document properties for the documents after they have uploaded successfully. There are three options from which you can choose.
Check In All Documents: The documents you uploaded will be checked in.
Bulk Edit All Documents: You will be redirected to the Edit All window to bulk edit properties for all document.
Group Edit All Documents Individually: You will be redirected to the Group Edit window to edit properties for each document individually.