- BoostSolutions
-
Products
-
- Microsoft Teams
- HumanLike Alert Reminder
- View All Apps
- Pricing
- Support
- Company
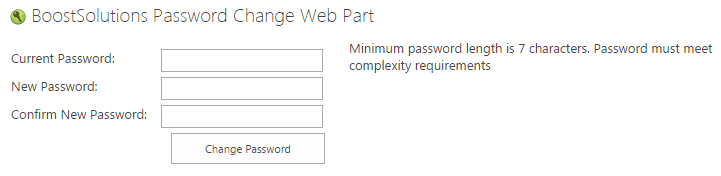
SharePoint Password Change & Expiration allows users to change their own passwords from SharePoint without administrator intervention. When changing the password, it might be helpful for the user to see the Password Policy. After correct configuration of the web part you and other users will be able to see the policy and change the password without any problems. In this article we will show you how to display the Password Policy on the web part.
This feature will be helpful for the users changing their password but doesn’t know the password policy.
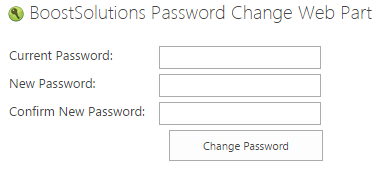
The web part is added to the SharePoint site. For this article we added it to the site page called Password Change and Expiration. You can check our other article to get more information on how to add the web part.
Download the trial version of Password Change & Expiration and install it to your SharePoint server.
Navigate to the Site page created above.
Find Site Settings menu on upper right corner and click on Edit Page.
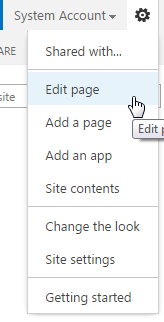
You will see the web part changed to edit mode after clicking on Edit Page.

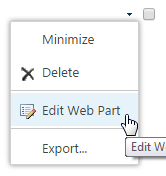
Next step, click on small black triangle on the right side of the web part, next to the check box. After clicking you will see the drop down menu appear.
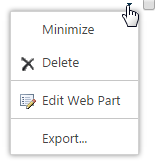
Click on the Edit Web Part option.
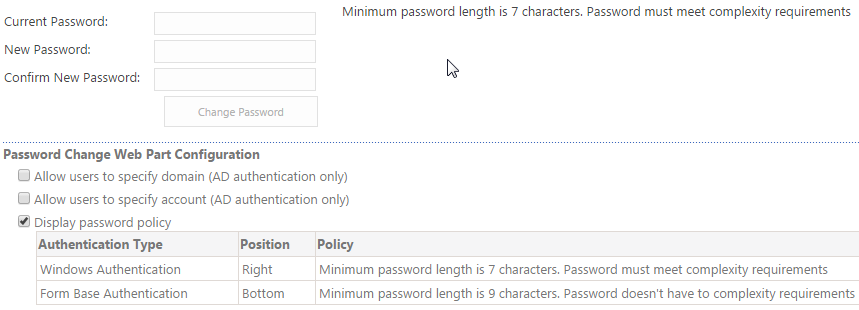
Following Password Change Web Part Configuration table will appear under the web part after clicking on the option.
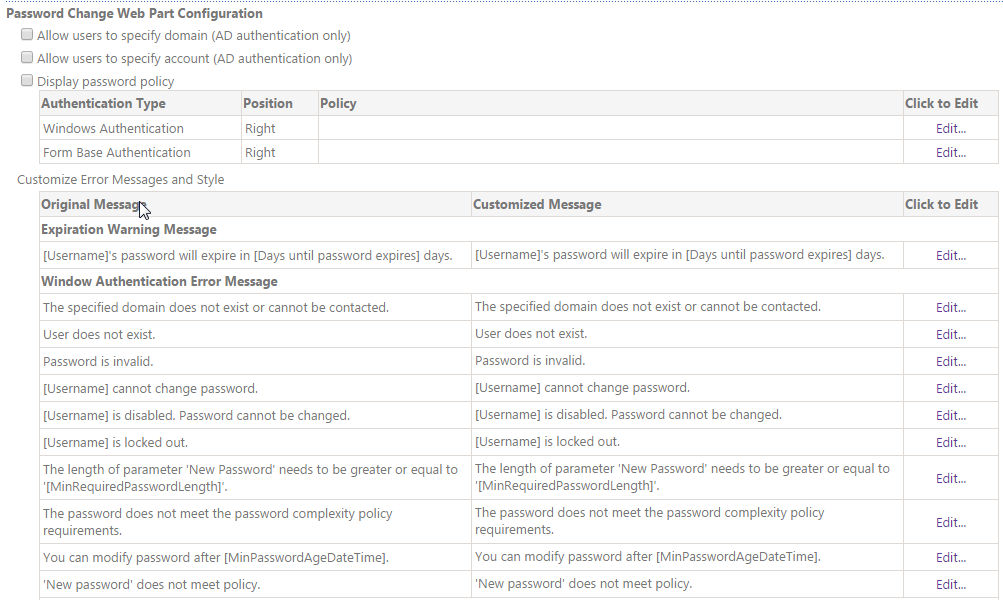
To add the Password Policy we will focus on Display password policy section.

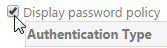
First if we want the policy to be displayed, then we need to check the box on the left side of the Display password policy.
Then, in the Authentication Type table choose which authentication password policy will be displayed. Options are Windows and Form Base Authentication. We can decide in which side of the box to display it and also edit the policy. To do that, we need to click on Edit… button in the end of one of the authentication types.

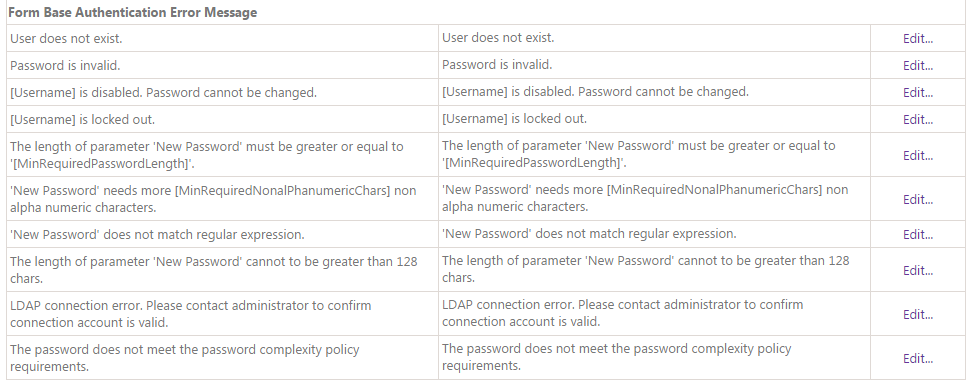
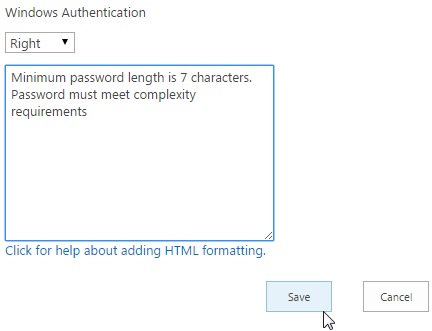
Next, let’s click on Edit… in front of Form Base Authentication. The following window will appear after clicking on it.
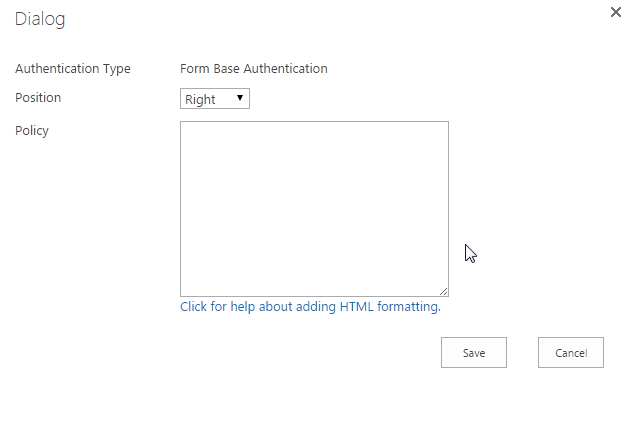
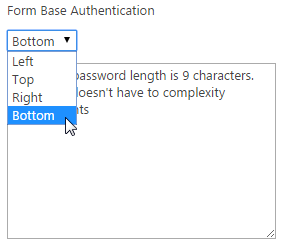
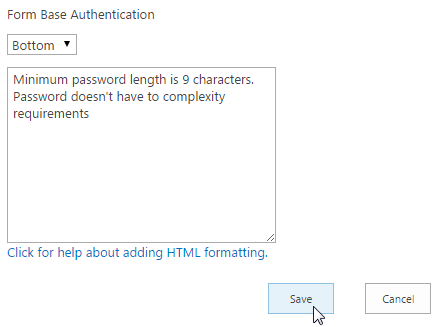
Let’s change the position to Bottom and add fill in the Policy box.
Click Save. And you will see the message appeared under web part.
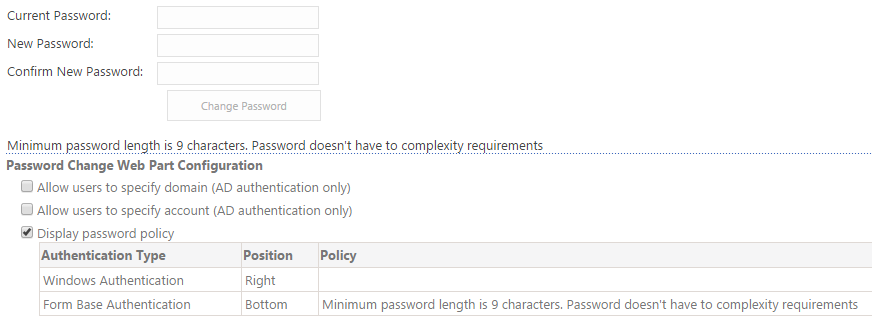
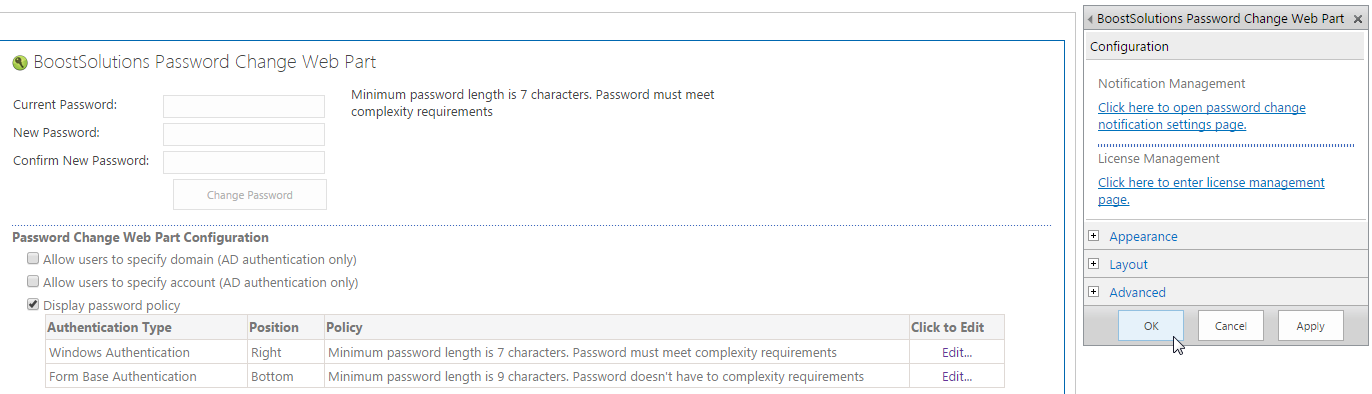
Let’s now try the same for Windows Authentication. Click on Edit…, but this time leave Right (always chosen as default) in Position box and fill in the Policy box. Then click Save.
As you can see even if the message from form Base Authentication is not deleted in the Edit dialog box, it will still disappear and windows Authentication password policy will appear on the right.
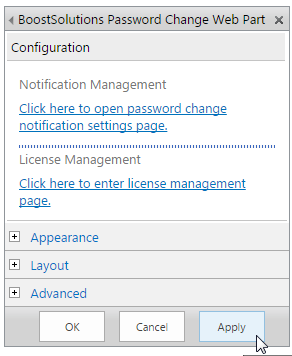
After finish editing navigate to the configuration settings box on the right side of the web part which also appears when we click on Edit Web Part and then click OK or Apply button.
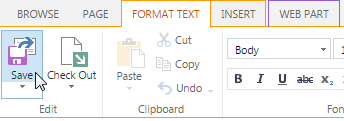
Let’s go to FORMAT TEXT tab on the ribbon and find Save button in the Edit group. Click on it to save the changes.
You will leave the Edit Page mode after clicking Save and see the result.
