- BoostSolutions
-
Products
-
- Microsoft Teams
- HumanLike Alert Reminder
- View All Apps
- Pricing
- Support
- Company
With BoostSolutions’ List Collection, users are able to collect lists from different SharePoint sites into one web part, and create the standard, Gantt or calendar view to display the items as needed.
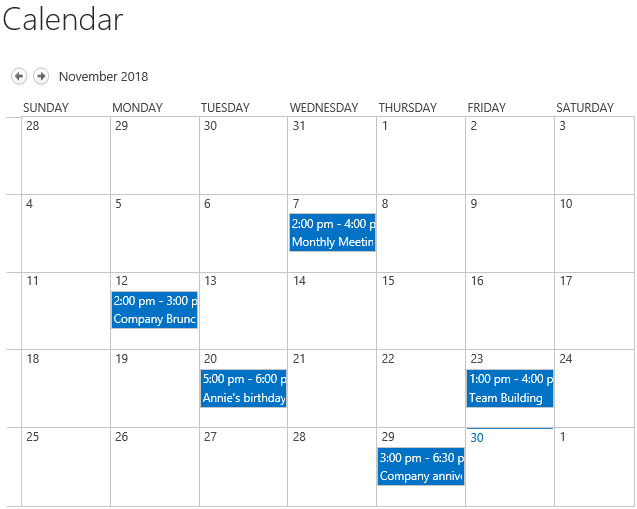
In the example, there are two SharePoint calendar lists belong to two different sites, and each calendar contains several events, we plan to roll up these events into one place and show them in a Calendar view.
Now, let’s demonstrate how to create a Calendar view to show these rollup list items.
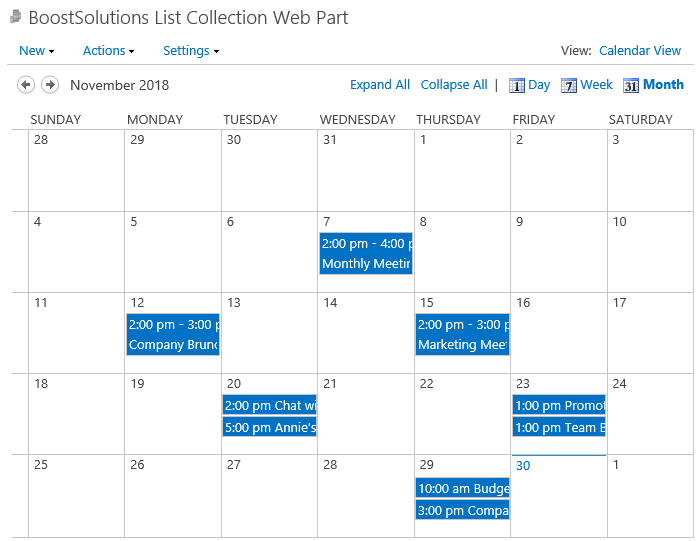
This is the Calendar view which is created on the List Collection Web Part.
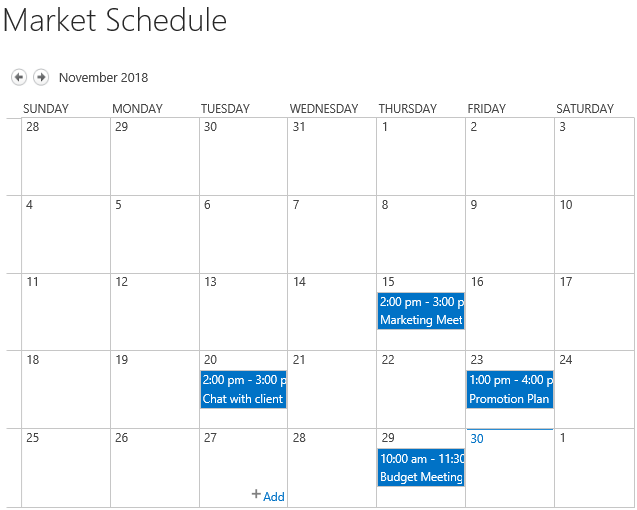
There is another SharePoint calendar list named as Market Schedule with following events on a SharePoint site – Marketing Center.
Download the trial version of List Collection and install it to your SharePoint server.
Navigate to page or site where you want to add the List Collection web part to, click the Edit command in the top right of the page.

Or click Settings  and then click
Edit Page.
and then click
Edit Page.
If you already add SharePoint lists on the List Collection Web Part, please skip to step 11 to create an item directly.
Click the Insert tab, and then click Web Part.
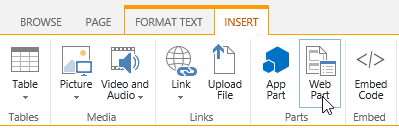
Under Categories, select BoostSolutions Web Parts; then select BoostSolutions List Collection Web Part; lastly click Add.
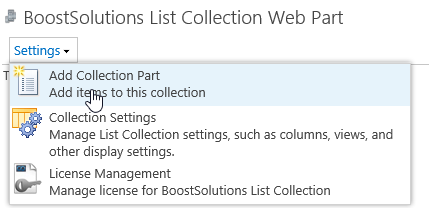
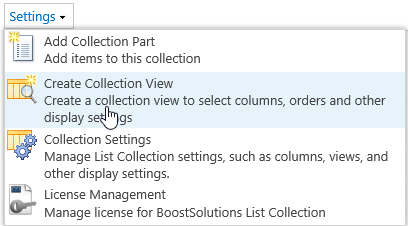
On the Web Part, click Add Collection Part from Settings menu.
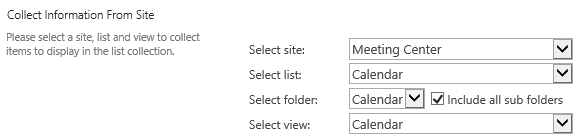
On the Add Collection Part page, in Collection Information From Site section, select site Meeting Center; select list Calendar, and keep other options as default.
In Column Mapping section, select the following columns.
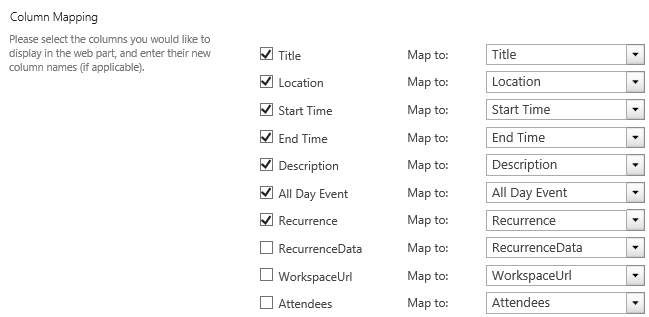
Then click OK.
Repeat step 5 to 8 to add another SharePoint list Market Schedule from site Marketing Center.
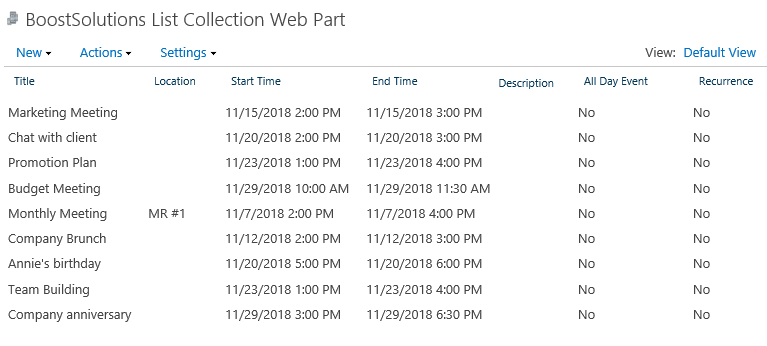
And then, you will find that the items of above two lists are shown on the List Collection Web Part as following.
Click Create Collection View in Settings menu.
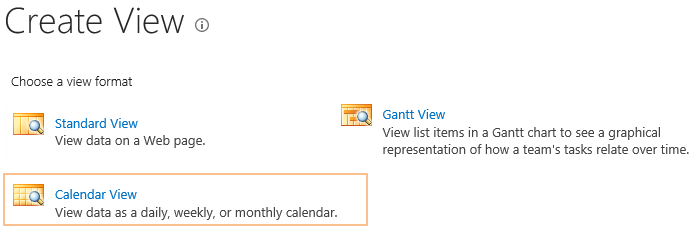
In the Create View page, choose Calendar View.
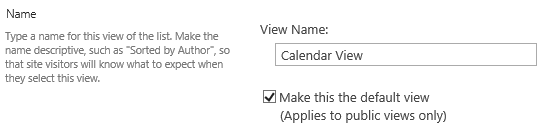
In the View Name box, type the name for this view. Select Make this the default view option to make this the default view.
In the Audience section, under View Audience, select Create a Public View option.

In the Filter section, choose two lists which means that the items of these lists items will be shown in this view.

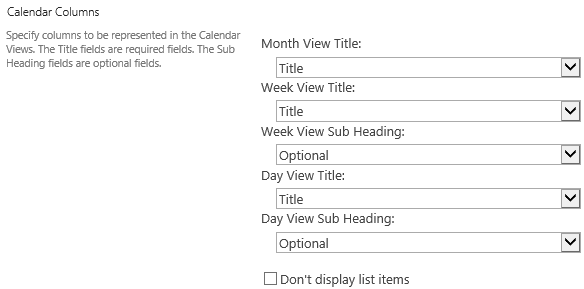
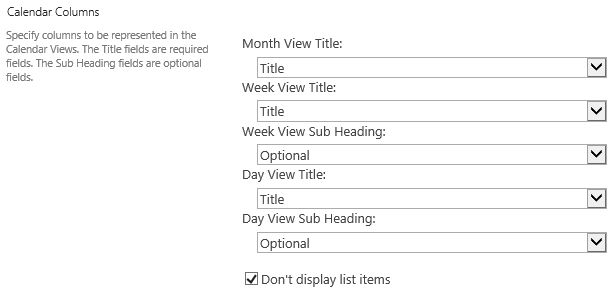
In the Calendar Columns section, specify the Month View Title, Week View Title and Day View Title as following, and then unselect checkbox of Don’t display list items option.
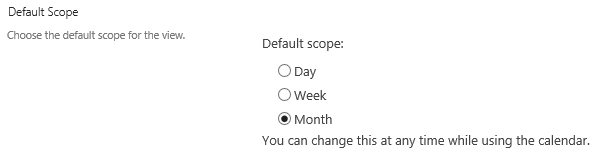
In the Default Scope section, specify the default scope as Month.
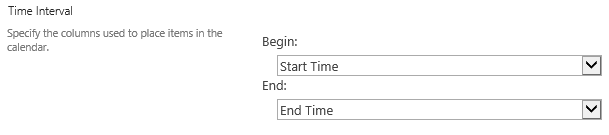
In the Time Interval section, specify the Begin and End as following.
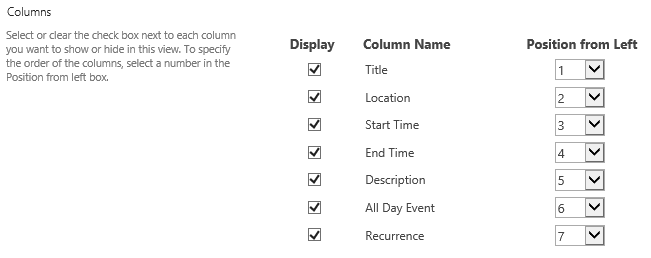
In the Columns section, select checkboxes before the following columns, which means that the columns will be shown in the view.
In the Edit Menu section, select one column which is used to linked to context menu, here we select Title.

Keep default settings for Sort, Header Filter, Group By, Totals and Item Limit sections, and click OK.
The configuration and functionality of these sections are same as SharePoint, you can refer to SharePoint’s.
Now a Calendar view is created in the List Collection Web Part as following.
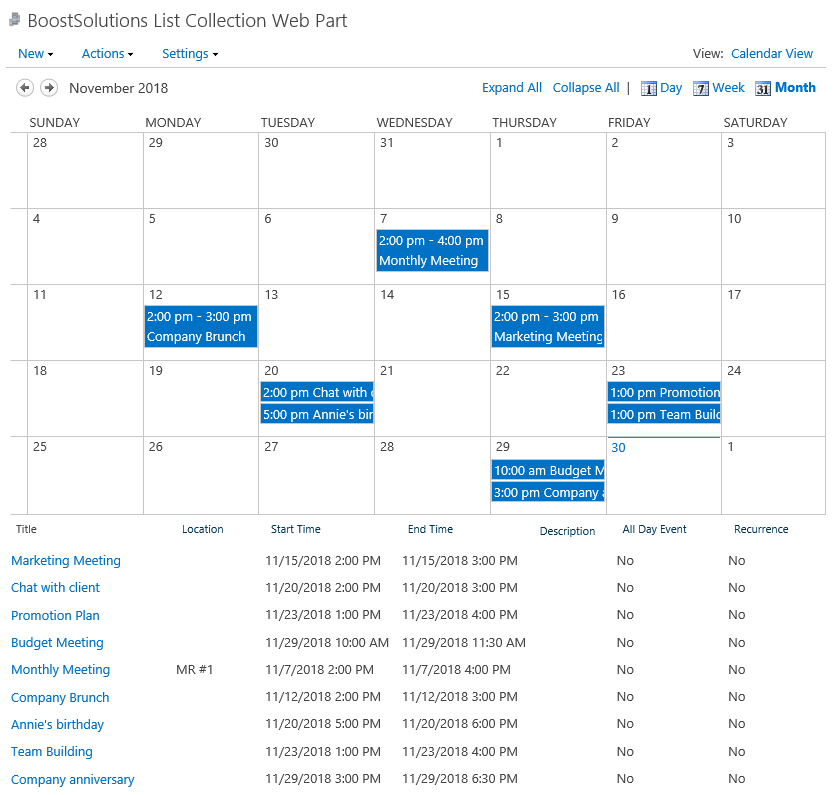
If you don’t want to show items in this Calendar view, unselect checkbox before Don’t display list items option.
Then the Calendar view is shown as following.
