- BoostSolutions
-
Products
-
- Microsoft Teams
- HumanLike Alert Reminder
- View All Apps
- Pricing
- Support
- Company
With Document Number Generator you can identify or classify any document. But naming rules are bound with content types. You need to specify which document type in the document library should use the scheme, sometimes there might be more than 1 content types in the document library, in this case, we can create multiple numbering schemes, and each of them works on a specific content type. In this article we will demonstrate how to create numbering schemes for different content types and show the result in action. Let’s dive into it.

Two numbering schemes are created, one for Document content type, the other for Image content type.
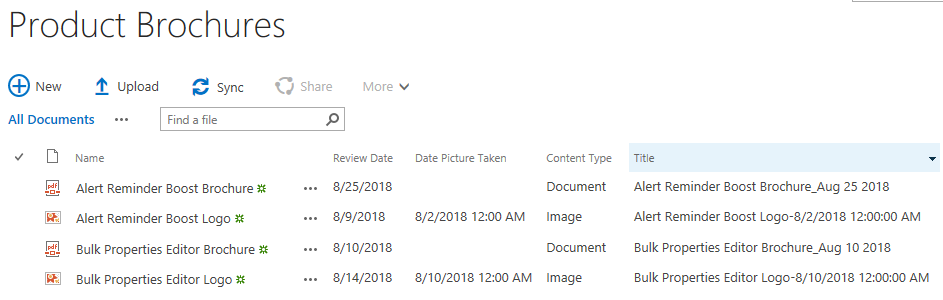
Based on different formula for numbering schemes of Document and Image content types. The Title field for Documents and Images have different appearance respectively.
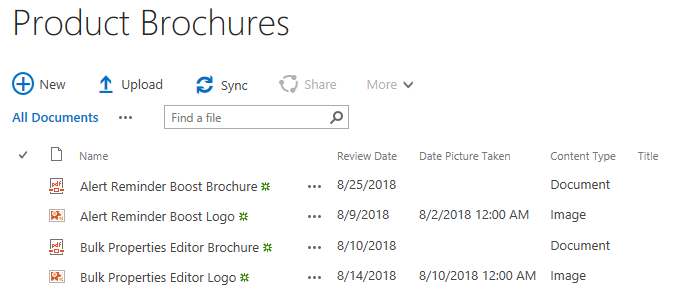
Create a document library named as Product Brochures from the Document Library template on your SharePoint site with columns as following. You can create the document library based on your needs. Here we have Name, Review Date (a “Date and Time” column, the “Date and Time Format” is “Date Only”, the “Display Format” is “Standard” and the “Default value” is “Today’s Date”), Date Picture Taken, Content Type (we have two content types in the library, Document and Image, and the Default Content Type for the library is Document), and Title columns in Product Brochures. And we have uploaded 2 PDF documents with the Content Type of Document and 2 Images with the Content Type of Image in the document library.
Download the trial version of Document Number Generator, and install it to your SharePoint server.
Navigate to the Product Brochures library prepared above.
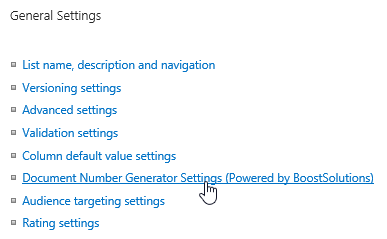
Click LIBRARY on the ribbon, and then click Library Settings in the Settings group.

On the Library Setting’s page, click Document Number Generator Settings (Powered by BoostSolutions) under General Settings.
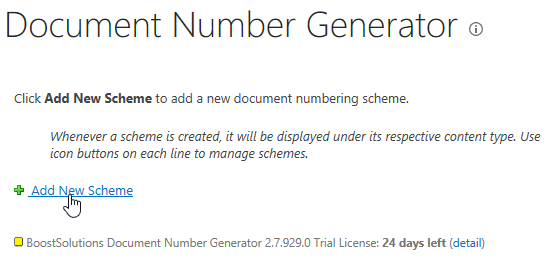
Then, you will be redirected to the Document Number Generator Settings’ page. Here you can add new document numbering schemes. Click Add New Scheme to add a new scheme for Product Brochures.
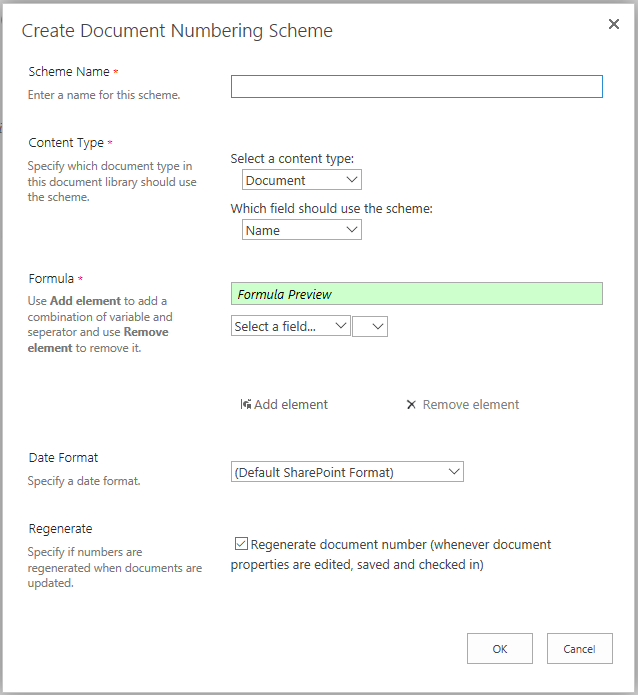
Then, the Create Document Numbering Scheme dialog will pop up as following. There are 5 sections on the Create Document Numbering Scheme page.
Scheme Name: a required section, you must enter a unique name for this scheme.
Content Type: a required section, it consists of two parts. Select a content type and Which field should use the scheme through which you can specify which document type in this document library should use the scheme if there are more than one content types in the document library and to which column/field the scheme should apply.
Formula: a required section, in this section, you can build the formula for this scheme by using Add element to add a combination of variable and separator and use Remove element to remove it. In the Formula Preview field, you can preview the formula you are building. Click Select a field… to add the first element, then select the Separator by clicking the drop-down menu right next to the Select a field… to insert a separator between the first and the second element (for the separator, we support 5 separators, they are “-“, “_”, “.”, “/” and “\”), then you can click Add element to add another variable to the formula if needed, the separator between variables will be generated with the new added element along automatically.
Date Format: an optional section, it is useful in case you add at least one Date and Time typed field in the formula, you can specify the Display Format of the Date and Time typed field in the formula. The default value is Default SharePoint Format.
Regenerate: an optional section, you can specify if document numbers are regenerated whenever document properties are edited, saved and checked in. It is checked by default.
Now, let’s configure the new creating numbering scheme as following:
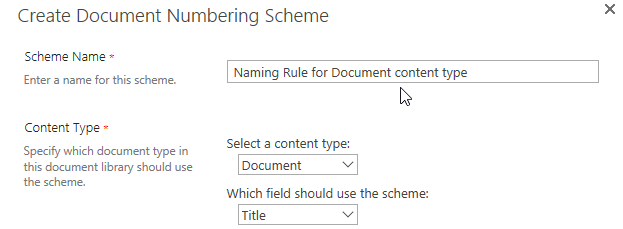
First, let’s input a unique name for the scheme, here we name the scheme as Naming Rule for Document content type.
Next, in the Content Type section, select Document for Select a content type, and select Title for Which field should use the scheme, the scheme we are creating will work on the Title field for documents with the Content Type of Document.
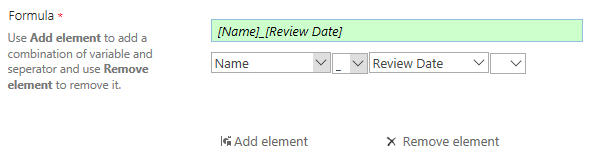
In the Formula section, let’s configure the naming formula itself. First, click Select a field… to select the first variable for the formula from the drop-down list. Here we select the Name field.

Then, let’s click the drop-down menu right next to the Name field to add a separator between the first and the second element, here we select the separator “_”, as you can see, in the Preview Formula field, you can preview what you have built in real time.

Then, let’s click Add element to add another variable to the formula, this time we select the Review Date field.

In the Formula Preview field, you can preview the formula we are working on as shown below.
For Date Format section, we just added the Review Date field (a Date and Time field) to the formula, here let’s select MMM dd yyyy as the Date Format.

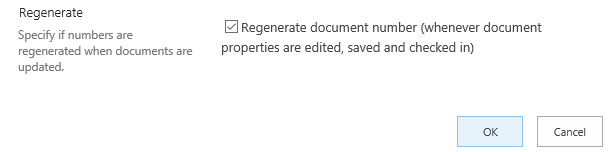
In Regenerate section, let’s keep it as default, checked. Then the document number will be updated whenever document properties are edited, saved and checked in. Now, click OK to save the new created numbering scheme.
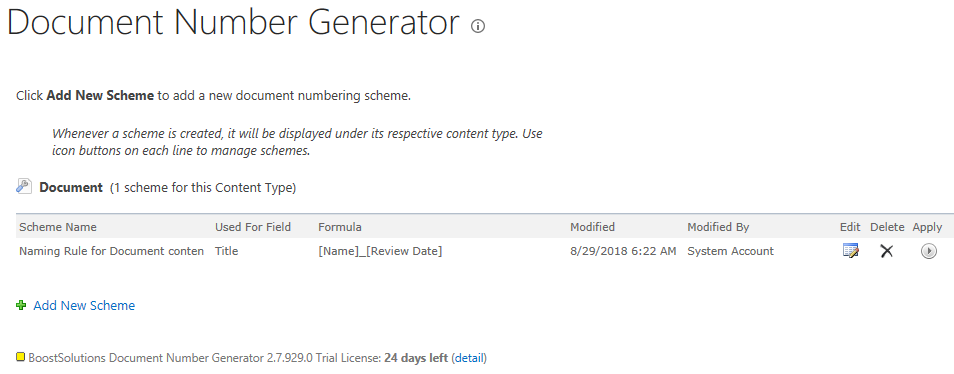
Then, you will see the new created scheme has been listed on the Document Number Generator Setting’s page as shown below.
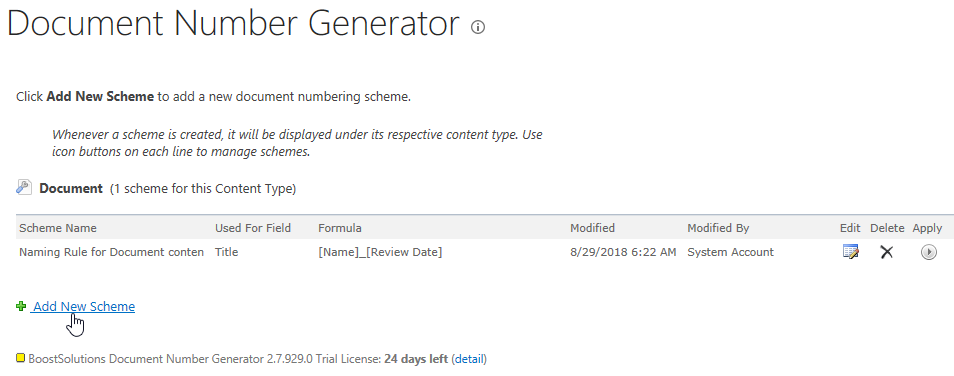
Now on the Document Number Generator Settings’ page, let’s click Add New Scheme again to create another numbering scheme for Product Brochures.
Now, let’s configure the new creating numbering scheme as following:
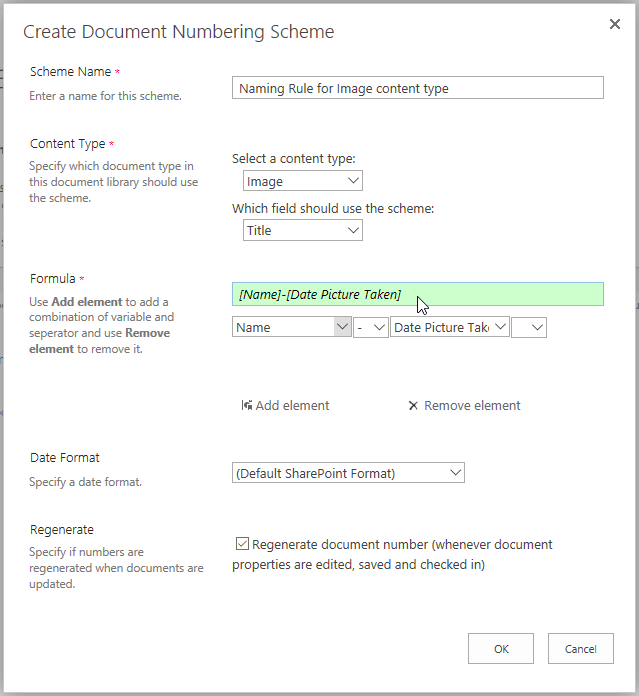
First, let’s input a unique name for the scheme, here we name the scheme as Naming Rule for Image content type.
Then, in the Content Type section, we select Image for Select a content type, and we select Title for Which field should use the scheme, the scheme we are creating will work on the Title field for documents with the Content type of Image.
In the Formula section, we configure the naming formula as [Name]-[Date Picture Taken].
For Date Format section, because we didn’t add any Date and Time typed field to the formula, so we just leave it as default.
In Regenerate section, let’s keep it as default, checked. Then, click OK to save the new created numbering scheme.
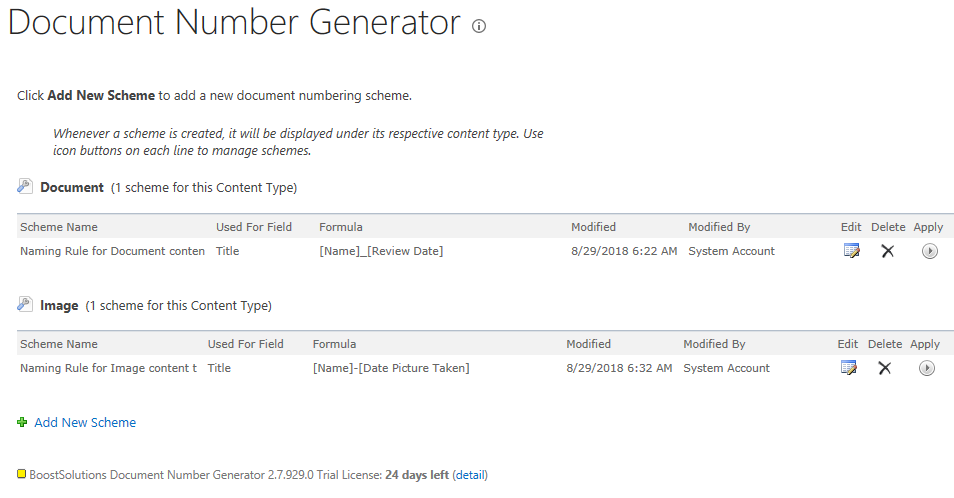
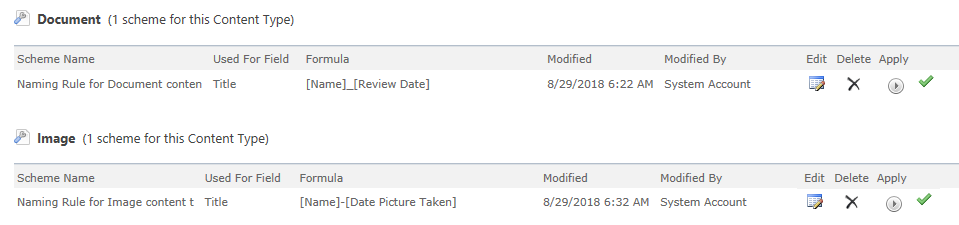
Then, you will see the new created scheme has been listed on the Document Number Generator Setting’s page as shown below.
Now, let’s navigate to the Product Brochures library, you will find that the Title field has not been updated according to the numbering schemes we just created. That’s because we didn’t Apply it to the document library. We have to apply the new created numbering schemes to the document library manually if there are documents already existed in the library when we built the numbering scheme.
Let’s go to the Document Number Generator Setting’s page again, then click Apply of the two schemes to apply them to Product Brochures.


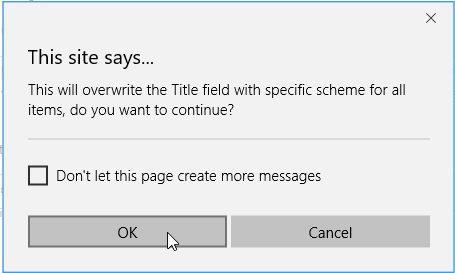
After clicking Apply, the notification dialog will pop up to notify you that this will overwrite the Name field with specific scheme for all items. Click OK.
After a short loading process, you will see the
 appear on the right of the Apply button, indicating that the scheme has been applied to the document
library successfully.
appear on the right of the Apply button, indicating that the scheme has been applied to the document
library successfully.
After activated both schemes, let’s navigate to the Product Brochures again, you will see the Title field has been overwritten according to the numbering schemes we created for the 2 different Content Types.

