- BoostSolutions
-
Products
-
- Microsoft Teams
- HumanLike Alert Reminder
- View All Apps
- Pricing
- Support
- Company
We use SharePoint document library to store and share documents. Sometimes, there might be hundreds of documents within the library. For better organize and index files, automatically generate unique numbers or names for documents becomes very necessary.
With Document Number Generator you can identify and classify your documents uniquely. In this article we will guide you to create numbering scheme for documents in libraries. After that, you will be able to create the naming rule according to your needs.
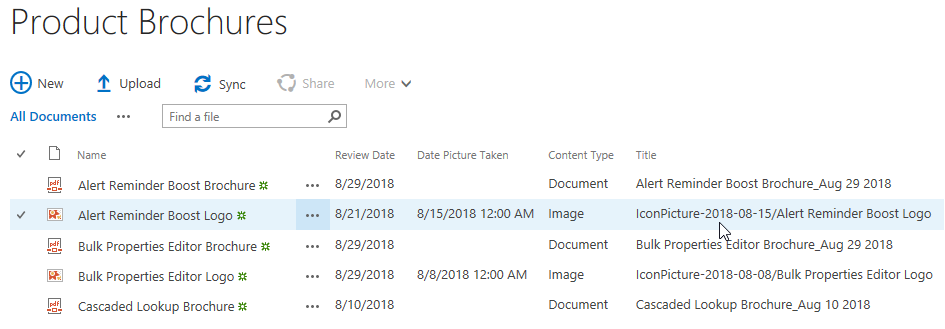
The values for the Title field have been populated according to the numbering schemes we created.
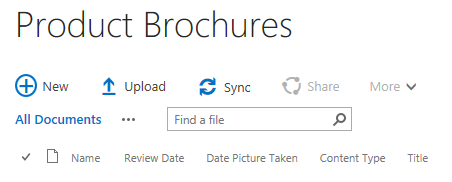
Create a document library named as Product Brochures from the Document Library template on your SharePoint site with columns as following. You can create the document library based on your needs. Here we have Name, Review Date (a “Date and Time” column, the “Date and Time Format” is “Date Only”, the “Display Format” is “Standard” and the “Default value” is “Today’s Date”), Date Picture Taken, Content Type (we have two content types in the library, Document and Image, and the Default Content Type for the library is Document), and Title columns in Product Brochures.
Download the trial version of Document Number Generator, and install it to your SharePoint server.
Navigate to the Product Brochures library prepared above.
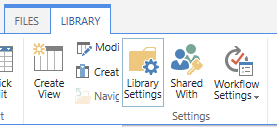
Click LIBRARY on the ribbon, and then click Library Settings in the Settings group.
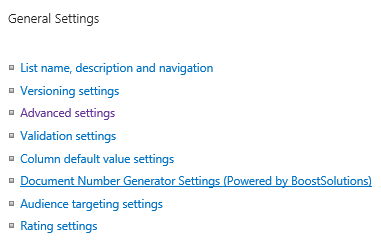
On the Library Setting’s page, click Document Number Generator Settings (Powered by BoostSolutions) under General Settings.
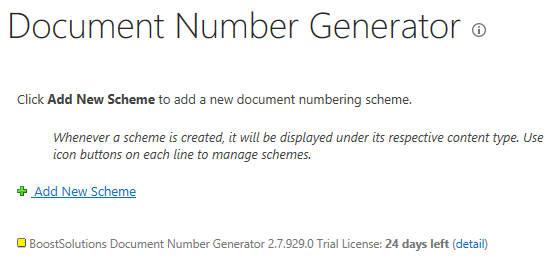
Then, you will be redirected to the Document Number Generator Settings’ page. Here you can add new document numbering schemes. Click Add New Scheme to add a new scheme for Product Brochures.
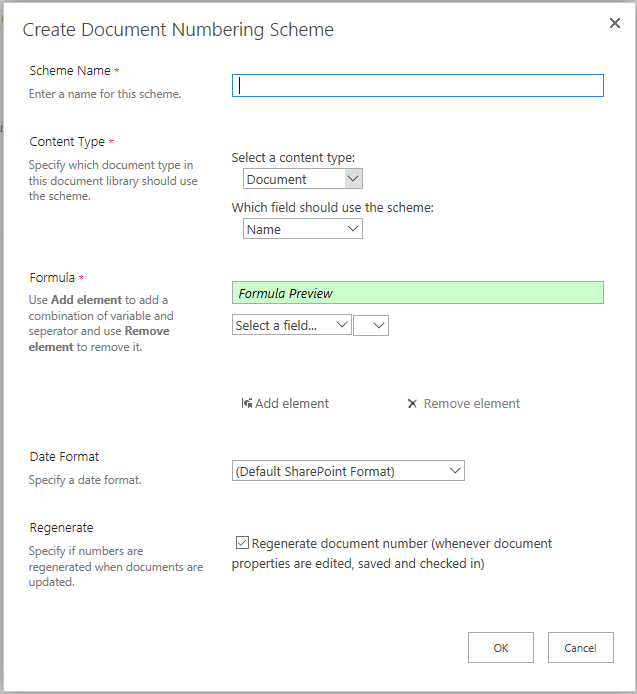
Then, the Create Document Numbering Scheme dialog will pop up as following. There are 5 sections on the Create Document Numbering Scheme page.
Scheme Name: a required section, you must enter a unique name for this scheme.
Content Type: a required section, it consists of two parts. Select a content type and Which field should use the scheme through which you can specify which document type in this document library should use the scheme if there are more than one content types in the document library and to which column/field the scheme should apply.
Formula: a required section, in this section, you can build the formula for this scheme by using Add element to add a combination of variable and separator and use Remove element to remove it. In the Formula Preview field, you can preview the formula you are building. Click Select a field… to add the first element, then select the Separator by clicking the drop-down menu right next to the Select a field… to insert a separator between the first and the second element (for the separator, we support 5 separators, they are “-“, “_”, “.”, “/” and “\”), then you can click Add element to add another variable to the formula if needed, the separator between variables will be generated with the new added element along automatically.
Date Format: an optional section, it is useful in case you add at least one Date and Time typed field in the formula, you can specify the Display Format of the Date and Time typed field in the formula. The default value is Default SharePoint Format.
Regenerate: an optional section, you can specify if document numbers are regenerated whenever document properties are edited, saved and checked in. It is checked by default.
Now, let’s configure the new creating numbering scheme as following:
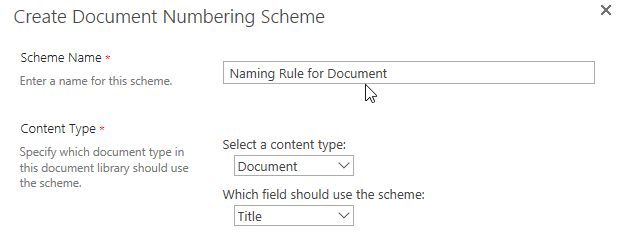
First, let’s input a unique name for the scheme, here we name the scheme as Naming Rule for Document.
In the Content Type section, select Document for Select a content type, and select Title for Which field should use the scheme, then the scheme we are creating will work on the Title field for documents with the Content Type of Document.
In the Formula section, let’s configure the naming formula itself. First, click Select a field… to select the first variable for the formula from the drop-down list. Here we select the Name field.

Then, let’s click the drop-down menu right next to the Name field to add a separator between the first and the second element, here we select the separator “_”, as you can see, in the Preview Formula field, you can preview what you have built in real time.

Then, let’s click Add element to add another variable to the formula, this time we select the Review Date field.

In the Formula Preview field, you can preview the formula we are working on as shown below.

For Date Format section, we just added the Review Date field (a Date and Time field) to the formula, here let’s select MMM dd yyyy as the Date Format.

In Regenerate section, let’s keep it as default, checked. Then the document number will be updated whenever document properties are edited, saved and checked in. Now, click OK to save the new created numbering scheme.

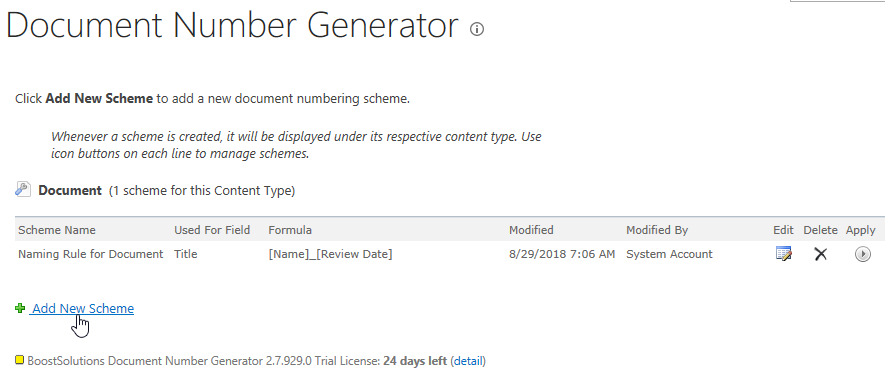
Then, you will see the new created scheme has been listed on the Document Number Generator Setting’s page as shown below.
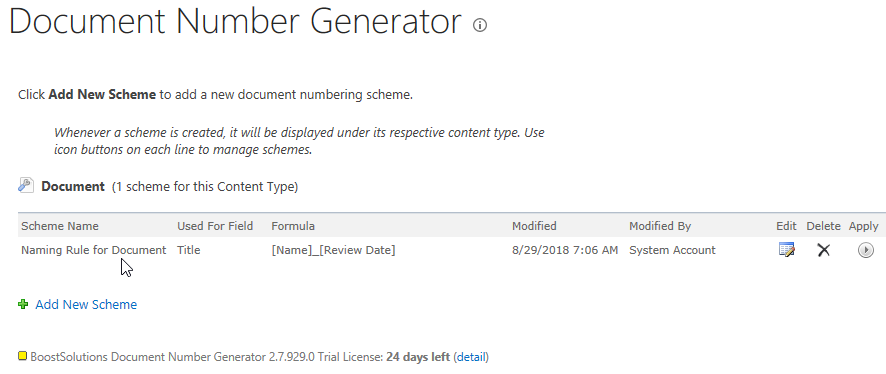
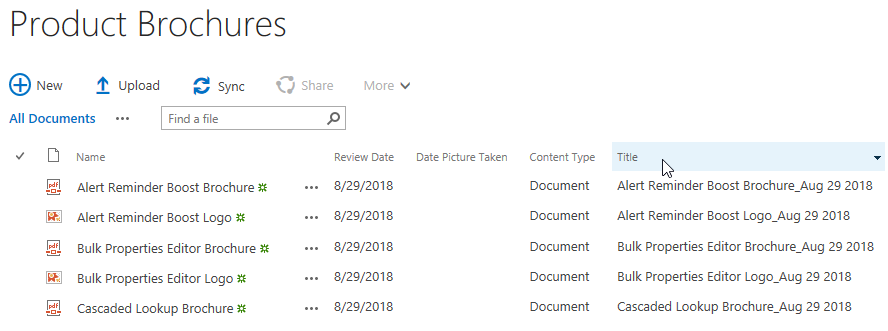
Now, let’s navigate to the Product Brochures library and upload some documents into it. For showing that the numbering scheme we created should take effect on documents with the Document content type, here we uploaded 3 PDF documents and 2 images into Product Brochures.

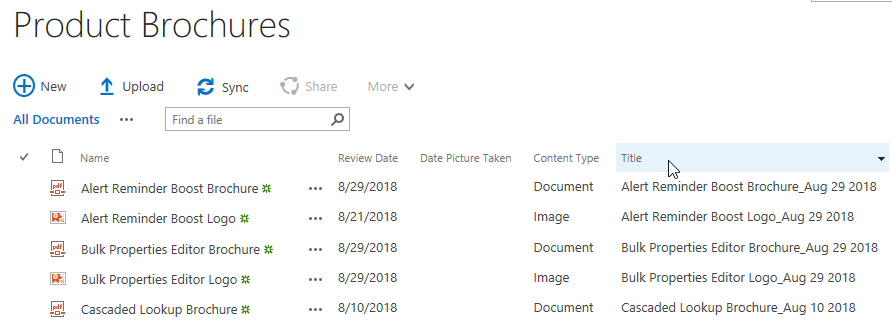
After the uploading is done you will see that the values of the Title field of all the 5 uploaded documents have been populated according to the numbering scheme we have created. That’s because the “Default Content Type” is Document, so the values for the Content Type filed for all uploaded files have been populated with Document, then the Numbering Scheme Naming Rule for Document applied to all of them successfully. The numbering scheme will apply to documents without manually activating if documents are uploaded to the document library after the creation of the numbering scheme. The Review Date fields have been filled with the default value (Today’s Date) accordingly.
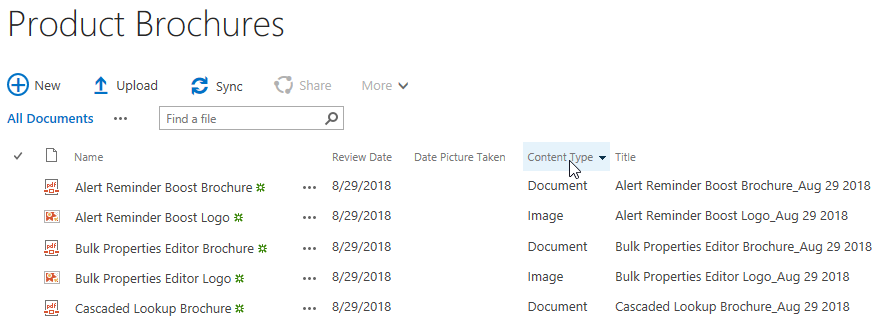
Now, let’s edit the 2 images, change their Content Type from Document to Image.
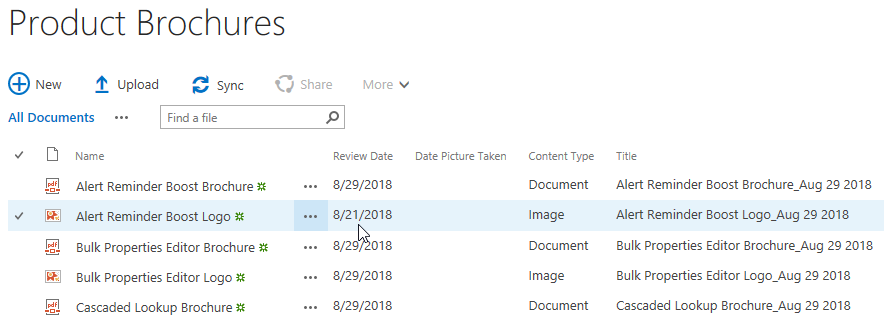
Now, let’s edit the Review Date of “Alert Reminder Boost Logo” from 8/29/2018 to 8/21/2018. Click Save.
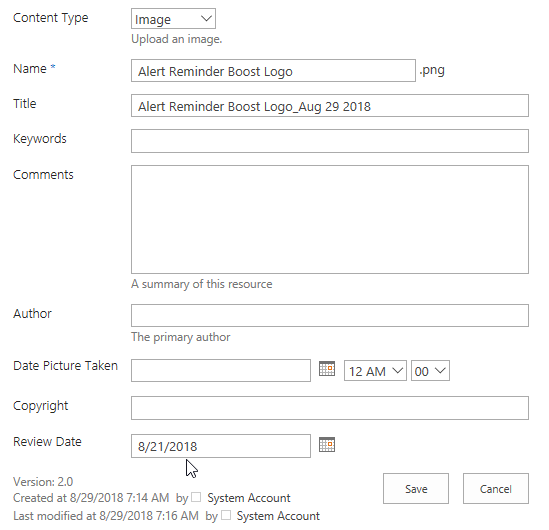
In the Product Brochure you will find that the Review Date field for “Alert Reminder Boost Logo” has been changed successfully but the Title field for Alert Reminder Boost Logo has not been updated accordingly, it’s still Alert Reminder Boost Logo_Aug 29 2018. That’s because the numbering scheme Naming Rule for Document only works on documents with the Content Type of Document, so even if we selected Regenerate, after editing, the Content Type for the 2 Images has been changed to Image, so the Title field for the 2 Images will not regenerate no matter how you edited their properties.
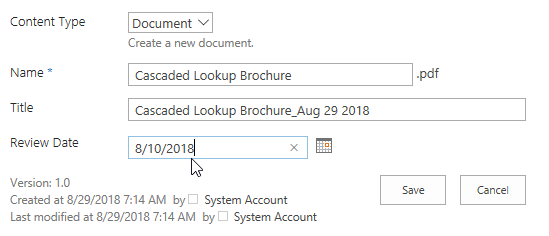
Now, let’s try to edit the Review Date for “Cascaded Lookup Brochure” from 8/29/2018 to 8/10/2018. Click Save to save the change.
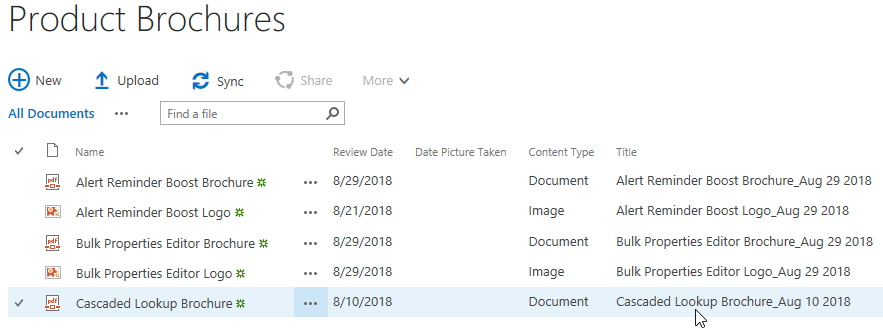
Now, in the Product Brochure, you will find that the Title field for “Cascaded Lookup Brochure” has been updated to Cascaded Lookup Brochure_Aug 10 2018 automatically. That’s because the Content Type for Cascaded Lookup Brochure is Document, then the Regenerate plays its magic.
Let’s continue with the Product Brochures library, now it has 5 documents in it already, 3 PDF documents and 2 Images files. Now, let’s create the other numbering scheme for the document library.
Repeat the step 1 to step 4 in previous session.
Then, you will be redirected to the Document Number Generator Settings’ page again. Let’s click on Add New Scheme to create another new scheme for Product Brochures.
Now, let’s configure the new creating numbering scheme as following:
First, let’s input a unique name for the scheme, here we name the scheme as Naming Rule for Image.
Then, in the Content Type section, select Image for Select a content type, and select Title for Which field should use the scheme, then the scheme we are creating will work on the Title field for documents with the content type of Document.
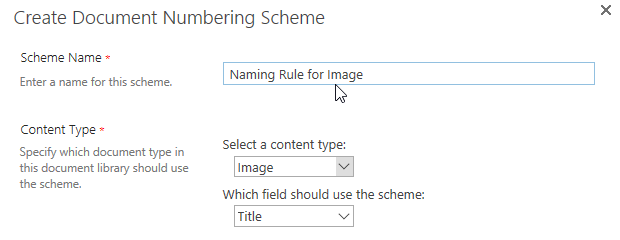
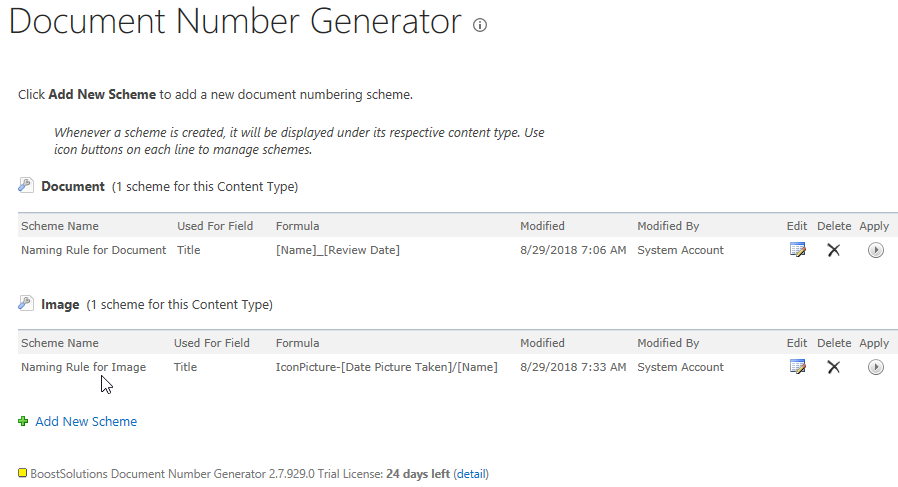
In the Formula section, let’s configure the naming formula itself. First, click Select a field… to select the first variable for the formula from the drop-down list. Here we select the Custom Text, and input “IconPicture” in the field.

Then, let’s add a separator between the first and the second element, here we select the separator “-”.

Then, let’s click Add element to add another variable to the formula, this time we select the Date Picture Taken.

Now, select the separator again, and this time we select the separator “ /”.

Finally, let’s click Add element to add another variable to our formula, this time we select the Name field.

In the Formula Preview field, you can preview the formula we are working on as shown below.

For Date Format section, we just added the Date Picture Taken field (a Date and Time field) to our formula, here let’s select yyyy-mm-dd as the Date Format.

In Regenerate section, let’s just keep it as default, checked. Now, click OK to save the new created numbering scheme.
Then, you will see the new created scheme has been listed on the Document Number Generator Setting’s page as shown below.
Now, let’s navigate to the Product Brochures library, you will find that the Title field for the 2 Image files have not been updated according to the new numbering scheme we just created. That’s because we didn’t Apply it to the document library. The numbering scheme will apply to documents only after you manually activate it if documents are existed in the document library before the creation of the numbering scheme.
Let’s navigate to the Document Number Generator Setting’s page as we did again, then click Apply of the Naming Rule for Image to apply it to Product Brochures.

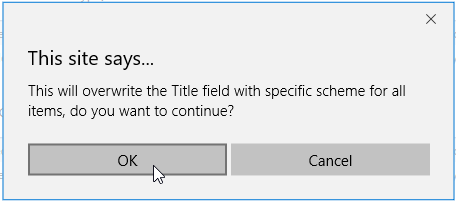
After clicking Apply, the notification dialog will pop up to notify you that this will overwrite the Name field with specific scheme for all items. Click OK.
After a short loading process, you will see the
 appear on the right of the
Apply button, indicating that the scheme has been applied to the document library successfully.

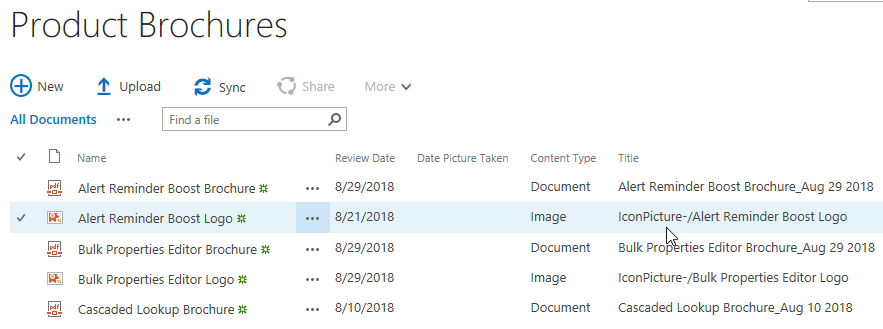
Now, let’s navigate to the Product Brochures again, you will find that the value of the Title field of the 2 Image files have been updated to the numbering scheme successfully. Because we didn’t specify the Date Picture Taken property for the 2 Images, so the Title field for the 2 Images now are consists of IconPicture-/[Name].
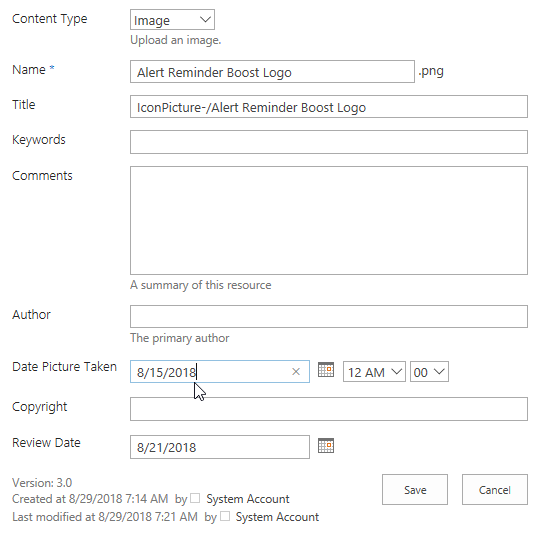
Let’s edit the Image “Alert Reminder Boost Logo” to make its Date Picture Taken as 8/15/2018 12AM, then edit the Image “Bulk Properties Editor Logo” to make its Date Picture Taken as 8/8/2018 12AM. Click Save to save the changes.
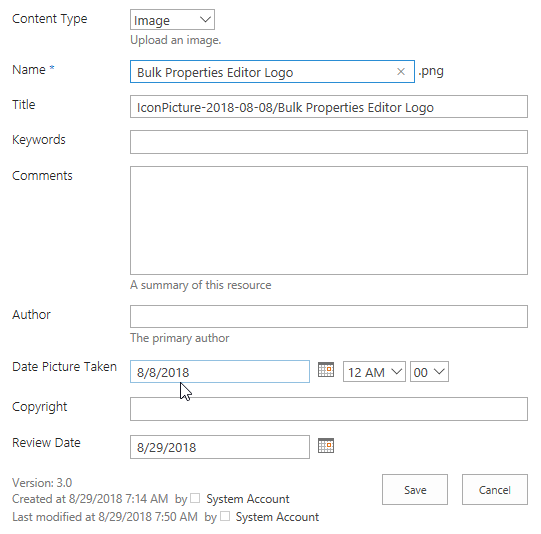
In the Product Brochures, you will find that the Title field for the 2 Images have been regenerated accordingly to the numbering scheme Naming Rule for Image automatically. Regenerate plays its magic.
