
- BoostSolutions
-
Products
-
- Microsoft Teams
- HumanLike Alert Reminder
- View All Apps
- Pricing
- Support
- Company
On Calendar Rollup Web Part, by default, the calendar will only display 3 events on a day, but you can click Expand All to see all events; or if there are too many events, you can click Collapse All to only see few events on the calendar web part.
In this article, we will demonstrate how to expand all or collapse all calendar events Calendar Rollup Web Part.
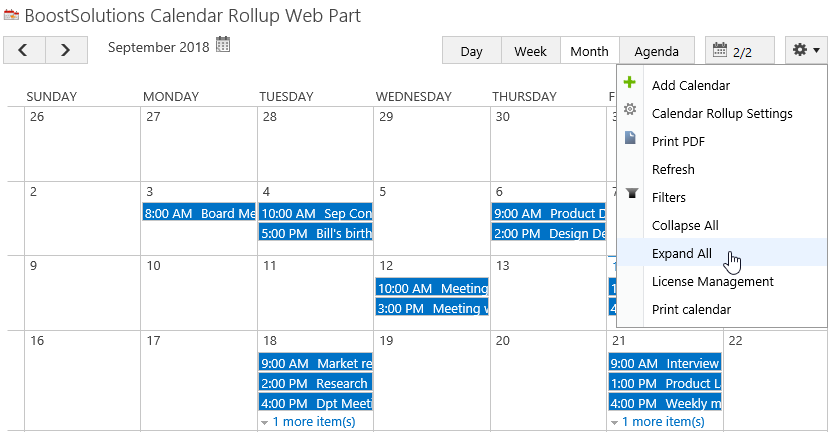
Click Expand All to display all events on the Calendar Rollup Web Part
Firstly, add Calendar Rollup Web Part to a SharePoint site.
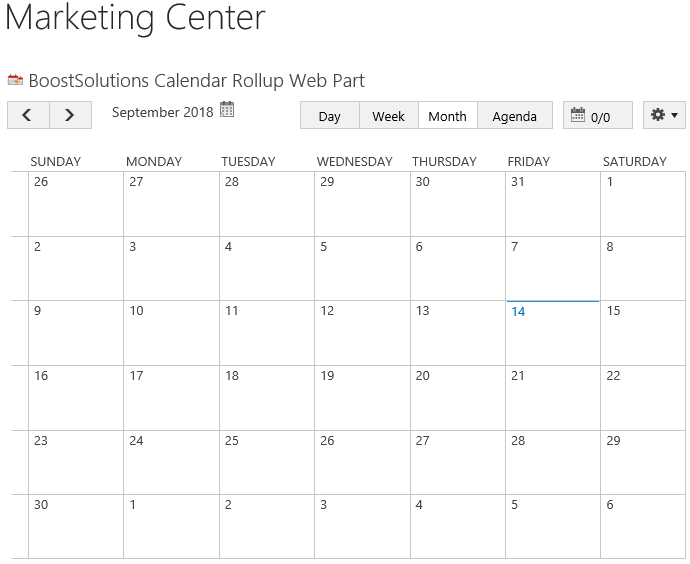
Download the trial version of Calendar Rollup and install it to your SharePoint server.
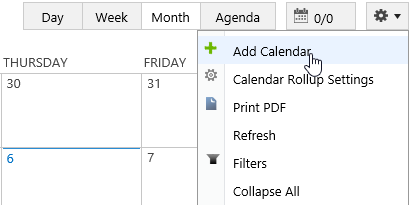
Navigate to site where you have added the Calendar Rollup Web Part to, on top right of web part, there’s an integrated dropdown menu, select Add Calendar.
If you already add the calendar sources on the web part, please skip to step 12.
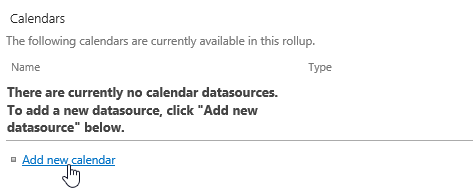
Or, click Calendar Rollup Settings and click Add new calendar in the Calendar Rollup Settings page.
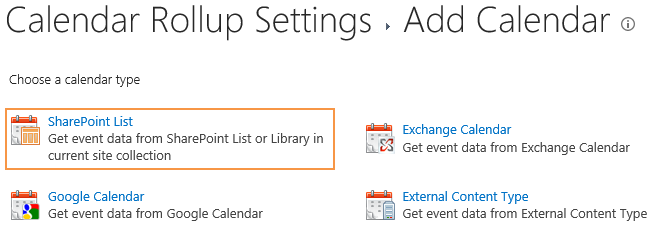
In the Add Calendar page, select the SharePoint list.
In the Add or Change a Calendar page, specify a calendar name in General Settings section.

In the Data source configuration section, configure the following settings.
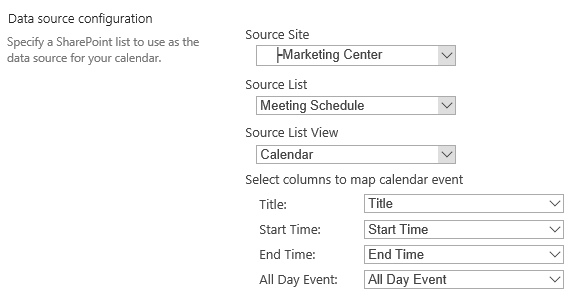
Keep other settings as default and click OK to add the calendar.
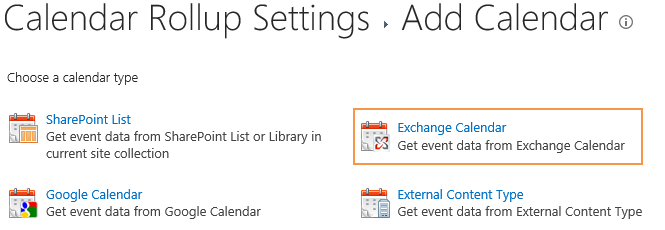
And then click Add Calendar to add another calendar source – Exchange calendar.
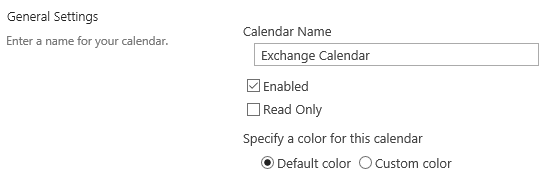
In the Add or Change a Calendar page, specify a calendar name in General Settings section.
In the Data source configuration section, configure the following settings.
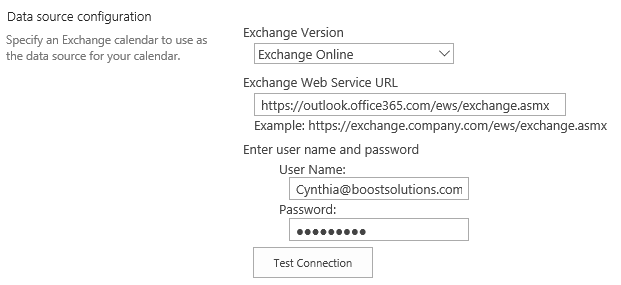
Keep other settings as default and click OK to add the calendar.
Navigate to the site where the Calendar Rollup Web Part locates, and then you will see all events from above two calendar sources are shown on the web part.
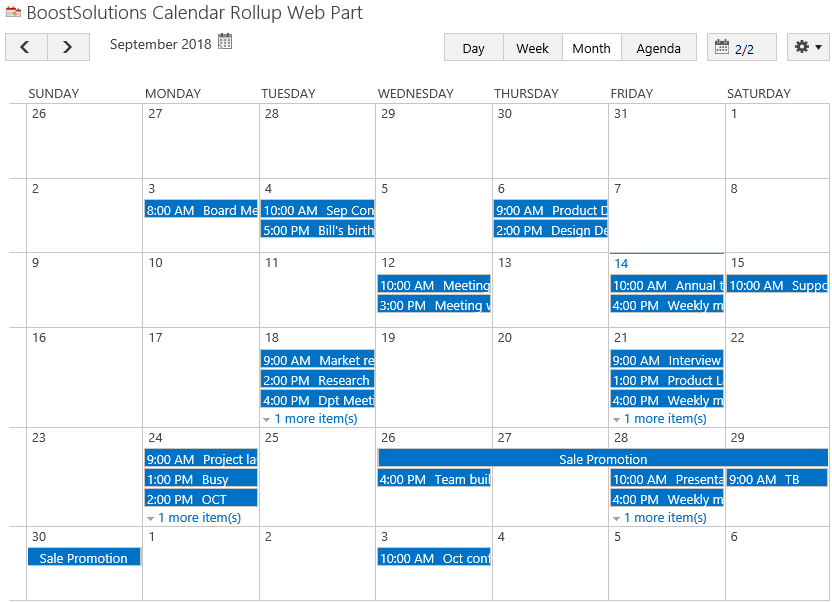
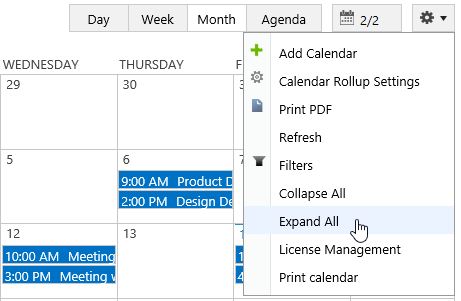
On top right of web part, click Expand All in dropdown menu.
Wait the fresh complete. you will see that the all events are shown on the web part as following.
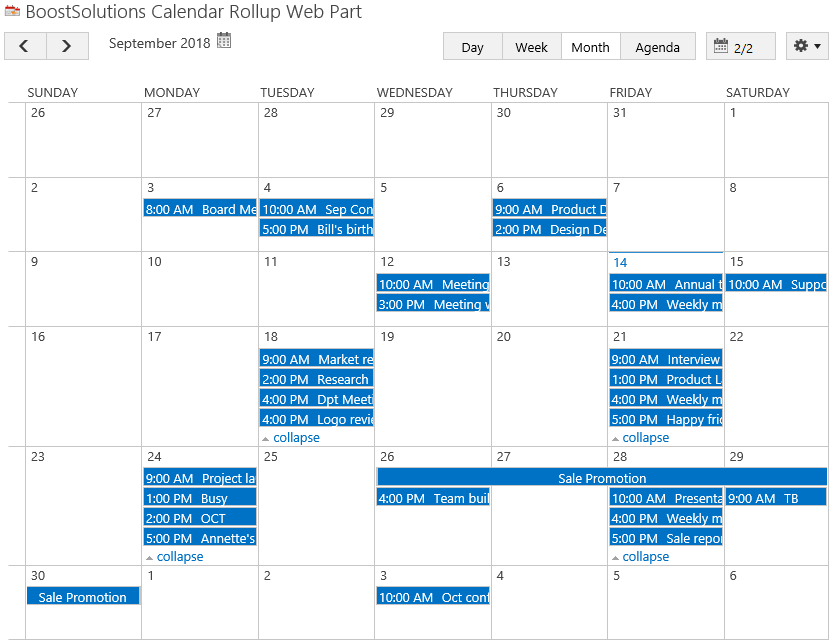
On top right of web part, click Collapse All in dropdown menu.
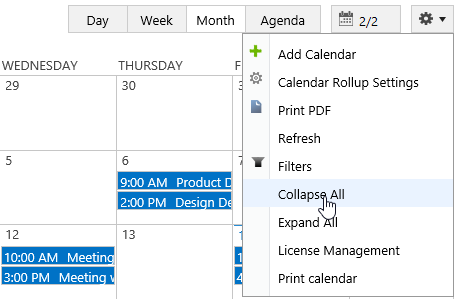
Wait the fresh complete. you will see that the extra events are collapsed on the web part as following.

