- BoostSolutions
-
Products
-
- Microsoft Teams
- HumanLike Alert Reminder
- View All Apps
- Pricing
- Support
- Company
On SharePoint, you cannot set default value for lookup fields. But for Cascaded Lookup column, you can set a default value for it.
There are 3 options provided when you try to set default value for a Cascaded Lookup Lookup column, none, first value and custom value.
This article will demonstrate how to set default value for Cascaded Lookup columns.
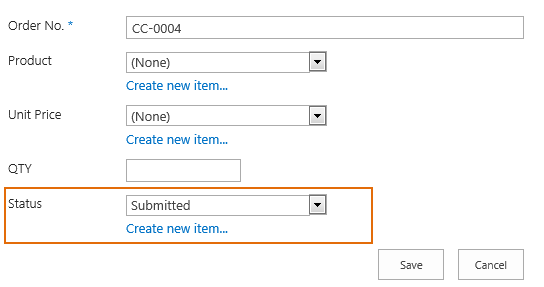
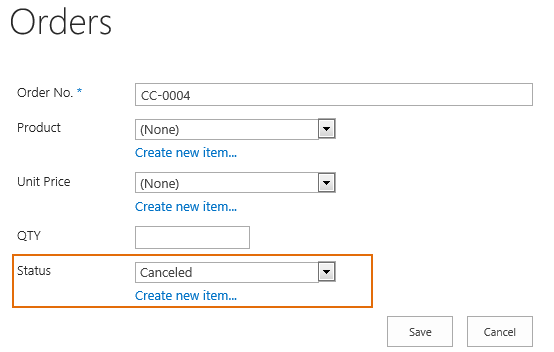
The “Status” column is a Cascaded Lookup column, after specifying the default value(Submitted) for it, the value will be applied by default when you create a new item.
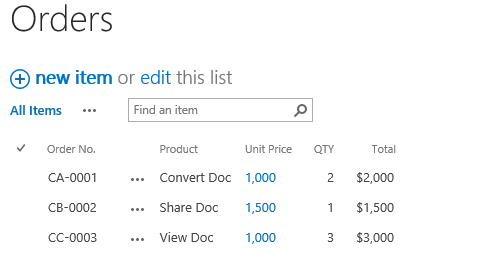
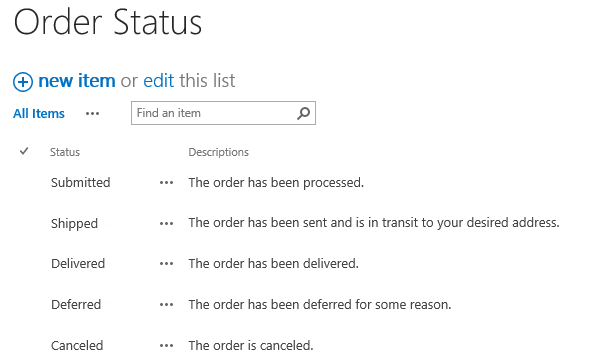
Then, create another list named as Order Status from the custom list template with following columns and items on the same SharePoint site.
Download the trial version of Cascaded Lookup, and install it to your SharePoint server.
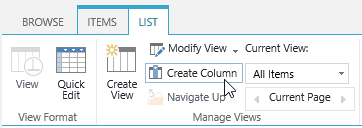
Navigate to the Orders list prepared above, click List tab. In the Manage Views group, click Create Column .
Or go to the List Settings page and click the Create column link in Columns section.
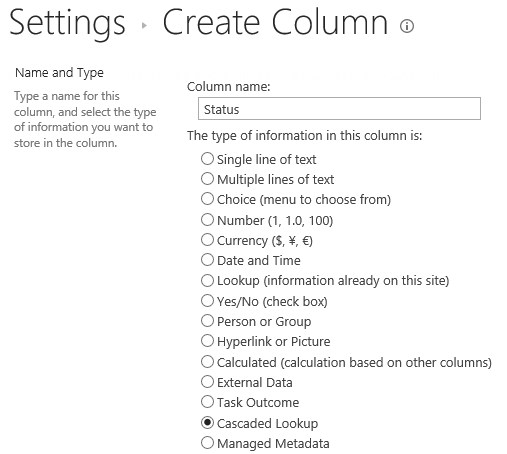
In the Name and Type section, enter a name in the Column Name field to give it a meaningful name such as Status, then select Cascaded Lookup as the type of information in this column.
In the Additional Column Settings section, keep all settings as default.
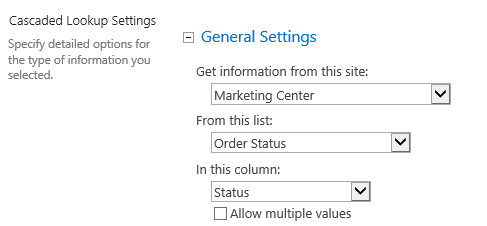
In the General Settings section, configure settings as following.
In the Get information from this site box, select Marketing Center. Because in our example the Order Status list is located in a SharePoint site named as Marketing Center. You need to select the corresponding SharePoint site in which your Order Status list is located.
In the From this list box, select Order Status.
In the In this column box, select Status.
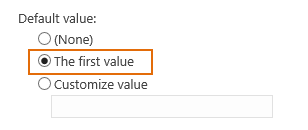
In the General Settings section, select The first value option for Default value setting.
Note that the values in lookup column will be sorted by alphabet (A-Z).
Keep other settings as default and click OK.
And then, you will find that a Cascaded Lookup column named as Status has been added to Orders list as following.
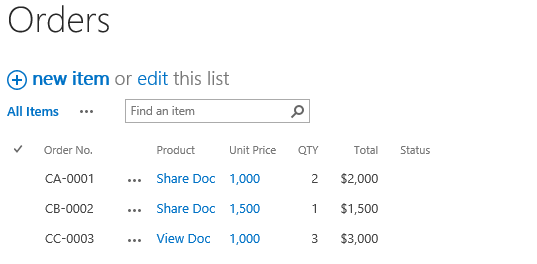
In the Orders list, try to create a new item. In the New Item form, for the Status column, you will find that Canceled is applied by default, because Canceled is ranked in the first place by alphabet.
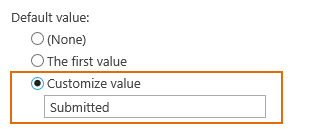
Go to step 6, in the General Settings section, select Customize value option for Default value setting.
Then type a value in the text box, here we input Submitted. Note that the value you input should be one of the lookup column values, otherwise, it will not be shown.
Keep other settings as default and click OK.
In the Orders list, try to create a new item. In the New Item form, for the Status column, you will find that Submitted is applied by default.

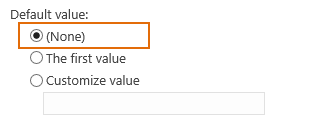
If you do not want to show any value by default, you can go to step 6, and in in the General Settings section, select None option for Default value setting.
Keep other settings as default and click OK.
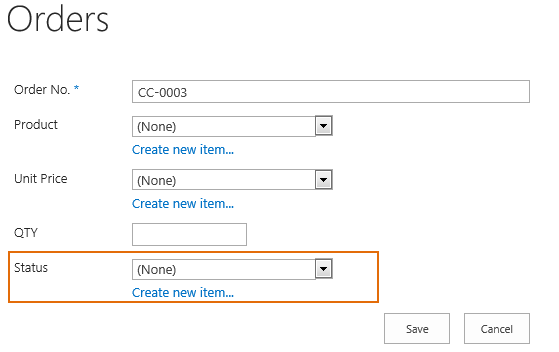
In the Orders list, when you try to create a new item this time, in the New Item form, for the Status column, you will find out that there is no default value showing up.
