- BoostSolutions
-
Products
-
- Microsoft Teams
- HumanLike Alert Reminder
- View All Apps
- Pricing
- Support
- Company
A log file is a file that records events that occur in SharePoint when software is running. And it is very useful when user needs to check the previous data related with the product. Sometimes products provide enabling and disabling logging function in the settings. List Transfer also has that function in List Transfer settings.
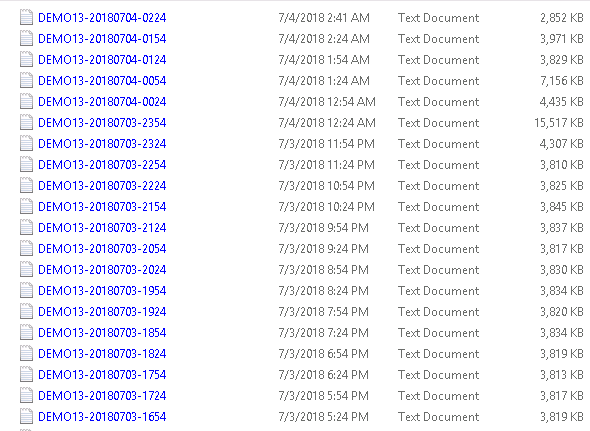
The log files will be saved in one LOGS folder and might need to be deleted by time.
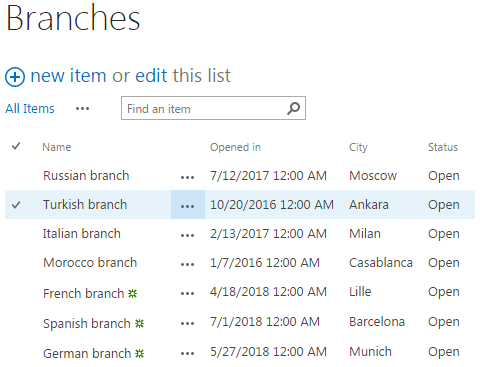
Create a list in Your SharePoint site with the items and columns as following.
Download the trial version of List Transfer, and install it to your SharePoint server.
Go to Site Settings page and click on List Transfer Settings.
The following page will appear after clicking the List Transfer Settings.
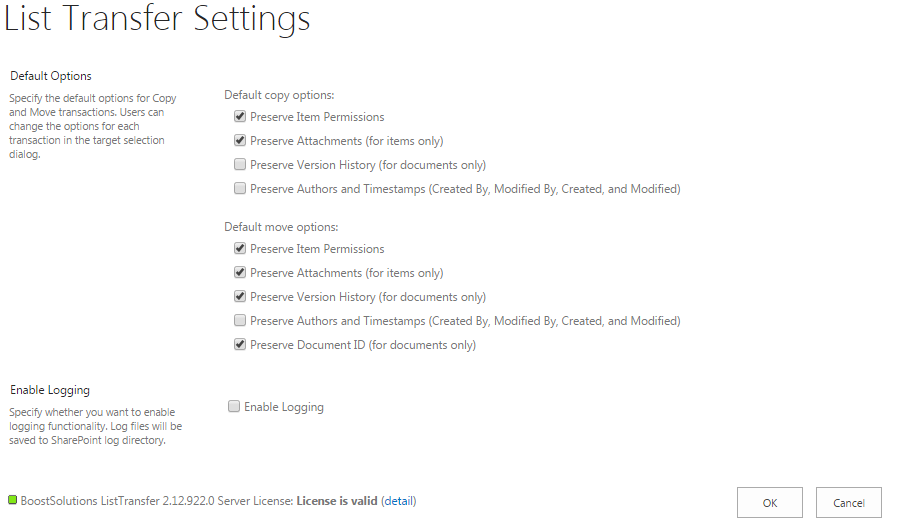
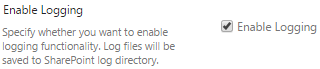
Check the Enable Logging in Enable Logging section.
Click OK to save changes.
You can check the logging details in the link below:
C:\Program Files\Common Files\Microsoft Shared\Web Server Extensions\14\LOGS (For SharePoint 2010)
C:\Program Files\Common Files\Microsoft Shared\Web Server Extensions\15\LOGS (For SharePoint 2013)
C:\Program Files\Common Files\Microsoft Shared\Web Server Extensions\16\LOGS (For SharePoint 2016)
