- BoostSolutions
-
Products
-
- Microsoft Teams
- HumanLike Alert Reminder
- View All Apps
- Pricing
- Support
- Company
SharePoint Password Change & Expiration allows users to change their own passwords from SharePoint without administrator intervention. This product also has sending expiration notification emails to warn users before their passwords expire, sending confirmation emails after users have successfully changed their passwords and other features. To send those email user will might need to configure the SMTP settings for the web part. In this article we will demonstrate to you how to do it.
After testing the SMTP settings, administrators can be sure that users will be able to receive their notification emails on time.
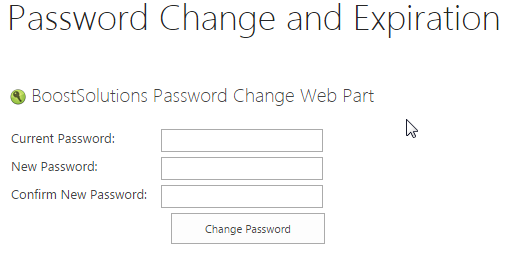
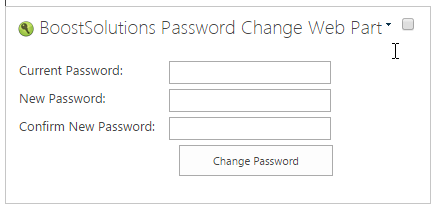
The web part is added to the SharePoint site. For this article we added it to the site page called Password Change and Expiration. You can check our other article to get more information on how to add the web part.
Download the trial version of Password Change & Expiration and install it to your SharePoint server.
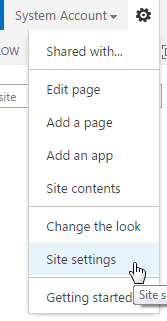
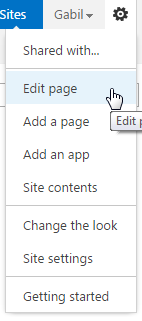
Click on the Settings menu on the upper right corner of the page and click on Site Settings.
Find Password Change & Expiration settings in the Site Collection Administration group and click on it.

There is also another way to reach the Password Change Settings. First we need to go to the site where Password Change web part is added. Find Site Settings menu on upper right corner and click on Edit Page.
You will see the web part changed to edit mode after clicking on Edit Page.
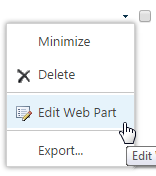
Next step, click on small black triangle on the right side of the web part, next to the check box. After clicking you will see the drop down menu appear. Click on Edit Web Part.
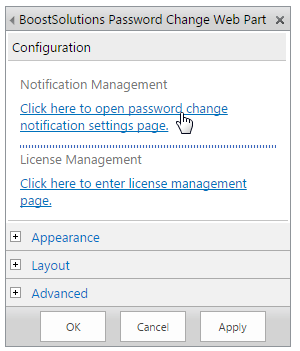
You will see the configuration settings box on the right side of the web part appear. Click on Click here to open password change notification settings page.
The Password Change Settings page will open after following the steps 3 and 7.
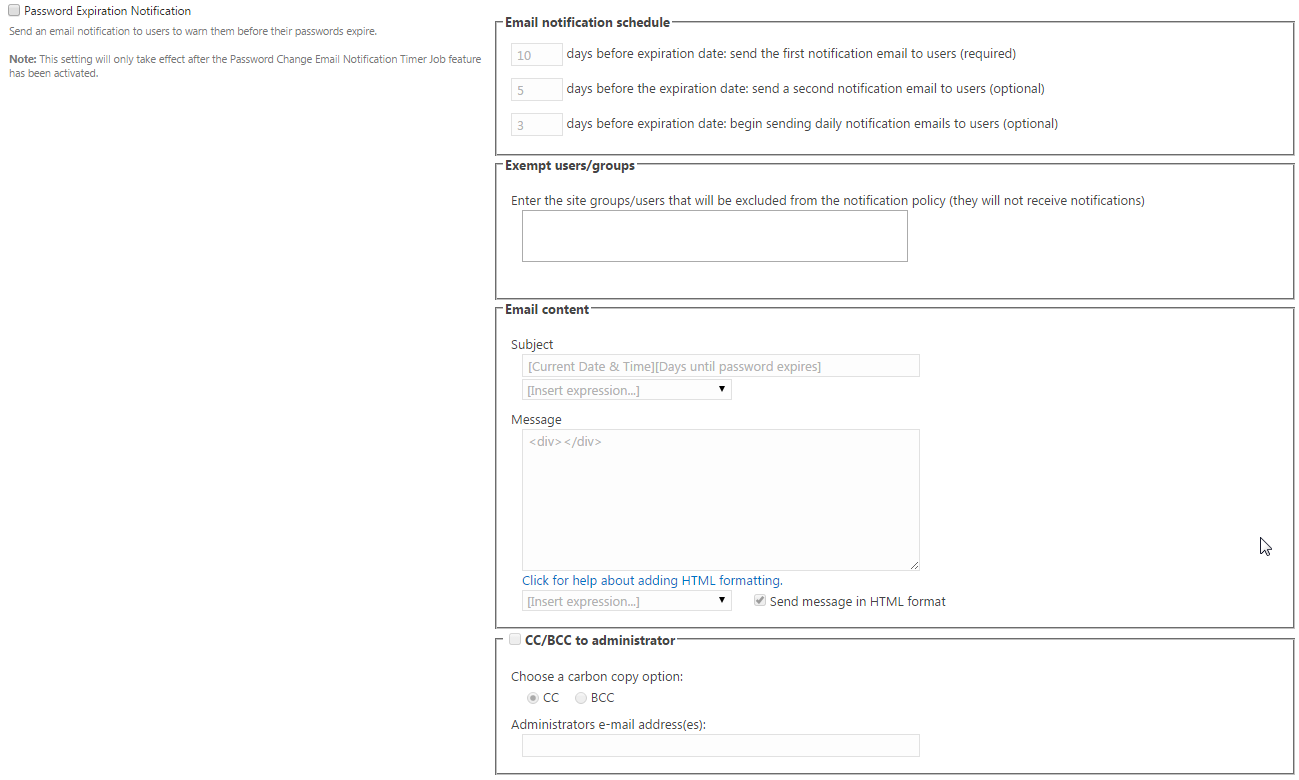

In this page we will only focus on Use custom SMTP server settings section. If we want to use the Outgoing email server settings in SharePoint Central Administration, then we uncheck the box on the left side of Use custom SMTP server settings line.

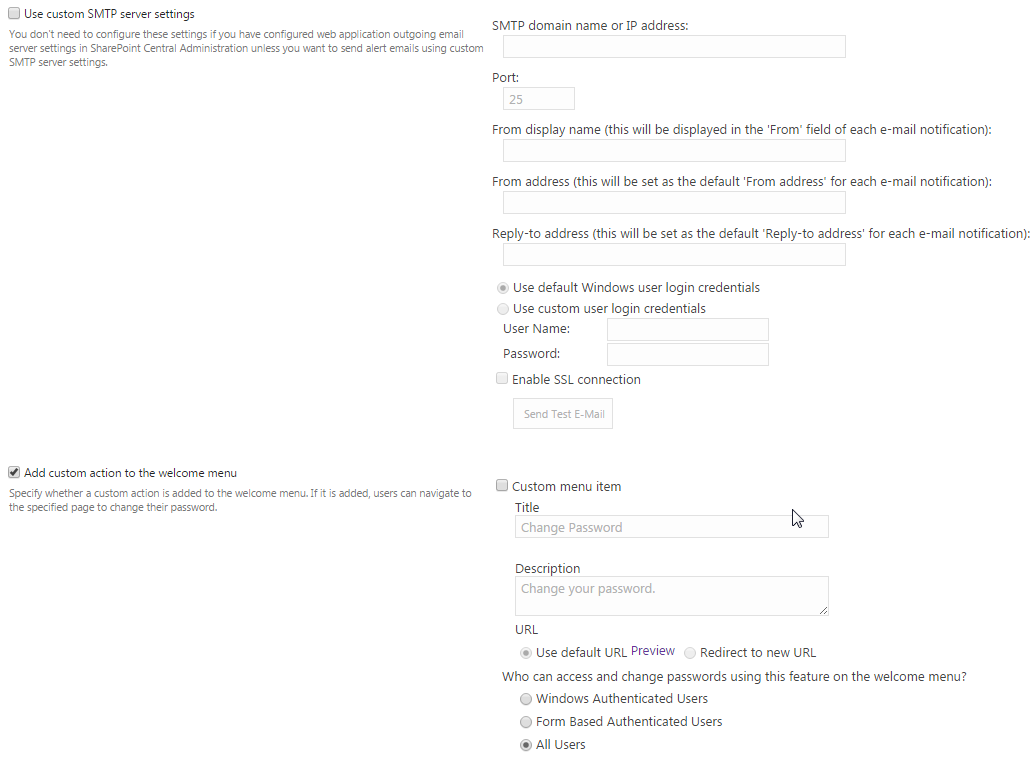
If we want to use the custom SMTP server settings we check the box on the left and configure the SMTP settings.

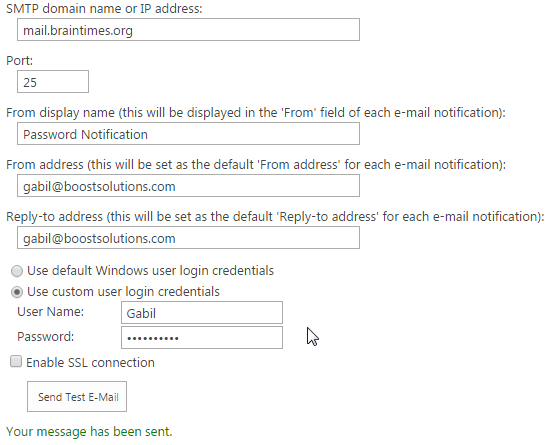
First we fill in the SMTP Domain name or IP address and then the Port number which is usually filed in by default. In the From display name we enter the display name for the email address. This is how it will appear to the recipients. In the From address we specify the email address from which you want to send email. Reply-to address is required to fill if we want to designate a “Reply to” name and address. Then choose which credentials to use and decide whether to enable the SSL connection or not. If you don’t want to enable it, then keep the box next to it clear, otherwise check the box.
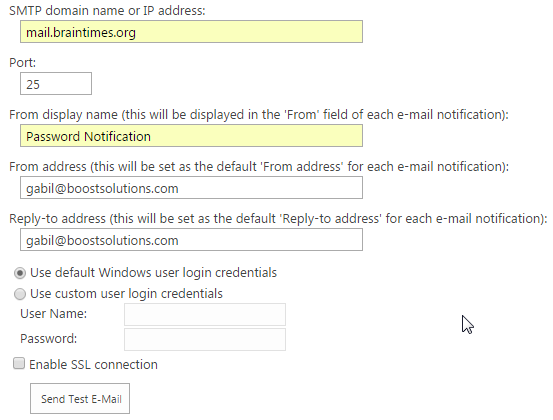
Click Send Test E-mail to test the connection.
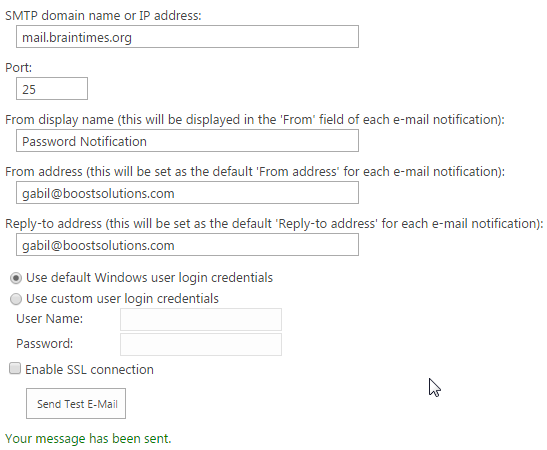

You will see the message notifying that the connection was successfully sent and also receive the email itself.
Next, let’s choose the Use custom user login credentials and test the connection again.

Click OK to save the settings. You will see the button both on the top and bottom right side of the page.