- BoostSolutions
-
Products
-
- Microsoft Teams
- HumanLike Alert Reminder
- View All Apps
- Pricing
- Support
- Company
When you sync information of user, contact or computer objects from Active Directory to a SharePoint list, you can decide how to sync the changes (creation, modification or deletion) to the SharePoint list.
In this article, we will demonstrate how to configure the settings in AD Information Sync profile to sync the changes from Active Directory to SharePoint list.

There are three options in the profile, you can decide how to sync the creation, modification or deletion from AD to SharePoint list.
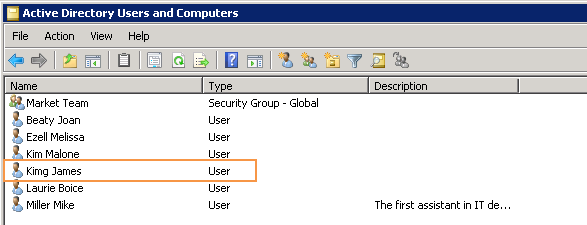
And there are 6 users in the Active Directory as following.

Download the trial version of AD Information Sync and install it to your SharePoint server.
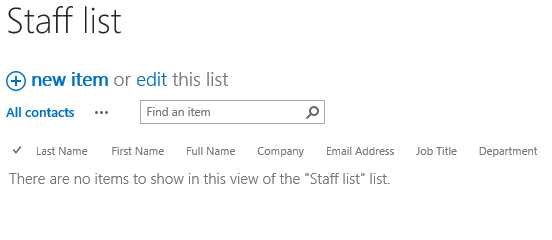
Navigate to the site in which the Staff list is located.
In the upper right corner, click Settings and then click Site Settings.
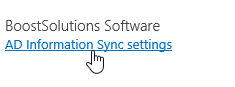
On the Site Settings page, click AD Information Sync settings under BoostSolutions Software section in the bottom right corner of the page.
On the AD Information Sync Settings page, click Create Profile to create a new profile, specify a unique name for it, such as Profile-1.
In the List section, select the SharePoint list to which we will synchronize the information from Active Directory. Select Staff list from the dropdown list.

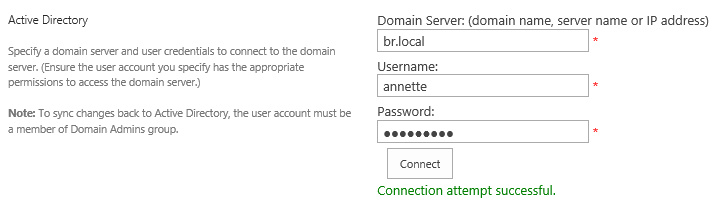
In the Active Directory section, specify a domain server and user credentials to connect to the domain server (Ensure the user account you specify has the appropriate permissions to access the domain server). Then click Connect. If everything goes right, it will show Connection attempt successful under the Connect button. If things went wrong, please check the user account you specified, make sure it has the permissions required.
Because in this article, we just want to sync information from Active Directory to SharePoint, so we just specify a normal user such as Annette, who is not a domain admin or administrator.
In the Filter section, specify the information you want to synchronize. Specify the object type as User.

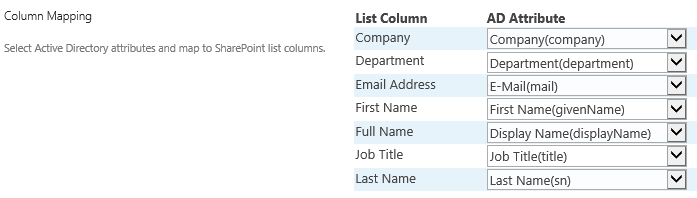
In the Column Mapping section, map the AD attributes to the list columns as following.
In the Sync Operations section, select all the three options as following.
Create list items when AD items are created: whenever an AD object is created, a new item will be created in the SharePoint list accordingly after the synchronization.
You must select this checkbox when you create a new profile. Otherwise the list will not be populated with items from AD.
Delete list items when AD items are deleted: whenever an AD item is deleted, the corresponding item in the SharePoint list will be deleted after the synchronization. Or if the AD item(s) is removed from the sync scope, the corresponding item(s) will be deleted too.
After select Update changes and decide what to do when list items or AD objects are modified option, select Sync from AD to list option, which means always sync the changes from Active Directory to the SharePoint list.
Keep other settings as default and click OK to save the settings for the profile.
On the AD Information Sync Settings page, click Sync Now for the profile we created.
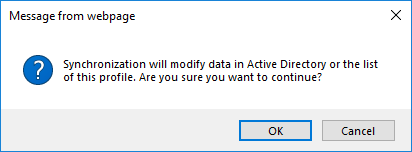
A confirmation message will appear to remind you that the synchronization will modify data in Active Directory or the SharePoint list of this profile. Click OK to start the synchronization.
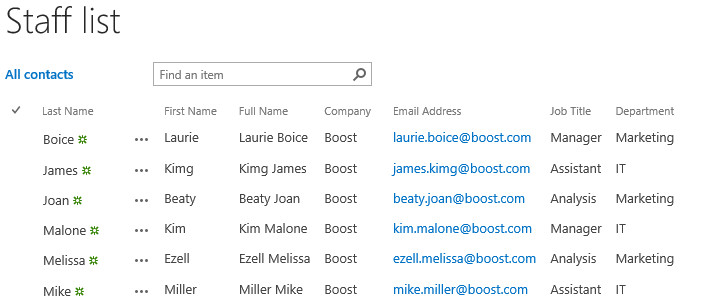
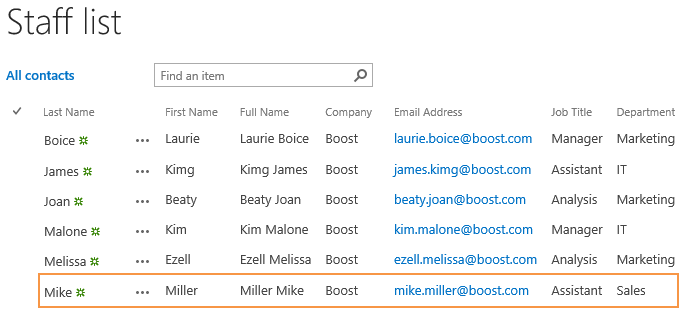
Wait for a few seconds for the synchronization to be completed. Navigate to the Staff list and you will find that those 6 users in the Active Directory have been synced to the SharePoint list as following.
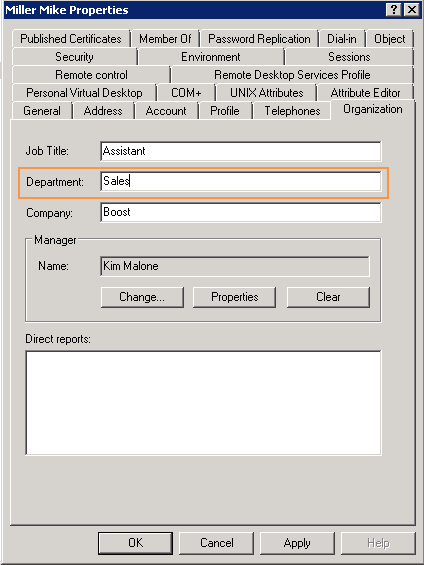
In Active Directory, select user Miller Mike and modify his properties, change his department from IT to Sales, and then click OK to save the changes.
On the AD Information Sync Settings page, click Sync Now for Profile-1.
Wait for a few seconds for the synchronization to be completed. Navigate to the Staff list again and you will find that the Department of Miller Mike has been updated to Sales as following.
In Active Directory, delete user Kimg James.
And then on the AD Information Sync Settings page, click Sync Now for Profile-1.
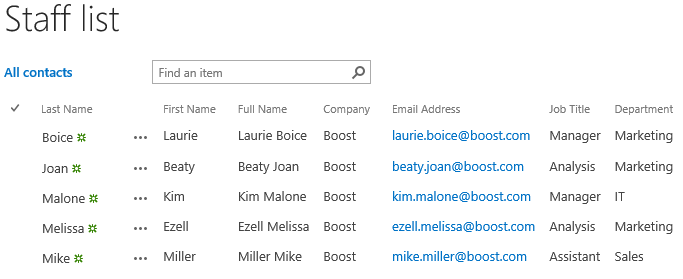
Wait for a few seconds for the synchronization to be completed. Navigate to the Staff list and you will find that the item James has been deleted from the Staff list as following.
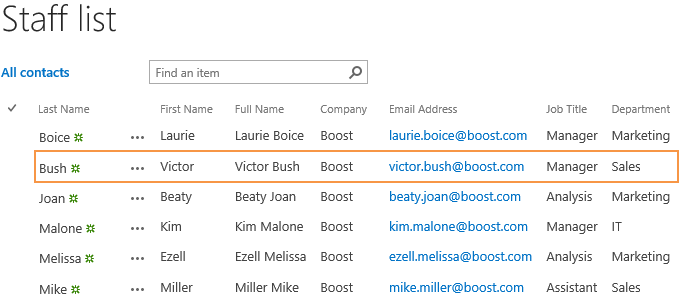
In Active Directory, add a new user Victor Bush.

And then on the AD Information Sync Settings page, click Sync Now for Profile-1.
Wait for a few seconds for the synchronization to be completed. Navigate to the Staff list and you will find that the user Victor Bush has been added to the Staff list as following.