- BoostSolutions
-
Products
-
- Microsoft Teams
- HumanLike Alert Reminder
- View All Apps
- Pricing
- Support
- Company
List Advanced Filter surpasses native SharePoint list searching capabilities, it allows end users to set up multi-field filters to get more relevant information in SharePoint list or document library. It has an easy way to specify which fields in the list will be used as criteria to filter data on the list. And it also allows you to change the Display Name of the fields at the same time after configuration. In this article we will show you how to do it.
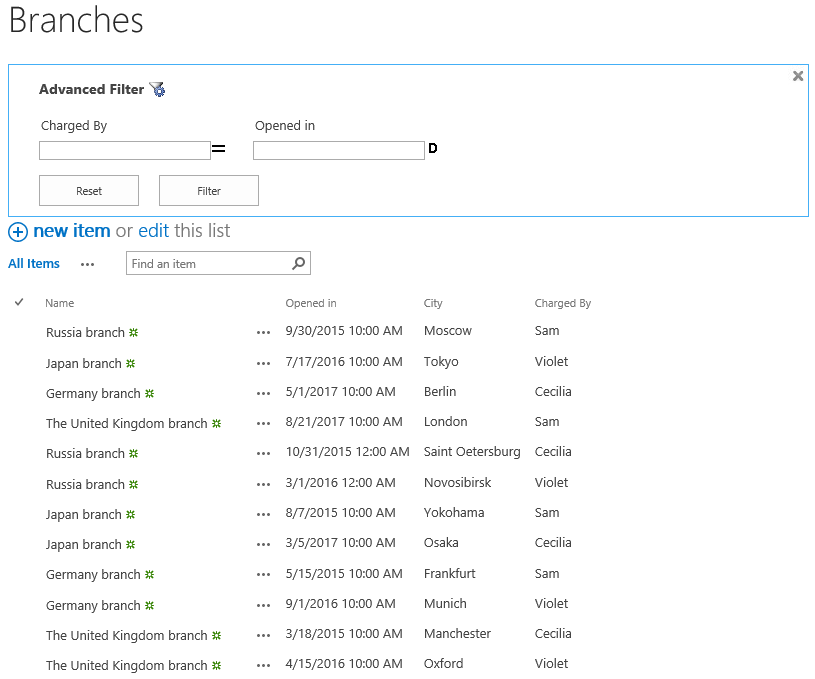
Specify the Charged By field and the Opened in field as the criteria to filter data on Branches list.
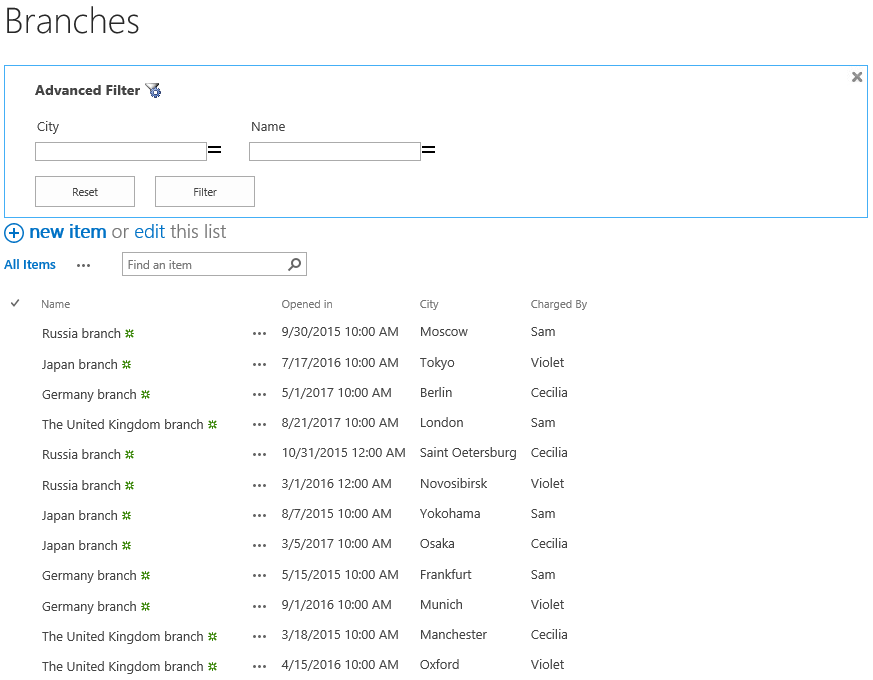
Specify the City field and the Name field as the criteria to filter data on Branches list.
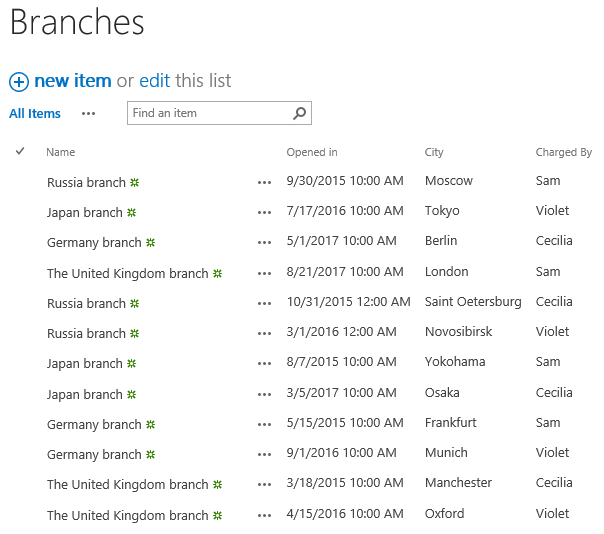
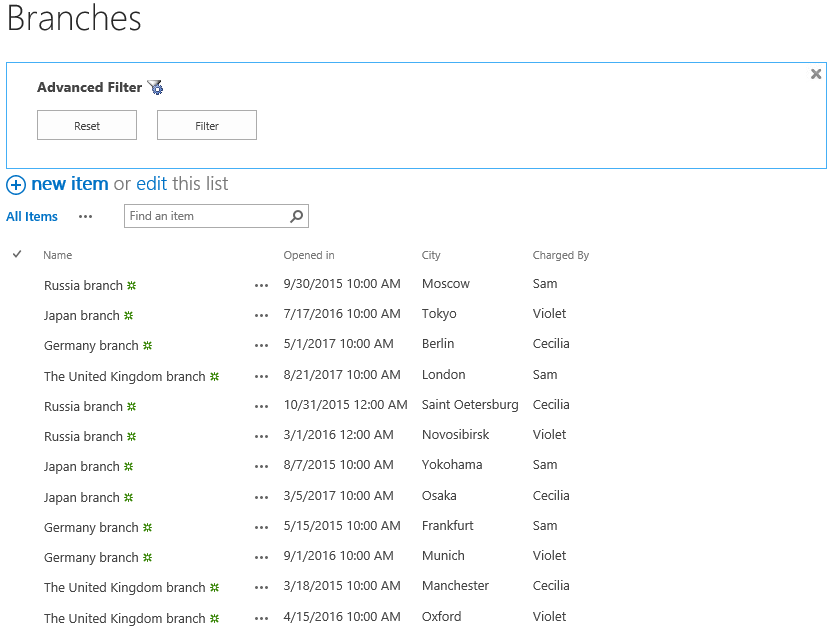
List Advanced Filter works for both SharePoint List and Document Library. For following up the feature we demonstrate in this article, you can create a SharePoint List or a Document Library on your SharePoint site. Here we create a SharePoint list named as Branches with several columns and items as shown below.
Download the trial version of List Advanced Filter, and install it to your SharePoint server.
Navigate to the Branches list prepared above.
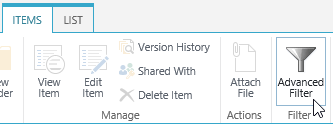
Click ITEMS on the Ribbon, and then click Advanced Filter in Filter group to show the filter panel.
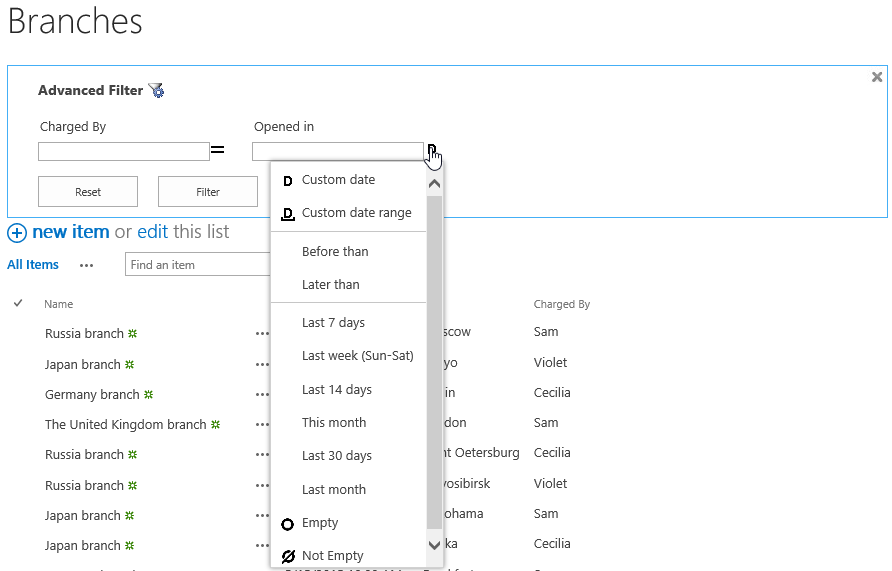
Then, the Advanced Filter panel will appear above the Branches list as shown below.
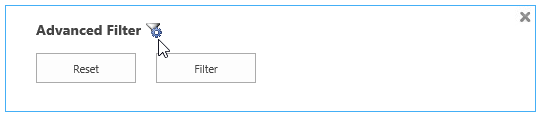
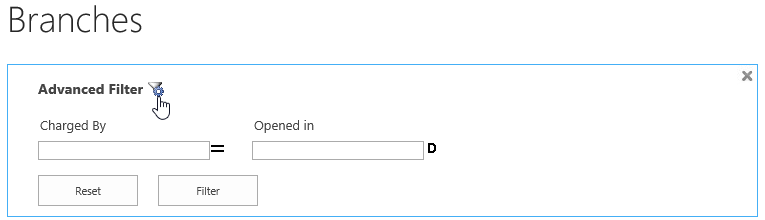
On the
Advanced Filter panel, click on the
 icon to open the
Configure Filter Panel.
icon to open the
Configure Filter Panel.
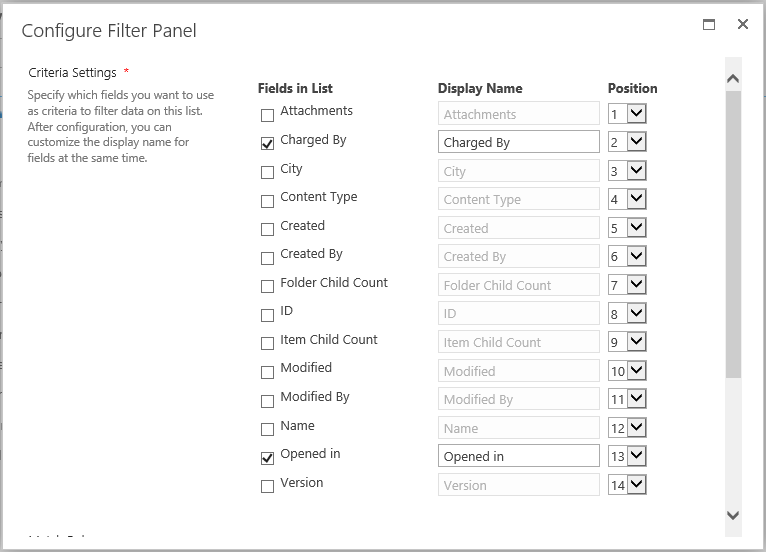
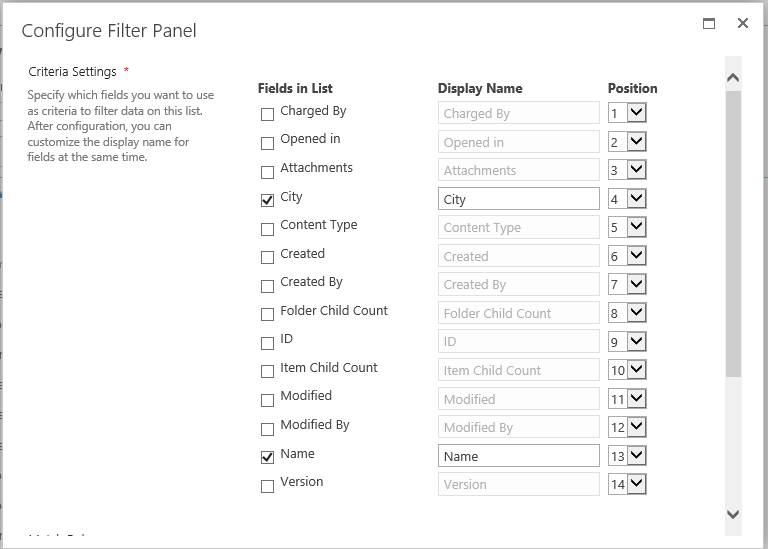
Then, the Configure Filter Panel will pop up. In Criteria Settings section you can specify which fields you want to use as criteria to filter data on this list. And you can customize the display name for fields after configuration. Here we select the Charged By field and the Opened in field. Keep other settings as default and click Save to save the changes.
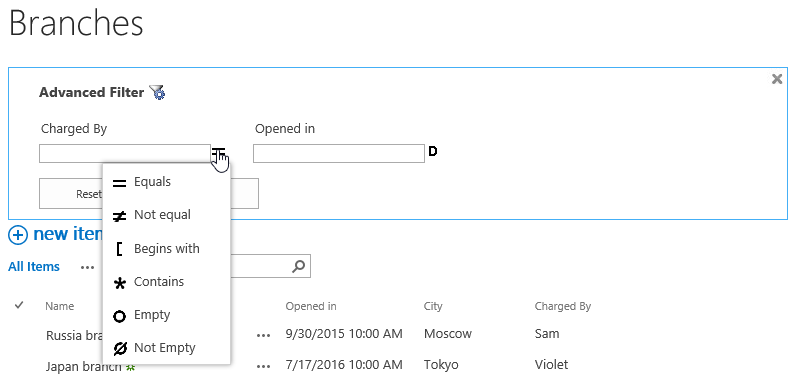
Then, you will find that the Advanced Filter panel above the Branches list has updated to what we have configured on the Configure Filter Panel. The selected fields (Charged By and Opened in) will be used as the criteria to filter data on the Branches list.
Then you can type a value for each criteria in the text box below, and select the filter type by click the comparison operator’s icon next to the field to fully configure the filter criteria. Then you can click Filter or press the Enter button to try the configured advanced filter.
If you want to change the fields used as the criteria. You can click the
 icon on the Advanced Filter panel to open the
Configure Filter Panel again.
icon on the Advanced Filter panel to open the
Configure Filter Panel again.
Then, the Configure Filter Panel will pop up again, we can make modifications on fields which will be used as criteria to filter data on the Branches list. Let’s select the City field and the Name field. Keep other settings as default, then click Save to save the changes.
Then, you will find that the Advanced Filter panel above the Branches list has updated to what we have changed on the Configure Filter Panel. That’s how we specify which fields will be used for filter in the list.
