- BoostSolutions
-
Products
-
- Microsoft Teams
- HumanLike Alert Reminder
- View All Apps
- Pricing
- Support
- Company
SharePoint AD Self Service enables end users to directly manage AD profile on a SharePoint site. Those users will be able to change AD information such as phone numbers, addresses and etc.. And this Web Part also has a feature that allows administrators receive an email every time when the user makes changes in their profile. In this article we will demonstrate to you how to do it.
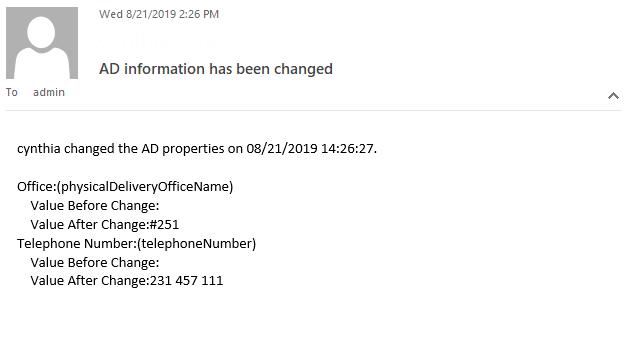
A confirmation email is sent to administrator after an user change the properties on the Web Part.
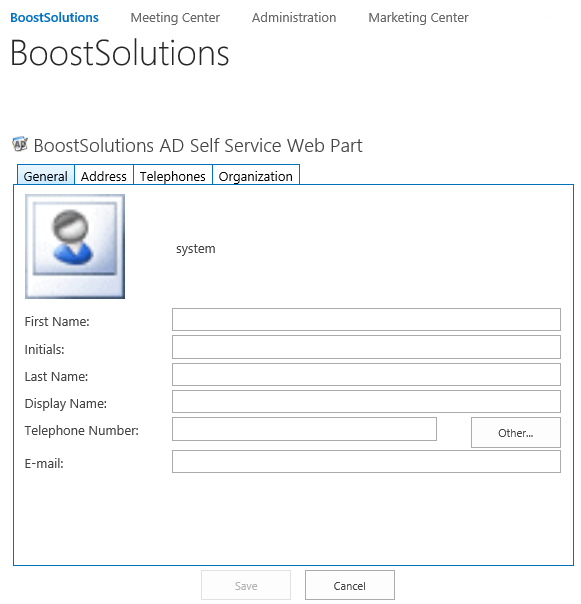
Add AD Self Service Web Part to a site which is called BoostSolutions, and connected to Active Directory. You can refer to another article to see how to do it.
Download the trial version of AD Self Service, and install it to your SharePoint server.
Browse to Central Administration > BoostSolutions Software > AD Self Service Settings.
In AD Self Service E-Mail Confirmation section, select the checkbox to enable the feature.
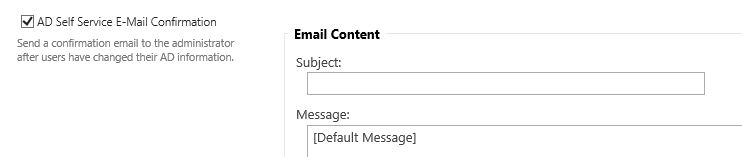
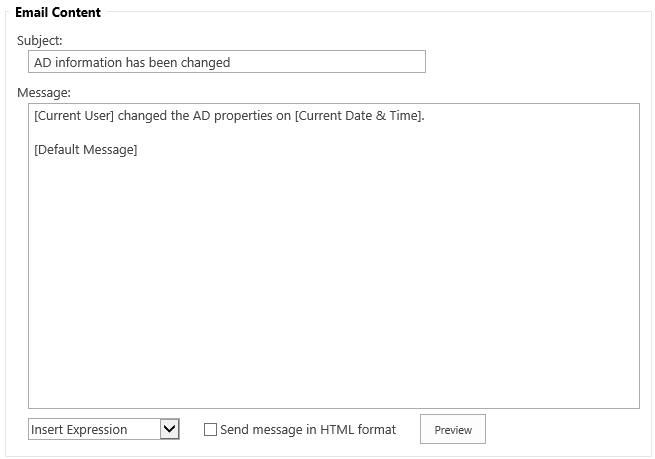
In the Subject box type in the line that you want to see in the email subject line, for example as following.

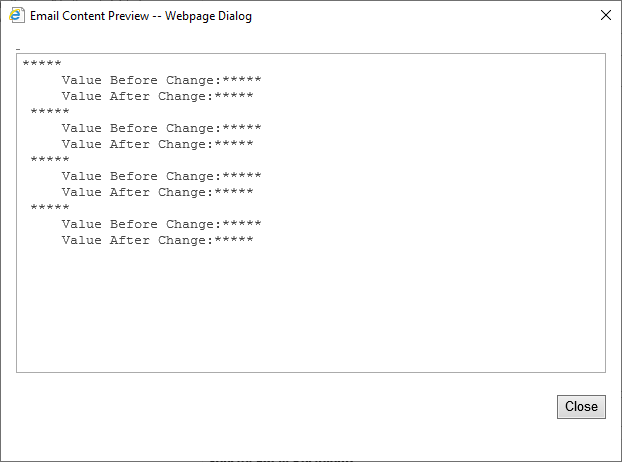
In the Message option we can specify how the email message will look like. By default there is already saved Default Message. To see it we can click on Preview button. After clicking the following window box will appear.
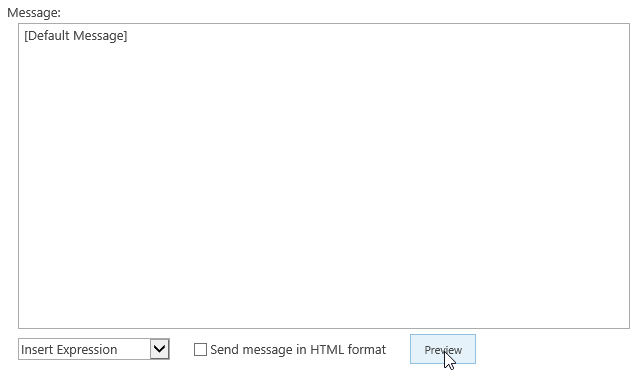
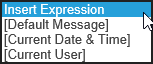
Of course, we can modify the message and add other expressions from Insert Expression drop down menu.
Let's change the message as following.
In Specify Email Recipients, specify who will receive the email. Let’s fill it as following.
Once an user change the AD properties on the Web Part, a confirmaiton email will send to this email address.

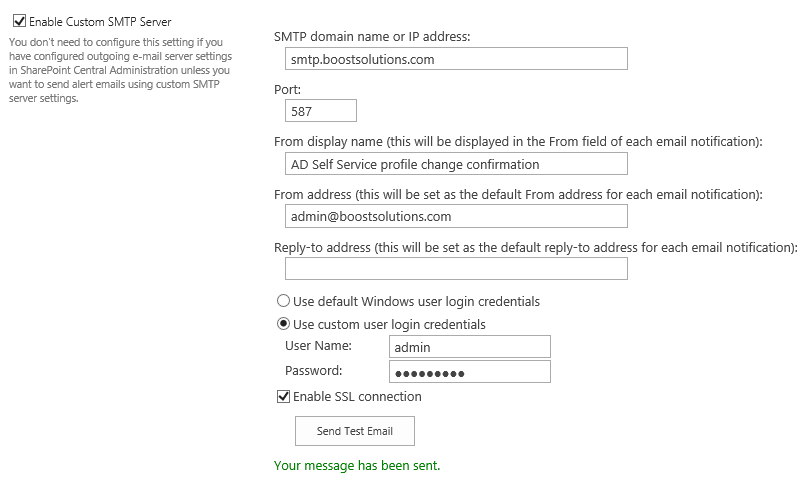
If you want to use custom SMTP server settings, then you will need to configure this section. We will begin with checking the box on the left of the title. After checking it we will be able to configure the settings.
But if you already configure outgoing e-mail server settings in SharePoint Central Administration, you could skip this step.
Click OK to save the settings.
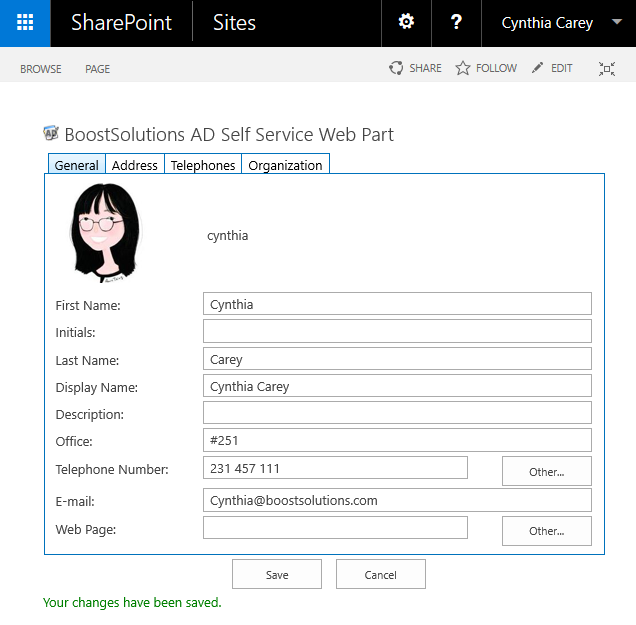
Now log in as user Cynthia Carey and navigate to BoostSolutions site. On the Web Part, change the Office to #251, change the Telephone Number to 231 457 111.
Then a confirmation email is sent to the administrator as following.
