- BoostSolutions
-
Products
-
- Microsoft Teams
- HumanLike Alert Reminder
- View All Apps
- Pricing
- Support
- Company
On the Calendar Rollup Web Part, you can define columns to be displayed in a tooltip interface when a user hovers over events. This allows users to retrieve essential information quickly, without leaving a page.
In this article, we will demonstrate how to customize fields in the event tooltip.
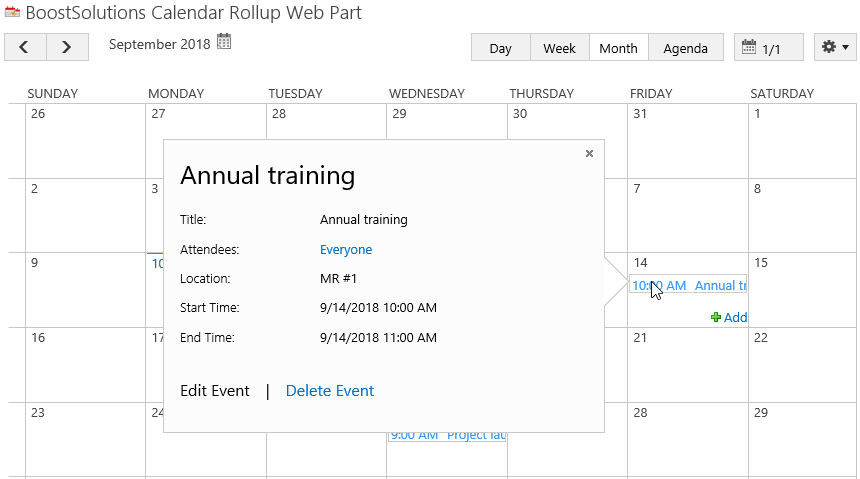
Show tooltip for the event
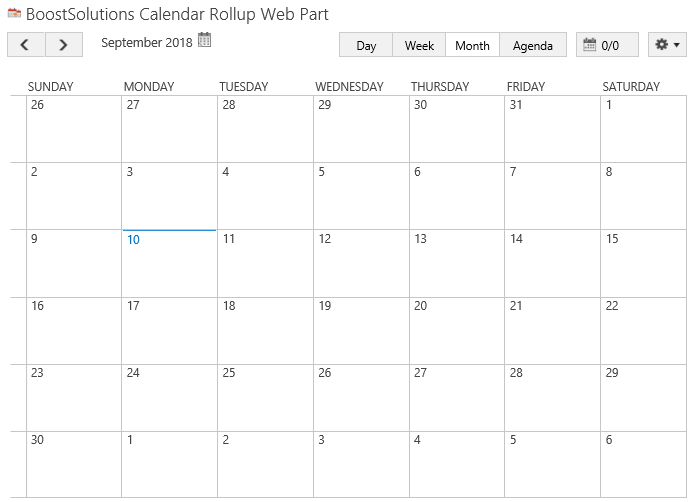
Firstly, add Calendar Rollup Web Part to a SharePoint site as following.
Download the trial version of Calendar Rollup and install it to your SharePoint server.
Navigate to site where you have added the Calendar Rollup Web Part to, on top right of web part, there’s an integrated dropdown menu, select Add Calendar.
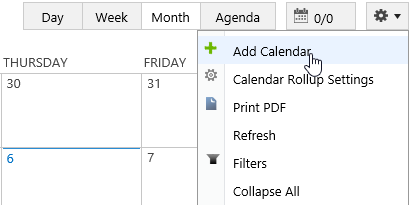
Or, click Calendar Rollup Settings and click Add new calendar in the Calendar Rollup Settings page.
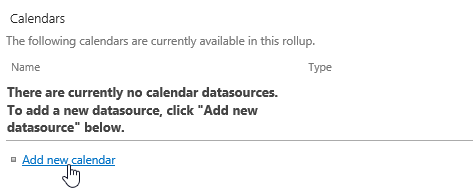
If you already add a calendar on the web part, please skip to the step 6.
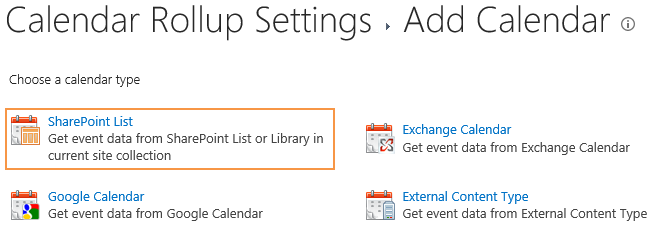
In the Add Calendar page, select the SharePoint list.
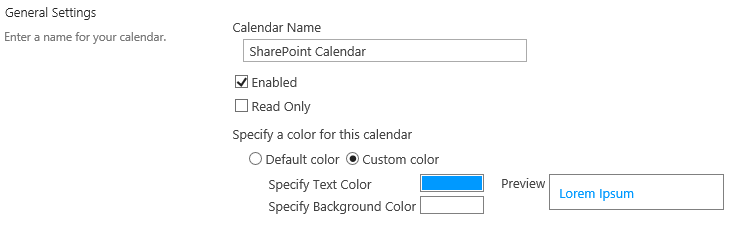
In the Add or Change a Calendar page, in General Settings section, specify a calendar name and customized color as following.
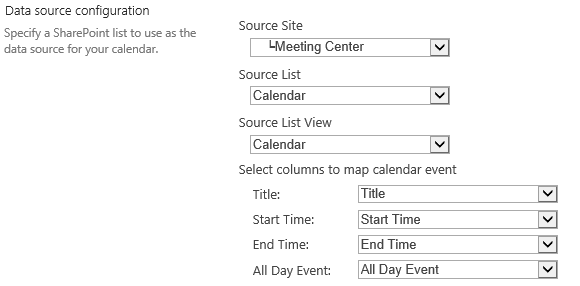
In the Data source configuration section, configure the following settings.
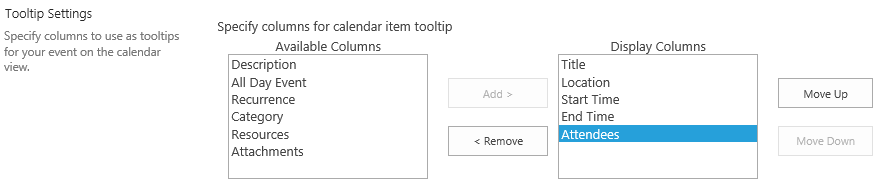
In the Tooltip Settings section, select columns in the Available Columns box and click Add > to the Display Columns box.
Add >
In the Available Columns box, select a column and click the Add > button. Continue until you have added all the columns you would like to use.
< Remove
In the Display Columns box, select a column and click the < Remove button. Continue until you have removed all the columns you would like to remove.
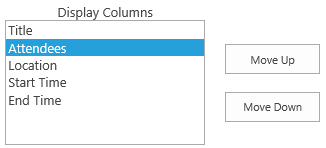
Change column position
In the Display Columns box, select a column and click the Move Up or Move Down button to change a columns position.
In the Display Columns box, select Attendees and click Move Up button to move the Attendees next to the Title column as following.
Keep other settings as default and click OK to add the calendar.
Navigate to the site where the Calendar Rollup Web Part locates and hover the mouse on the event. Then the tooltip will appears as following.
