
- BoostSolutions
-
Products
-
- Microsoft Teams
- HumanLike Alert Reminder
- View All Apps
- Pricing
- Support
- Company
On Calendar Rollup Web Part, you can color code the events based on conditions or values, which helps users easily identify and prioritize information.
In this article, we will demonstrate how to color code events based on event conditions.

The events in different locations are marked as different colors on web part
Firstly, add Calendar Rollup Web Part to a SharePoint site.
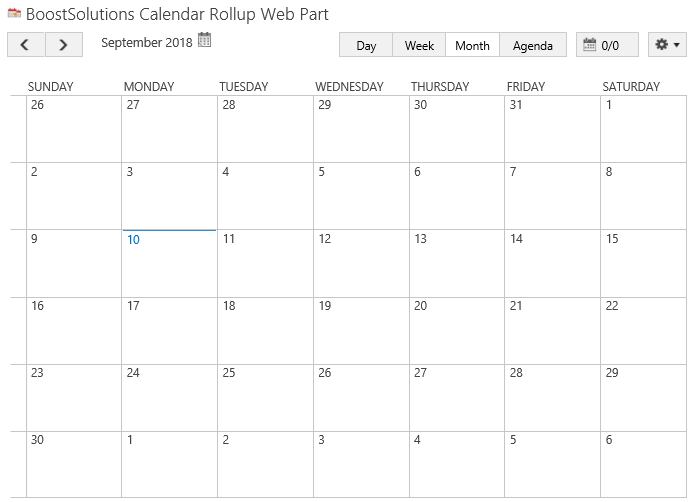
Download the trial version of Calendar Rollup and install it to your SharePoint server.
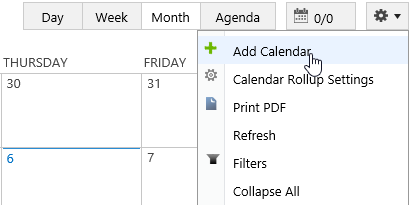
Navigate to site where you have added the Calendar Rollup Web Part to, on top right of web part, there’s an integrated dropdown menu, select Add Calendar.
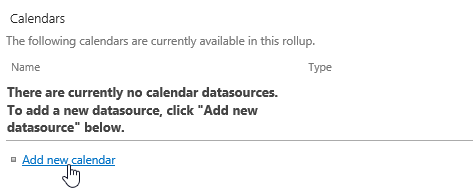
Or, click Calendar Rollup Settings and click Add new calendar in the Calendar Rollup Settings page.
If you have already added SharePoint list on the Calendar Rollup Web Part, please skip to step 6.
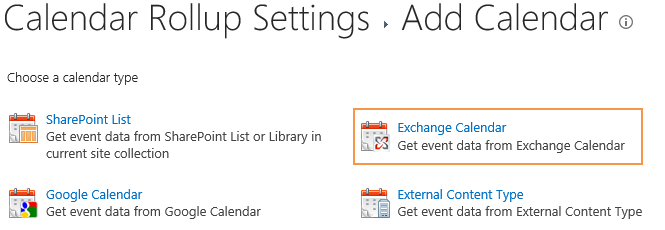
In the Add Calendar page, select the Exchange Calendar.
In the Add or Change a Calendar page, specify a calendar name in General Settings section.

In the Data source configuration section, configure the following settings.
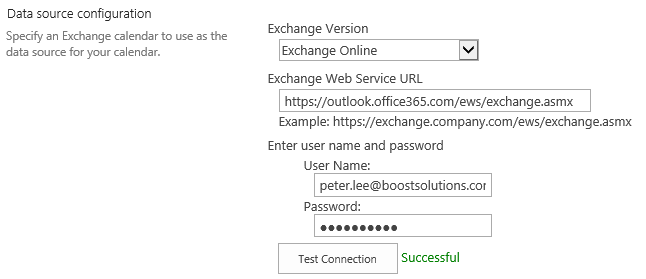
In the Customize Color Scheme section, in Column Name drop-down menu, select Category.
In the Operator drop-down menu, select Is equal to.
In the Value drop-down list, type MR #1.
In the Background Color, click the color block.

When the color picker appears, select one color and click OK.
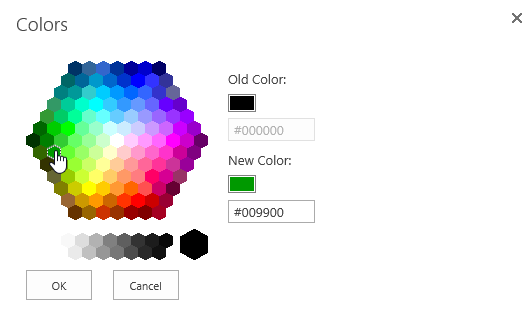
Then you will find that the background color has been changed to the specific color as following.

In the Text Color, click the color block.

When the color picker appears, select one color and click OK.
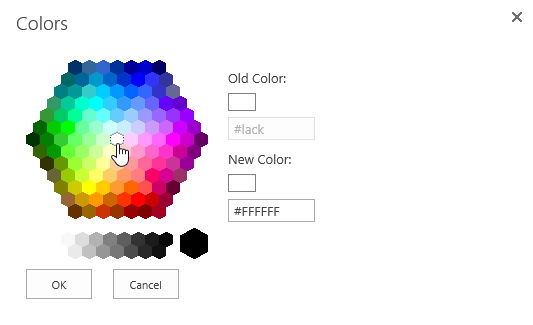
Then you will find that the text color has been changed to the specific color as following.

Click Add color scheme button to add the color scheme as following.

Follow above steps to set the colors for other values.

Keep other settings as default and click OK to add the calendar.
Navigate to the site where the Calendar Rollup Web Part locates, and then you will find that the events in different locations are shown with different colors on the web part.

