- BoostSolutions
-
Products
-
- Microsoft Teams
- HumanLike Alert Reminder
- View All Apps
- Pricing
- Support
- Company
Upcoming Events Snapshot for SharePoint Online allows you to aggregate events from various sources - SharePoint Lists, M365 Groups, Personal Agendas, and Shared Mailboxes - into a single, professional view. This tutorial provides step-by-step instructions on how to configure and use the app.
a. Open the SharePoint page you want to edit and click Edit.
b. Click the + icon and search for "Upcoming Events Snapshot" to add it.
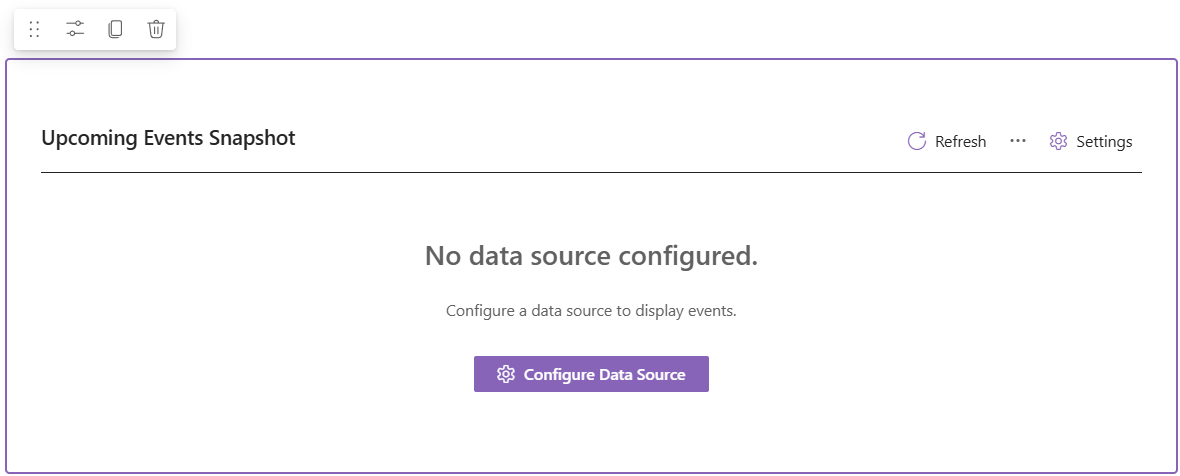
c. Click the Edit web part or Configure Data Source to open the configuration panel.
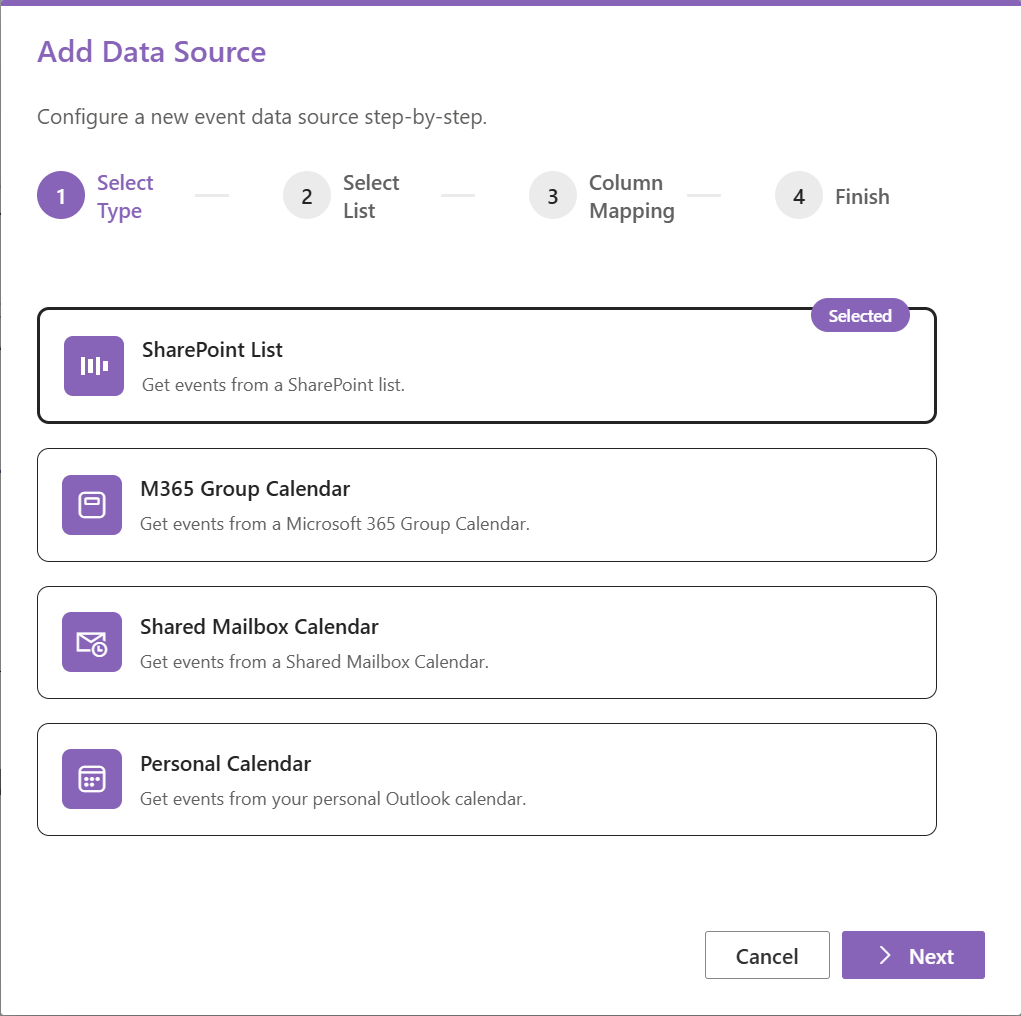
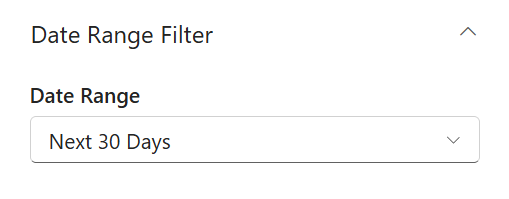
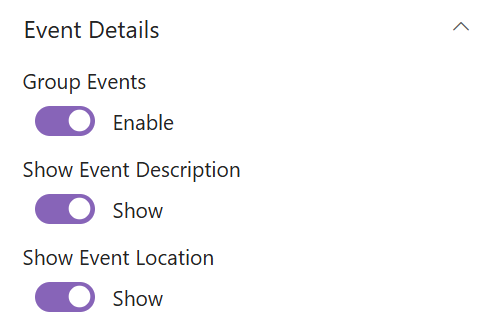
In the Data Source tab, you can select which calendars to roll up:
Tip: You need to grant grahp API permissions for the app to access M365 Group, Personal Agenda, and Shared Mailbox data.
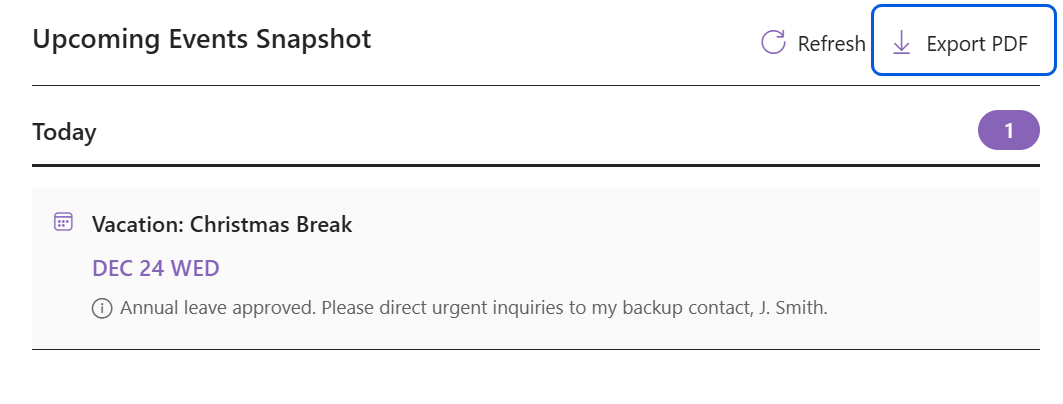
Once the page is published, users can click the Export icon in the top-right corner to save the schedule as a PDF.