- BoostSolutions
-
Products
-
- Microsoft Teams
- HumanLike Alert Reminder
- View All Apps
- Pricing
- Support
- Company
SharePoint List Collection App can collect lists from different sites to display them in a single grid view.
There are two lists on different sites, and they have the same fields. The following tutorial demonstrates how to collect these two lists and manage views/items in one web part.
a. Go to the page where you want to add the List Collection Web Part.
b. If the page is not already in edit mode, click Edit at the top right of the page.
c. Hover your mouse above or below an existing web part and you'll see a line with a circled +, like this:

d. Click '+' and you'll see a list of web parts you can choose from. Click List Collection to add the web part.

If you do not find the web part, type List Collection in the Search box.
After adding a List Collection Web Part, you can now add a SharePoint Online list.
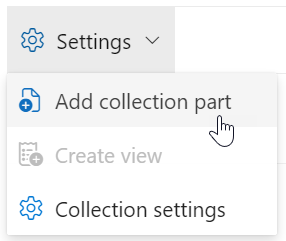
To add a Collection part, you must have at least Design permission level. Click on the List Collection Web Part, and then click Settings > Add collection part.
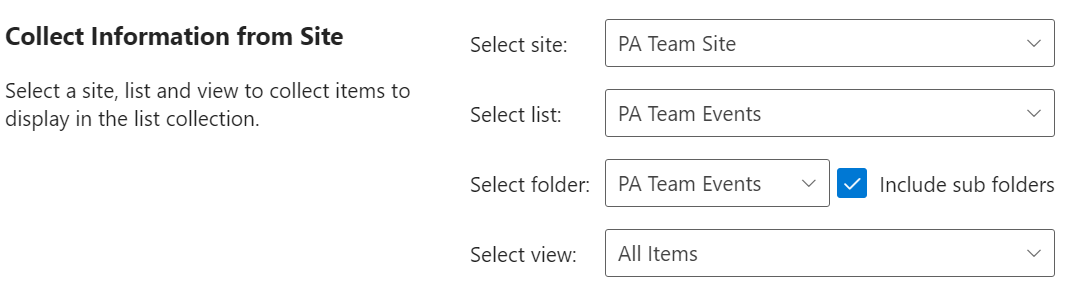
f. In the Add Collection Part dialog, select the site and the desired list, and keep the others as default.
g. Map the columns and select which columns will be displayed on the web part; You can modify the column name and make it show on the List Collection Web Part.
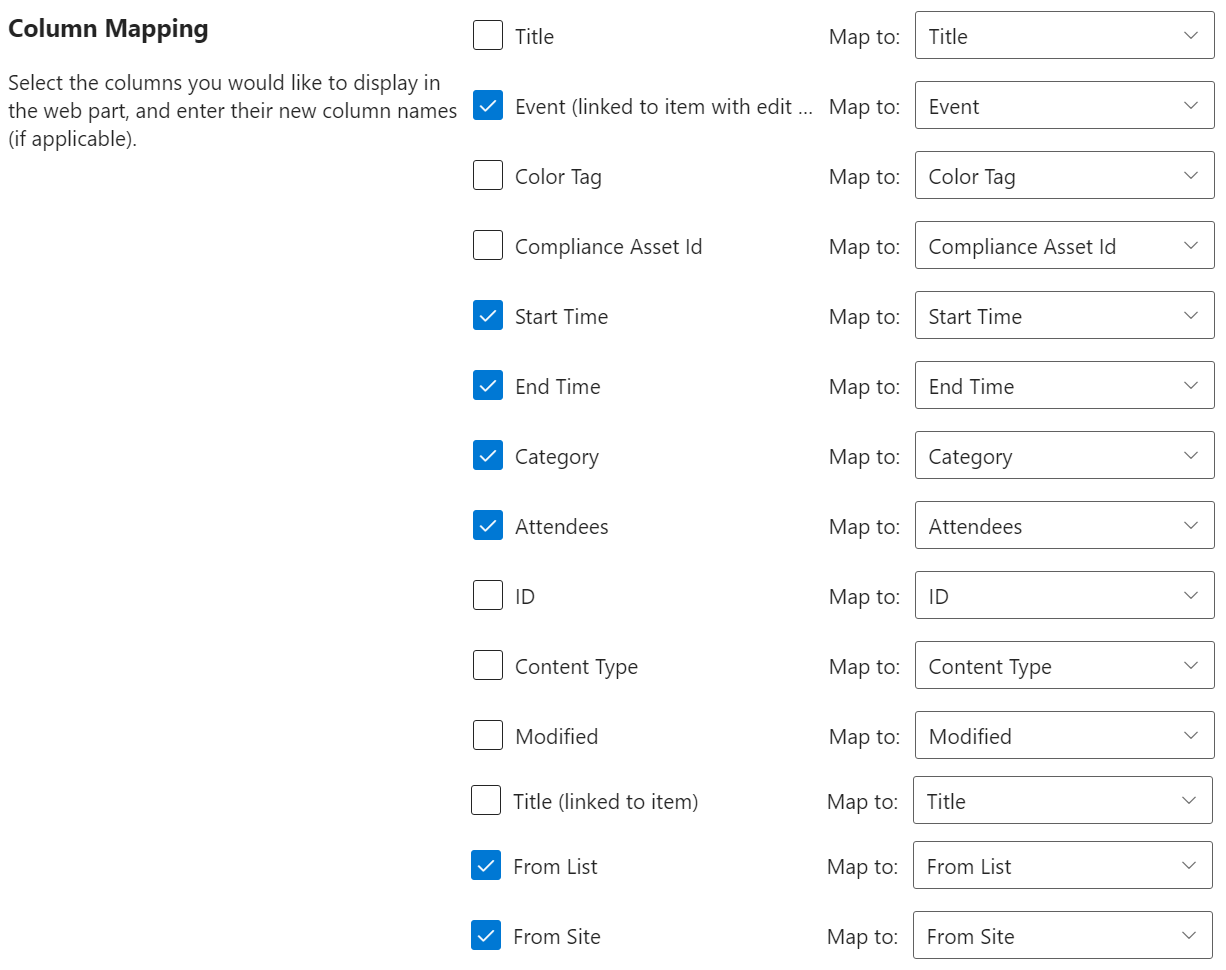
h. Click OK.
i. Repeat the step a to h to add another list on the web part.
On the List Collection Web Part, you can create a view to organize and display the contents of list or library.
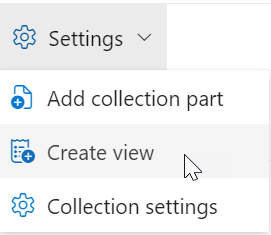
a. Click on the List Collection Web Part, and then click Settings > Create view.
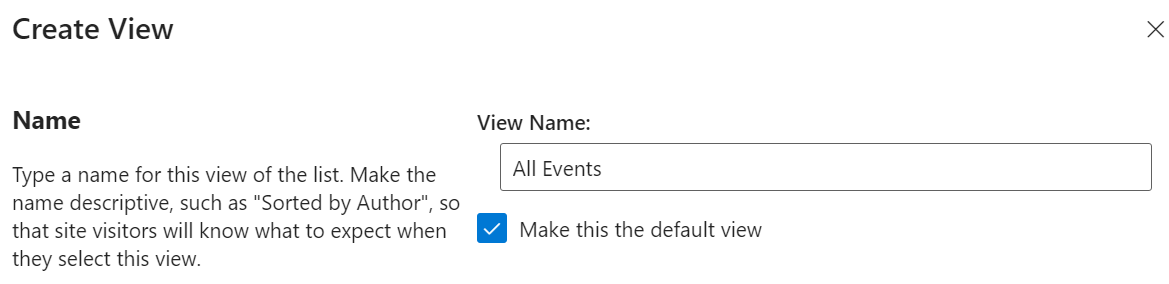
b. In the Create View dialog, give a meaningful name for this view. Select the Make this the default view option if you want to set it as the default view for the List Collection Web Part. Only public view can be the default view for the web part.
c. In the Audience section, under View Audience, select Create a Public View.

d. In the Filter section, select two lists and list views to filter items on the web part.

e. In the Columns section, select or clear the columns that you want or do not want in the view. From the drop-down lists next to the selected columns, specify the order of the columns in the view.

f. In the Edit Menu section, select a desired column from the drop-down list and the Edit Menu will be linked to this column. You can then edit items in the List Collection Web Part.

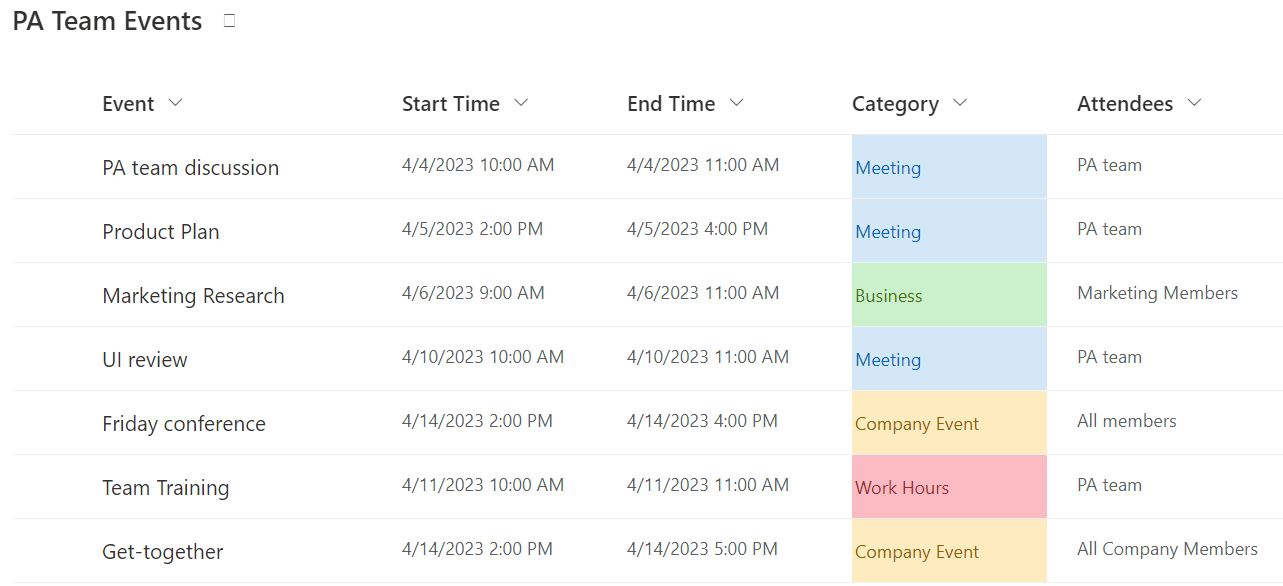
Here we select 'Event' in the drop-down list, the Edit menu will be linked to Event.
g. In the Sort section, set the display order of items in the view.

h. In the Group By section, select a column to group items on the web part.

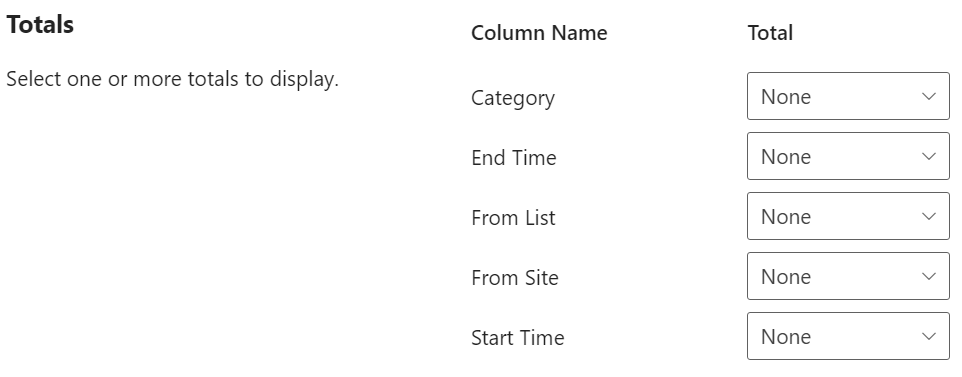
i. In the Totals section, select the column which you want to display summary calculations in the view, such as count, average, maximum, minimum.
j. Click OK to save the settings.
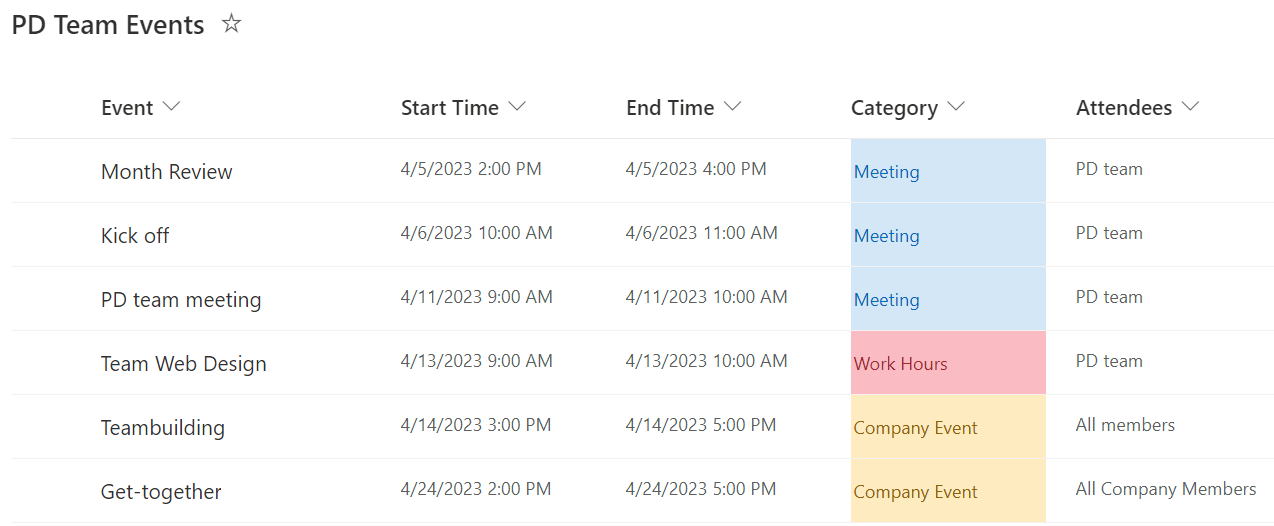
k. The view will be displayed on the web part as shown below.

The List Collection Web Part allows you to add, edit, and delete items in different lists. The original lists will automatically update accordingly.
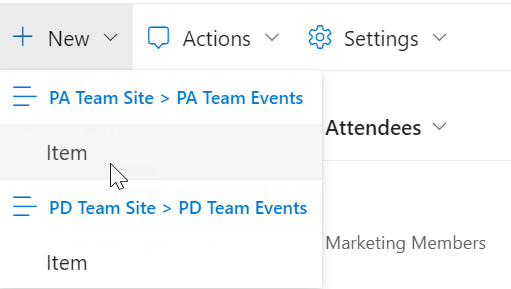
To add an item, choose the desired list from the New menu.
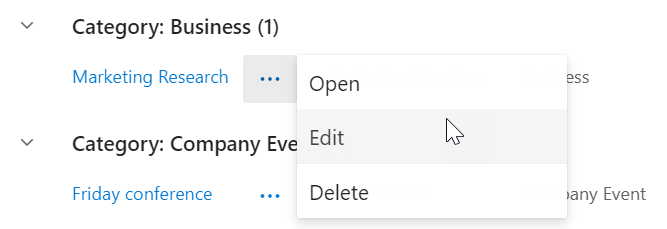
To view, edit or delete an item, click context menu of the target item.