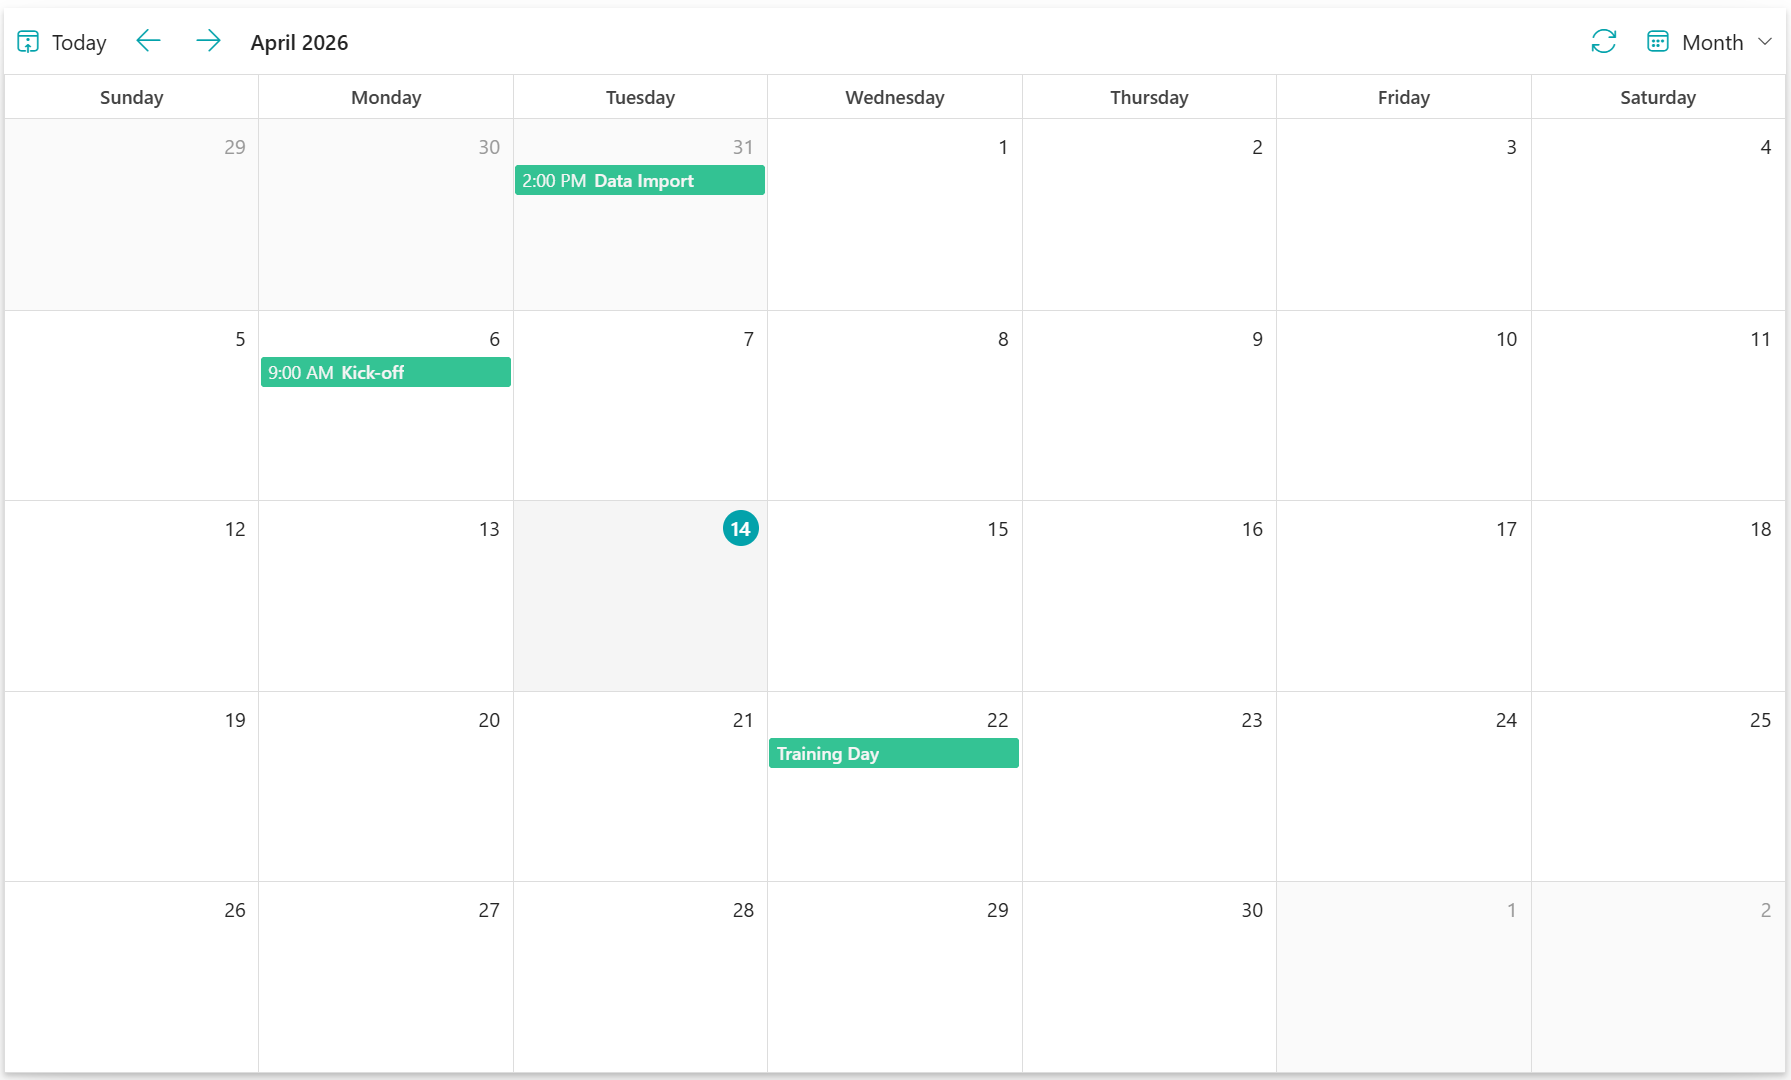
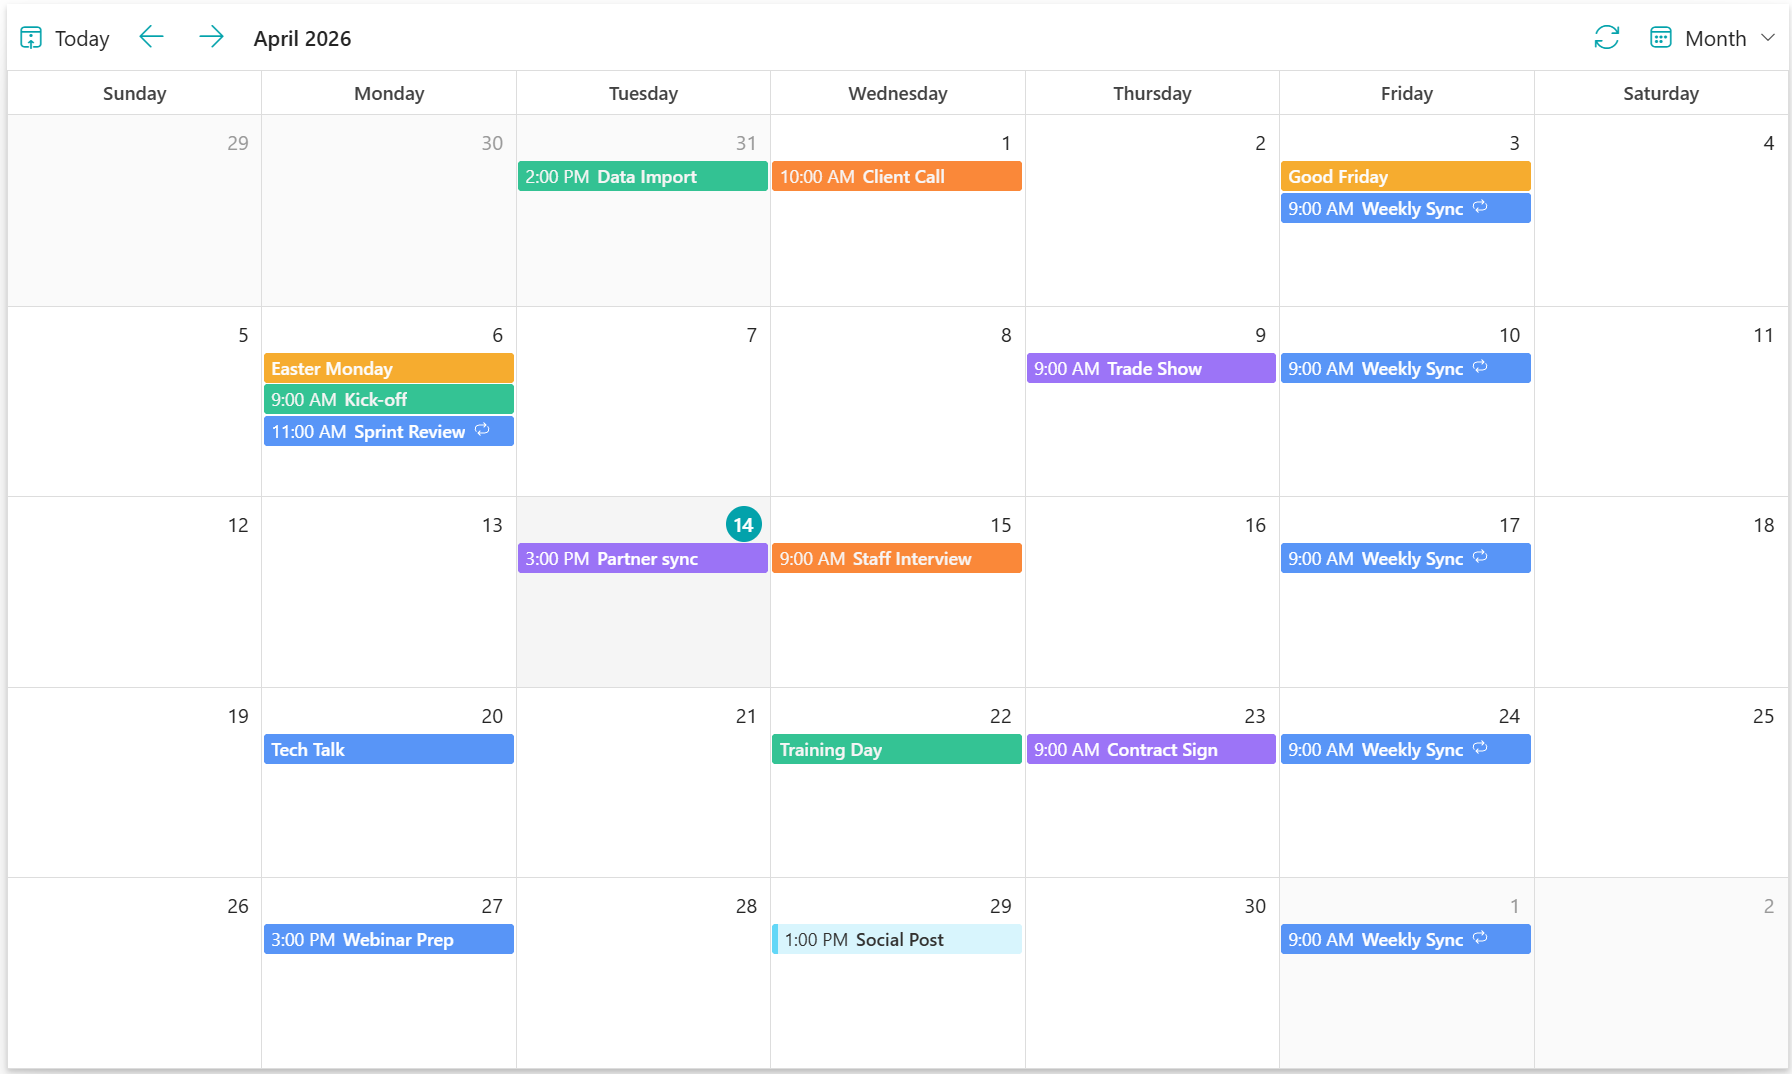
Calendar Rollup is a SharePoint Online Web Part built on the SharePoint Framework (SPFx). It
allows users to aggregate events from multiple calendar sources — and display them together
in a single unified calendar view.
- SharePoint calendars/lists - from the current site or other sites across
the tenant.
- Microsoft 365 group calendars - shared team calendars from Exchange
- Personal Outlook calendars - current logged-in user's personal calendar
- Shared mailbox calendars - calendars from shared Exchange mailboxes
- External web calendars - iCal calendars subscribed through Outlook
Key capabilities:
- Month/Week/Day/Agenda calendar views
- Create, edit, delete events directly in web part
- Color coding to distinguish calendar sources
This tutorial covers installation, calendar setup, and event management. For complete
technical details, see the User Guide
PDF.
Before the app can be added to individual sites, it must be deployed at the tenant level by a
Global Admin:
- Find Calendar Rollup on Microsoft AppSource.
- Follow the prompts to add the app to your SharePoint App
Catalog.
- Ensure the app is marked as Deployed and
Approved in the SharePoint Admin Center to make it available for all
site owners.
Prerequisites
- Browsers: Latest Microsoft Edge, Google Chrome, Mozilla Firefox, or Safari.
- Permissions: You must have Site Owner permissions on the target site.
Add to a SharePoint Page
Follow these steps to add Calendar Rollup as a web part on any SharePoint page:
- Navigate to the SharePoint page where you want Calendar Rollup.
- Click "Edit" button in top-right corner of page.
- Hover your mouse above or below an existing web part until the
+ (plus) icon appears, then click it to open the web part panel.
- Type Calendar Rollup in search box or scroll to find it.
- Click Calendar Rollup to add web part to page.
Add to a Teams Channel
- Open target Teams channel.
- Click + tab next to existing tabs.
- Search Calendar Rollup in Apps list.
- Select the app and click Add.
- Follow the on-screen prompts to complete the tab setup and finalize the
integration.
4.1 Add a SharePoint Calendar
- Click the Edit icon (pencil icon) on the Calendar Rollup Web Part to open
the property pane.
- In the right-side panel, click Next to navigate to the second page of
settings.
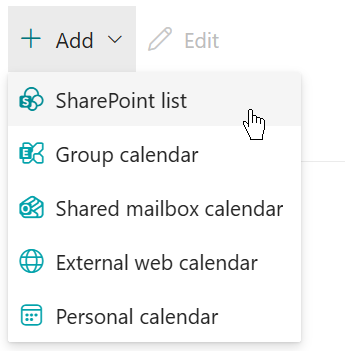
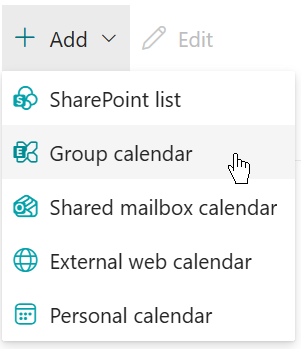
- Click Add and select SharePoint list.
- Enter a descriptive name in the Calendar Name field.
- Toggle this option to prevent end users from creating, updating, or
deleting events via the Calendar Rollup Web Part.

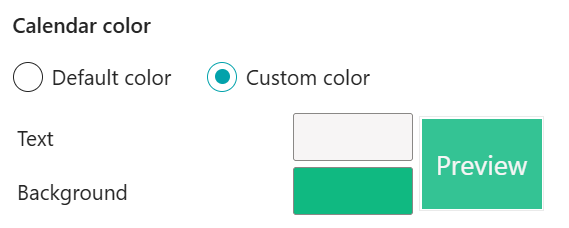
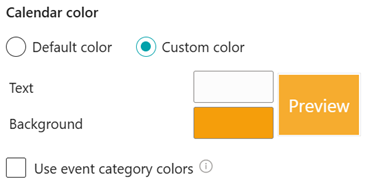
- Specify a custom color for this calendar source or leave it as the default.
- Select the source SharePoint calendar. The app supports cross-site
aggregation within the same site collection.
- Current site: Select a site or sub-site where the
target list or calendar resides.
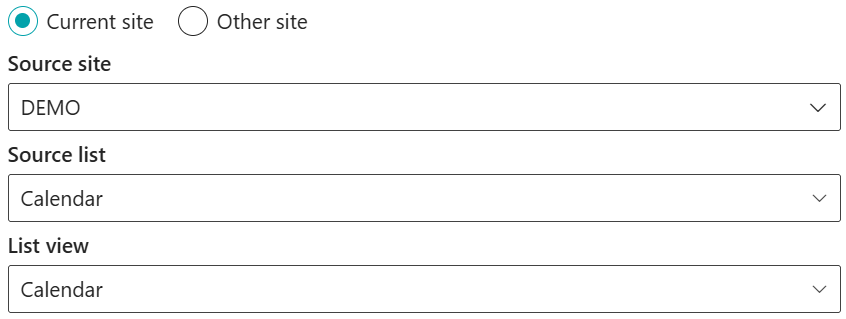
- Other site: Enter the URL of another site within your
SharePoint environment.

- Choose Source list/calendar from dropdown.
- Select List view to filter displayed items.
- Map columns to event fields (Title, Start Time, End Time) - required for
non-calendar lists.
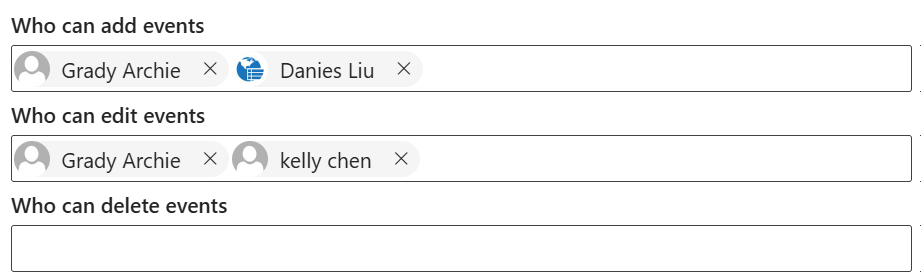
- Define which users or SharePoint groups have permission to Add, Edit, or
Delete events for this specific source.
- Click OK to finalize the configuration and display
the aggregated
events.
4.2 Add a Group Calendar
- Click Add and select Group Calendar.
- In the configuration dialog, enter a descriptive name for the calendar
source.
- Select a calendar from the dropdown list.
- Enable this option to prevent end users from creating, updating, or
deleting events within the Web Part.
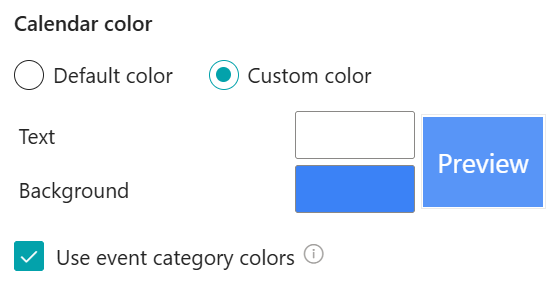
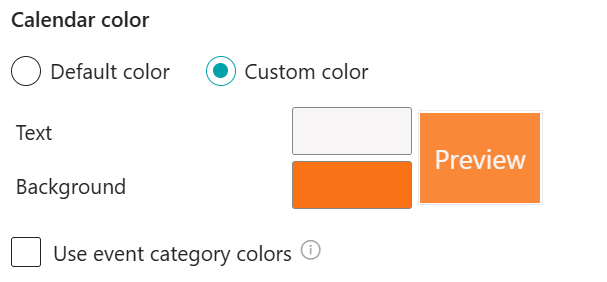
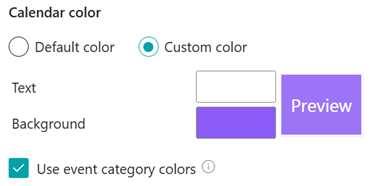
- Specify a custom color for this calendar source. For group calendars, you
can choose to use the Event Category Colors defined in Outlook.
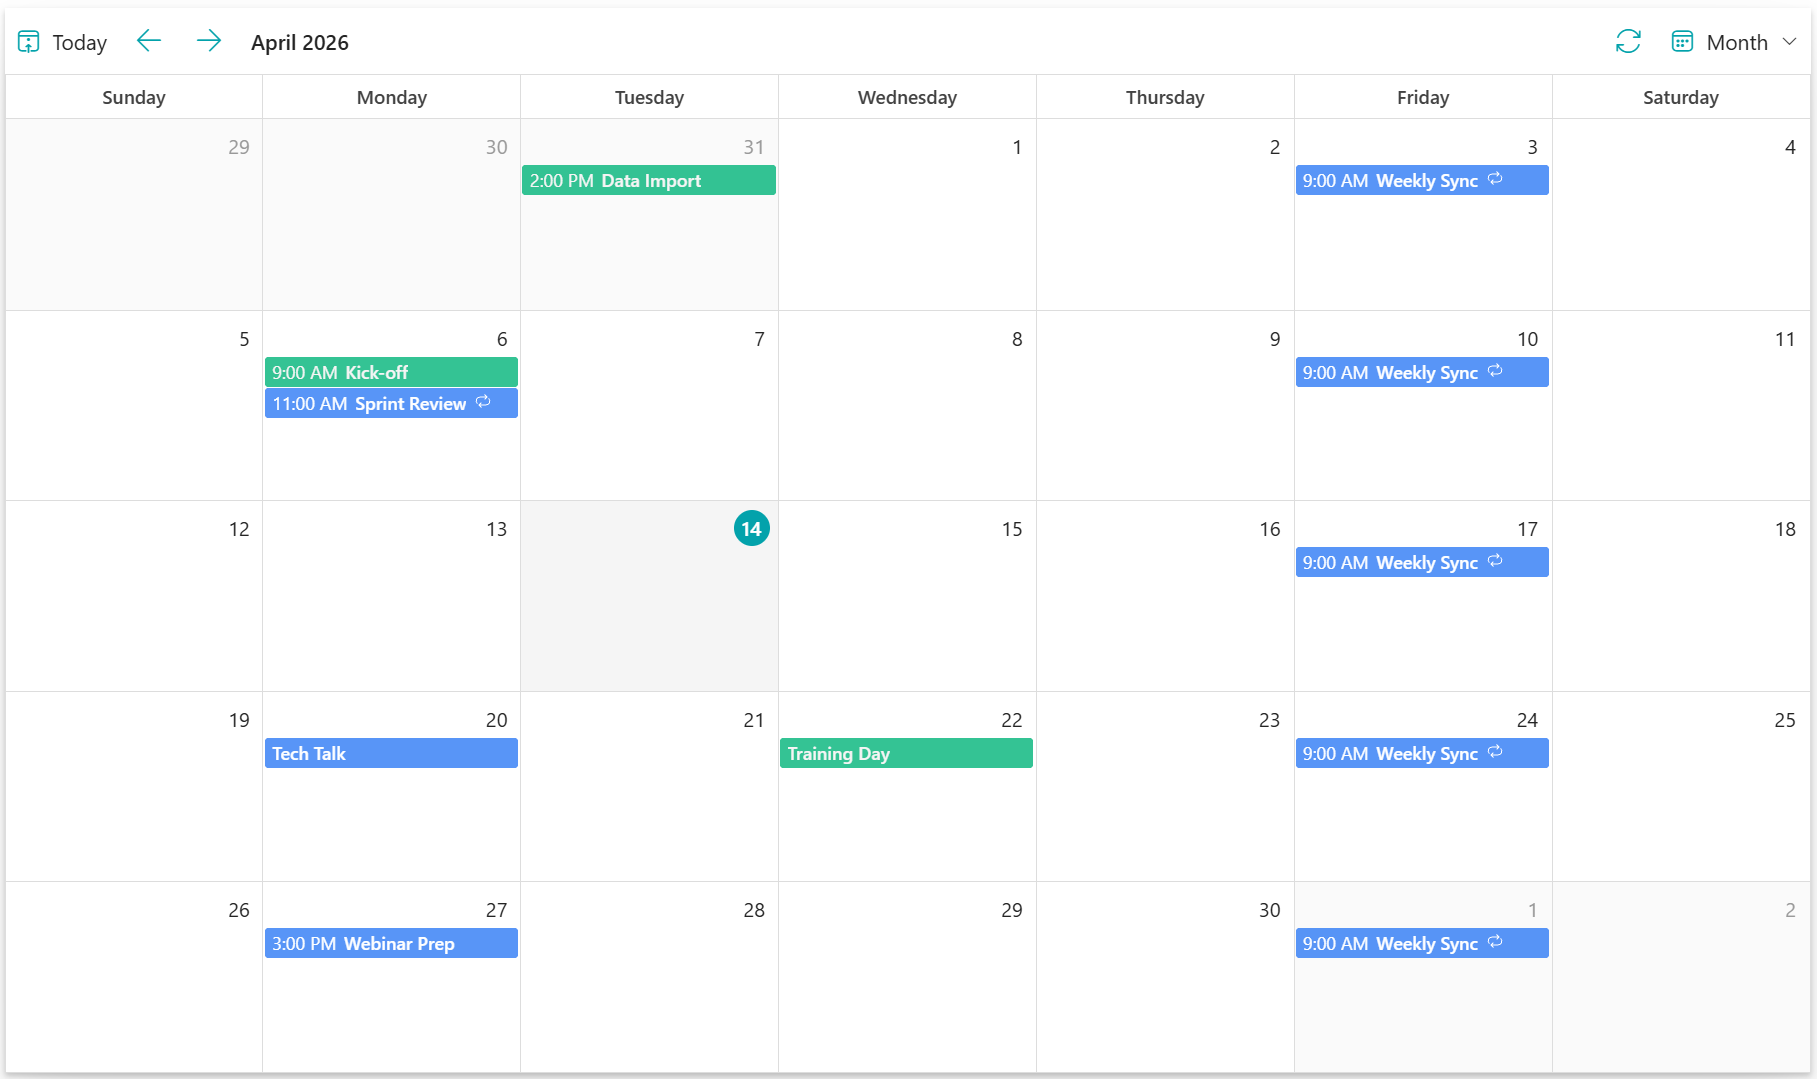
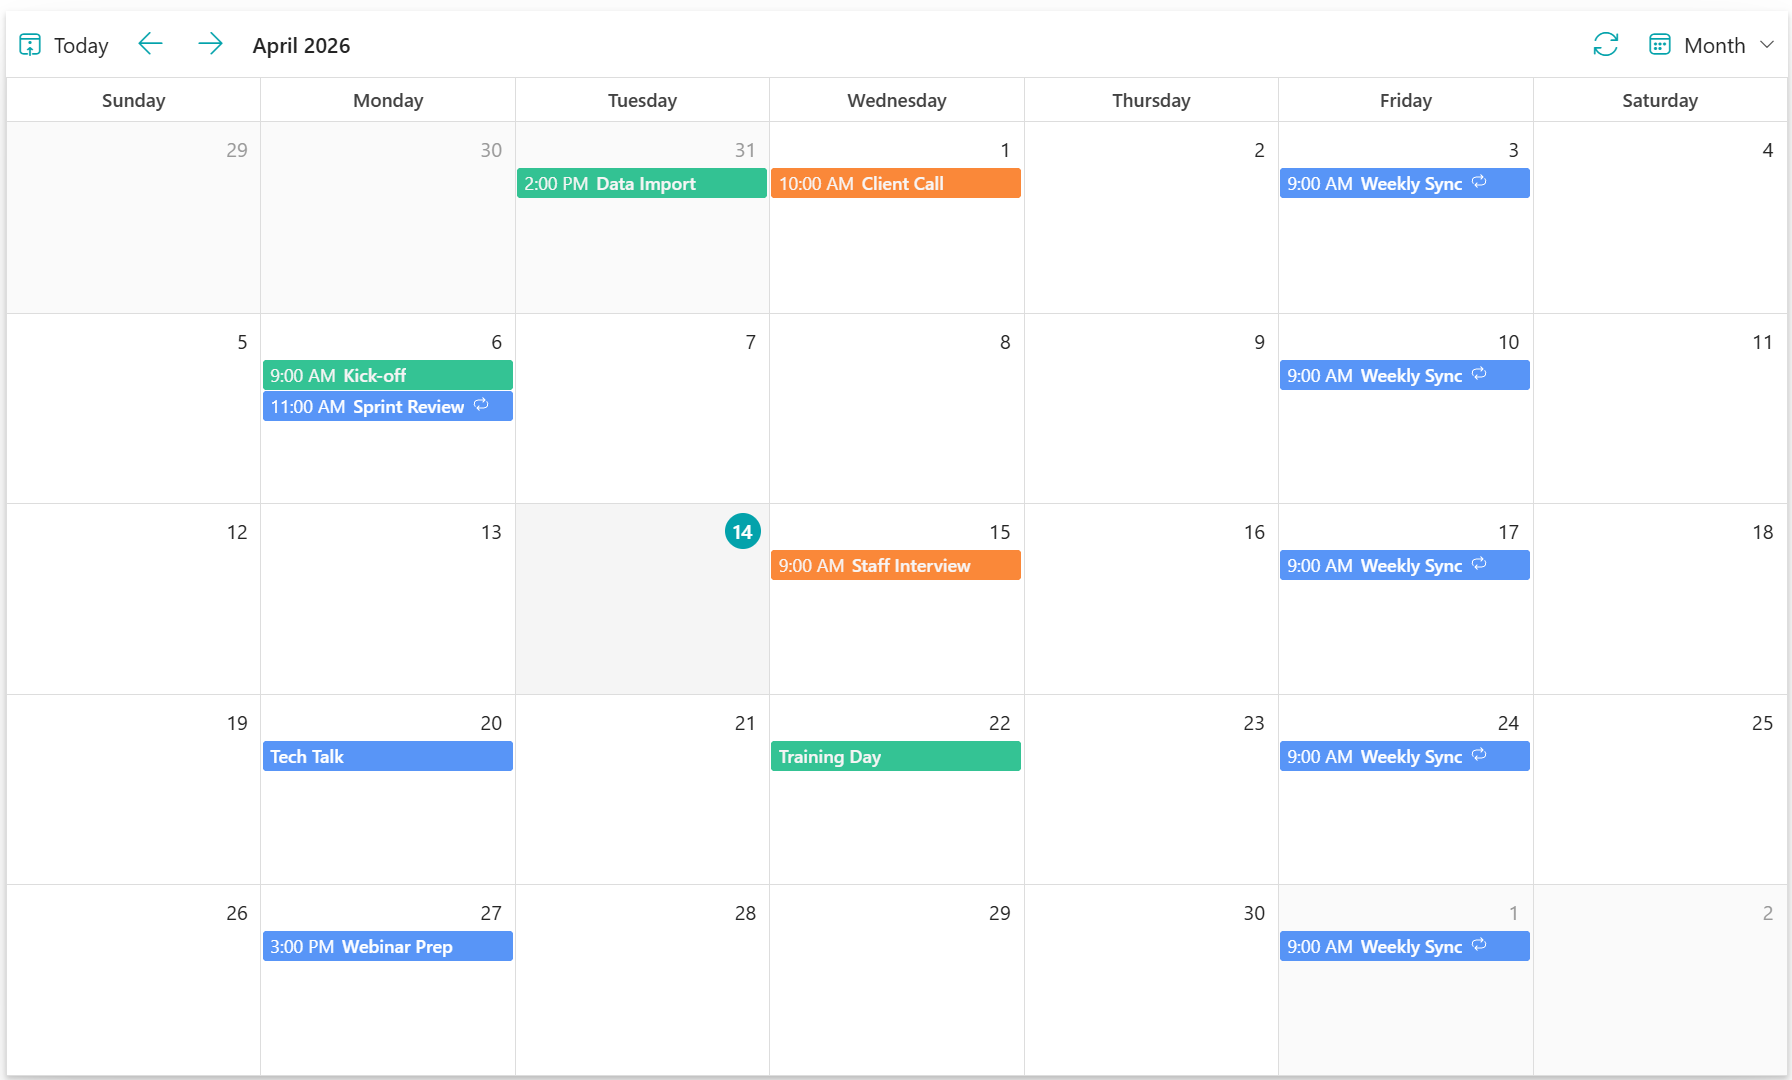
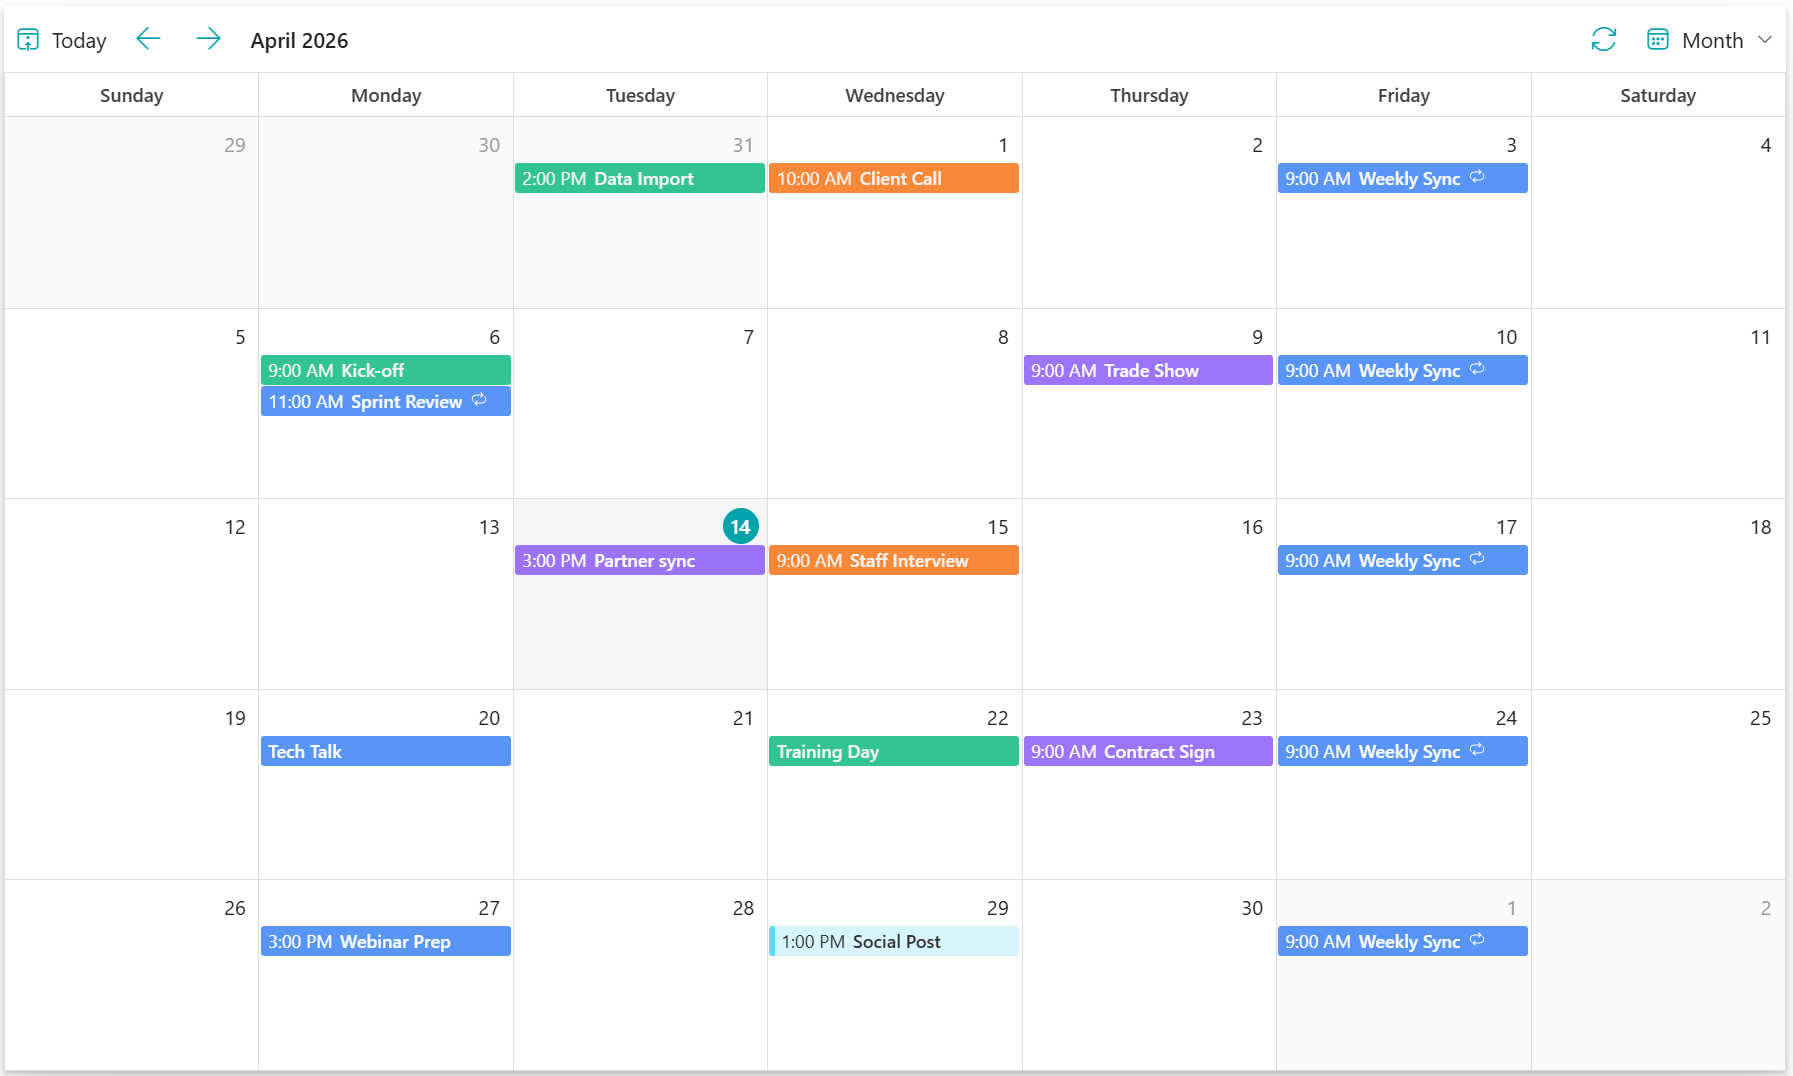
- Click OK to save your settings. The aggregated Group
calendar events will then be displayed in the Web Part as shown below.
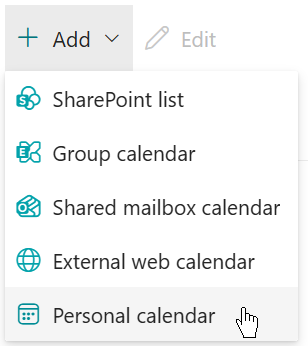
4.3 Add a Personal Calendar
- Click Add, and then select Personal
Calendar.
- Enter a descriptive name for this calendar source.
- Enable the Read-only option if you want to prevent users
from creating, updating, or deleting their personal Outlook events directly through the
Web Part.
- Specify a color to represent the calendar resource.
- Click OK to save the configuration. The events from the
personal calendar will now appear in the Web Part. As noted, the content is
user-specific: if "Adele" logs in, she will only see her own calendar events.
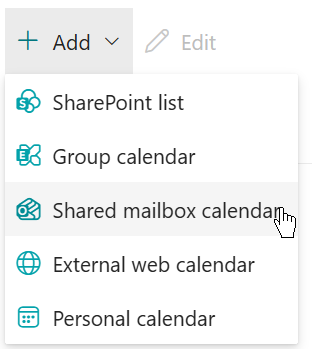
4.4 Add a Shared Mailbox Calendar
- Click Add and then select Shared Mailbox
Calendar.
- In the configuration dialog, enter a descriptive name for this calendar
source.
- Enter the email address of the Shared Mailbox.
- Enable this option to prevent end users from creating, updating, or
deleting events within the Web Part.
- Specify a color to represent the calendar resource.
- Click OK to save the configuration. The events from the
shared mailbox will now be aggregated and displayed in the Web Part, as shown below:
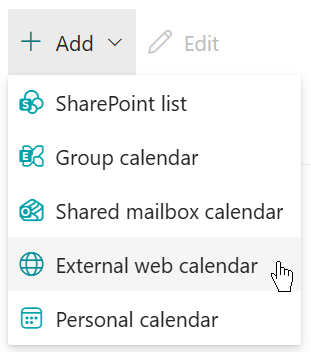
4.5 Add an External Web Calendar
Pre-requisite: To sync an external calendar, you must first subscribe to it via Outlook Web
(Navigate to 'Add Calendar' > 'Subscribe from web').
- Click Add, and then select External Web
Calendar.
- Enter a descriptive name for this calendar source.
- Input the email address where the external calendar is subscribed and
hosted.
- Select the specific external calendar from the External calendar dropdown
list.
- Specify a color to represent the calendar resource.
- Click OK to save your settings. Events from the external
web calendar will now be automatically aggregated and displayed in the Web Part.
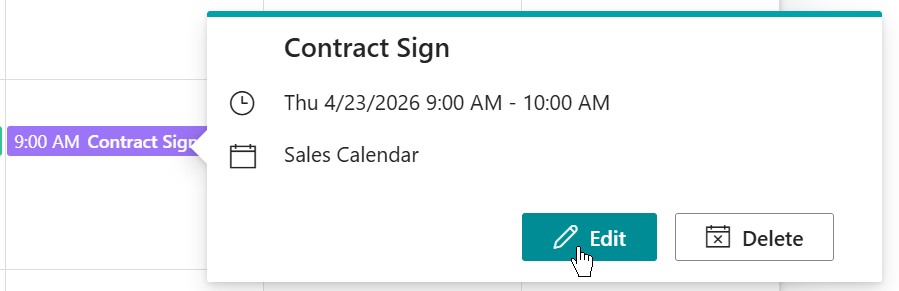
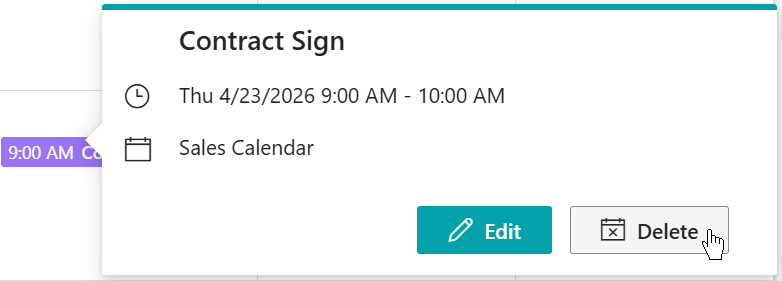
5.1 View Event Details
Click any event chip in the calendar to open a detail callout (pop-up). The callout provides
a quick overview:
- Event Basics: Title, time (including "All day"), location,
and attendee list.
- Context: Source calendar name and recurrence status.
- Smart Actions: A Join button for Teams meetings, plus
Edit/Delete options (subject to permissions and source type).
- Full View: Click View event details for a comprehensive
information display.
5.2 Create an Event
- Double-click a date cell (Month view) or a time slot (Week/Day view) to open the New
event form.
| Field |
Description |
| Calendar |
Select the target source; calendars where you lack "Add" permissions are automatically disabled. |
| Title |
(Required) Enter a name for the event. |
| Time Settings |
Set start/end times or toggle All-day event to hide specific hours. |
| Description |
Supports rich text (bold, links, etc.) depending on the source list's compatibility. |
| Recurrence |
Set up a repeat schedule. (See Section 7 for details) |
| Attendees |
People picker for adding attendees. |
| Team Meeting |
Toggle to add a Teams link. Important: Cannot be disabled once the event is saved. |
| Category / Show As |
Define your availability (e.g., Busy, Out of Office) or assign Outlook categories. |
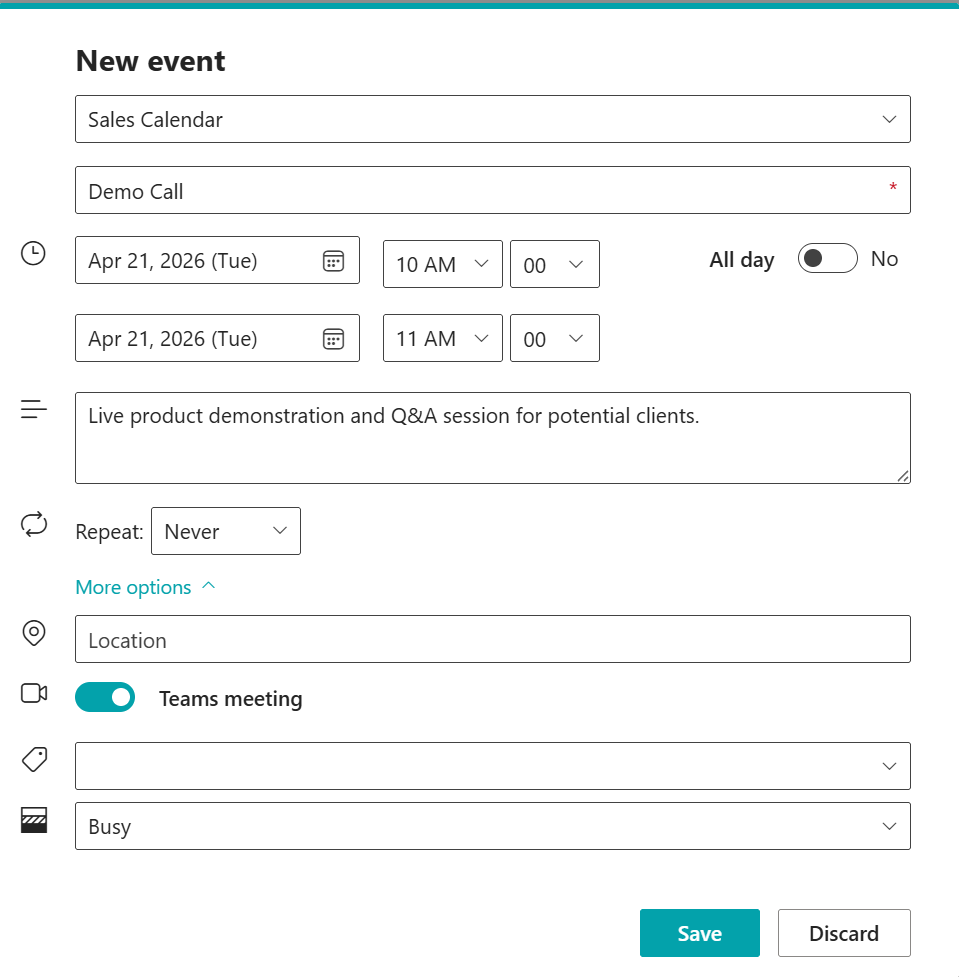
- Click Save to create the event. The calendar refreshes and the
new event appear.
5.3 Edit an Event
- Locate the event on the Web Part.
- Click the event and select the Edit (pencil) icon in the
tooltip.
- If the event is part of a series, you will be prompted to edit only This
event or All events in this series.
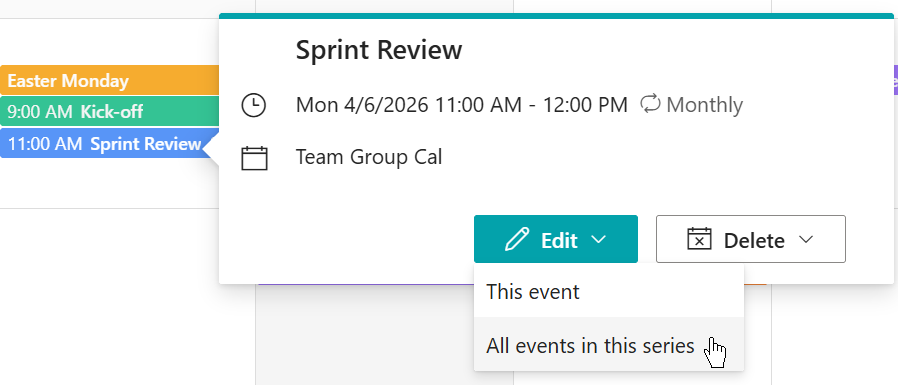
- Edit details for this event and click Save.
5.4 Delete an Event
- Click the target event on the Web Part.
- Select the Delete icon in the dialog/tooltip.
- If the event is a series, you can choose whether to delete all events in this series.
- A warning message will appear. Click OK to confirm.
Warning: This action cannot be undone. The event will be deleted from the underlying SharePoint list or Exchange mailbox.
