- BoostSolutions
-
Products
-
- Microsoft Teams
- HumanLike Alert Reminder
- View All Apps
- Pricing
- Support
- Company
When you compose a Word template in BoostSolutions’ Document Maker, the calculation functions enable you to compute a sum, count, average, minimum and maximum, also you can insert the formula in the template. All of these can help you to create an intelligent template, not just pulling data from SharePoint list fields.
This article will explain how to use calculated functions and insert formula in a Word.
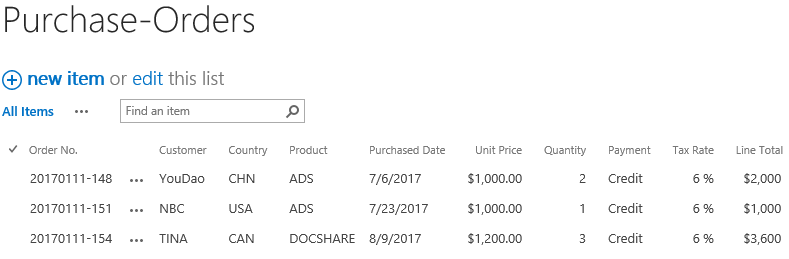
There is a SharePoint list named as Purchase-Orders, the list includes these columns and items as following.
Firstly, download the trial version of Document Maker and install it to your SharePoint server.
And then install Document Maker add-on in Word application.
Navigate to the Purchase-Orders list.
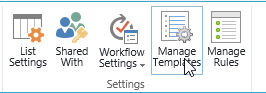
Under LIST tab, click Manage Templates in Settings group.
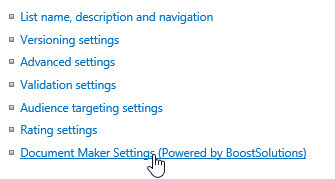
Or, in the List Settings page, click Document Maker Settings under General section.
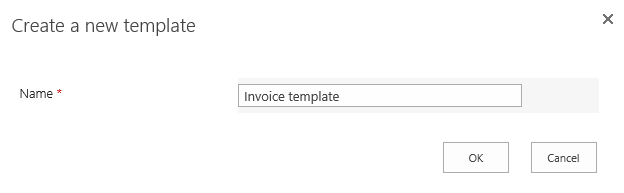
In the Document Maker Settings page and click Create new template.

When the create a new template dialog appears, type a name for it, such as Invoice template, and then click OK.
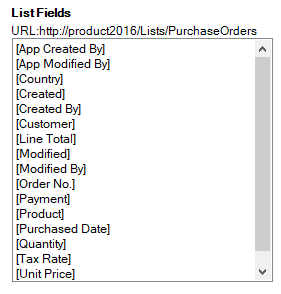
And then the Word template opens, you will find that fields of Purchase-Orders list are listed on the left panel as following.
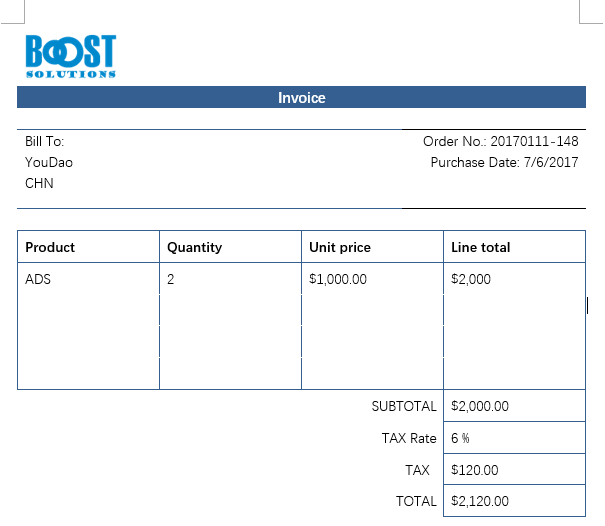
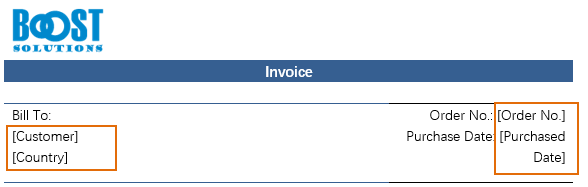
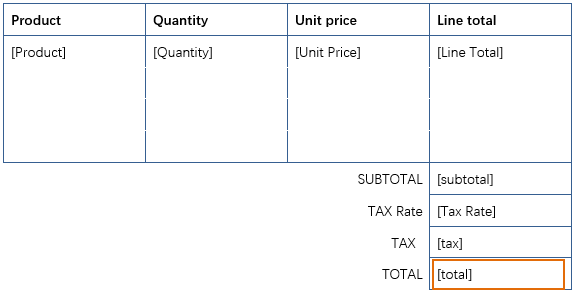
In the invoice template, we compose the content as following.
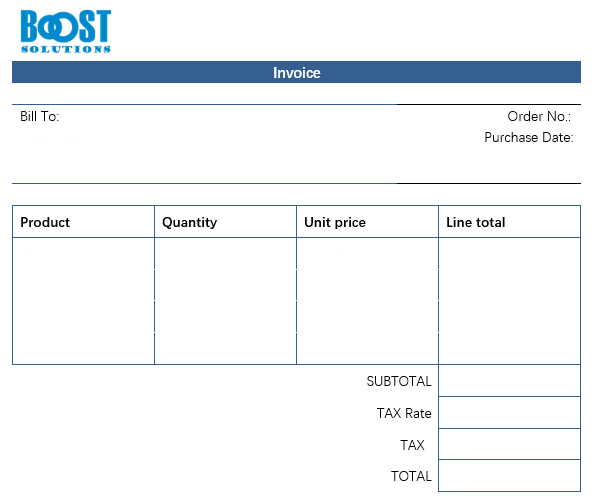
In the template, move the cursor to the header and insert [Customer], [Country], [Order No.] and [Purchased Date] in the template as following.
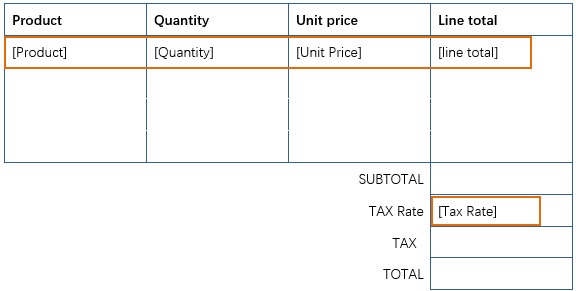
Then, we insert other list fields [Product], [Quantity], [Unit Price], [Line Total] and [Tax Rate] into other positions in the Word template as following.
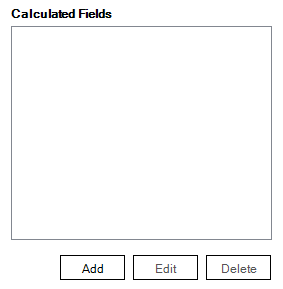
On the left panel, in the Calculated Fields section, click Add button.
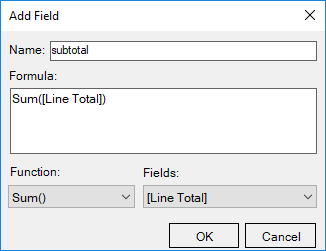
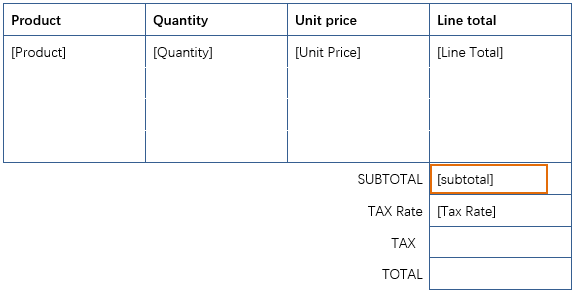
When the Add Field dialog appears, type a name for it – subtotal.
Move the cursor to the Formula textbox, click Sum() from the Function drop-down menu, move the cursor in the brackets, and select [Line total] from Fields drop-down. This subtotal field will compute the sum of [Line total] field.
And then, insert this [subtotal] field next to SUBTOTAL cell as following.
On the left panel, in the Calculated Fields section, click Add button.
When the Add Field dialog appears, type a name for it – tax.
Move the cursor to the Formula textbox, specify the formula as this.
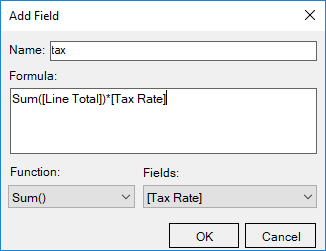
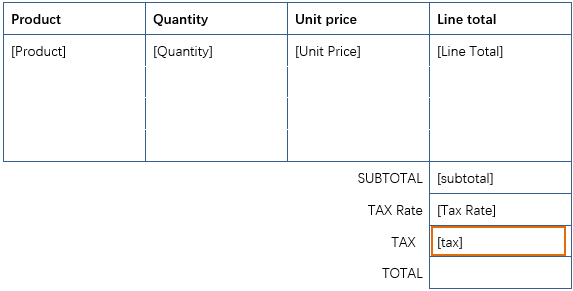
In the cell next to the TAX, insert the calculated field [tax].
On the left panel, in the Calculated Fields section, click Add button.
When the Add Field dialog appears, type a name for it – total.
Move the cursor to the Formula textbox, specify the formula as following.
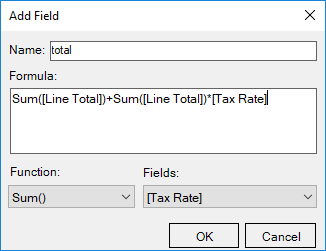
Insert the field [total] to the table cell which is next to the TOTAL as following.
Now, a Word template is done. When you generate the document based on this template, the corresponding values of list fields will be inserted into the specified positions.
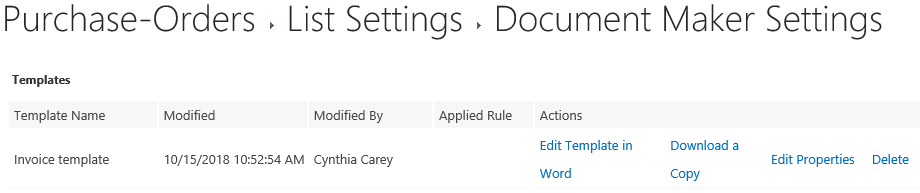
Save the template and click Word application. And then you will find a template is created in the Document Maker Settings page as following.
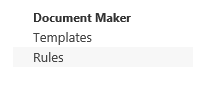
In the Document Maker Settings page and click Rules on the left panel.
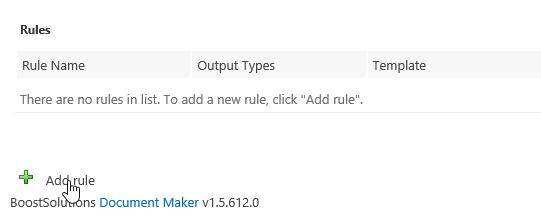
And then click Add rule.
In the Add rule page, specify a name this rule, such as rule for invoice.
In Select Template section, select Invoice template, which means that the document will be generated using this selected template.

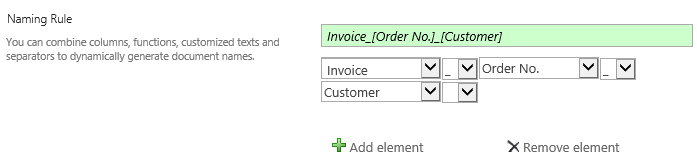
In Naming Rule section, specify the name as following.
In Date Format section, select (Default SharePoint Format). The date format for the generated document will be same as the SharePoint format.

In Output Types section, select DOCX. The document will be generated as Word document, you can also select other output types.

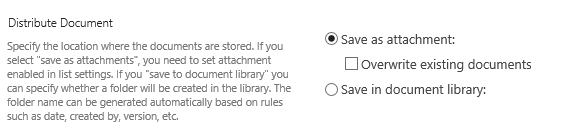
In Distribute Document section, select Save as attachment option, which means that the generated document will be saved as attachment to the corresponding item.
In Merged Document Generation section, unselect Enable option.
Click OK to save the settings for this rule.
And then, you will find that a rule is created in the Document Maker Settings page.

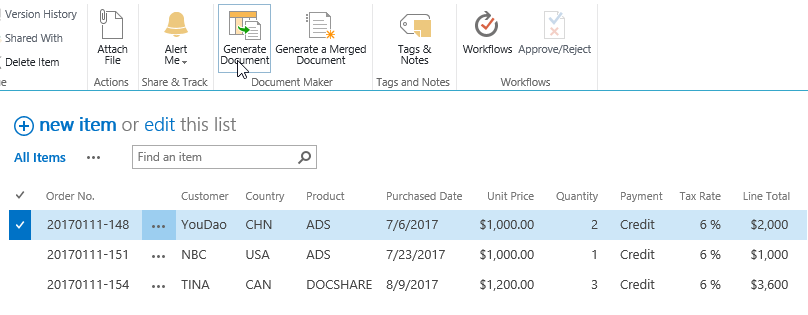
Navigate to Purchase-Orders list, select one item (20170111-148), under ITEMS tab and click Generate Document in Document Maker group.
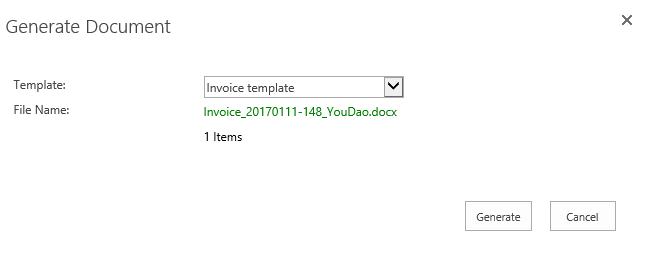
When Generate Document dialog appears, in Template section, select Invoice template. In File Name section, you will see that the file name is generated based on the rule as following.
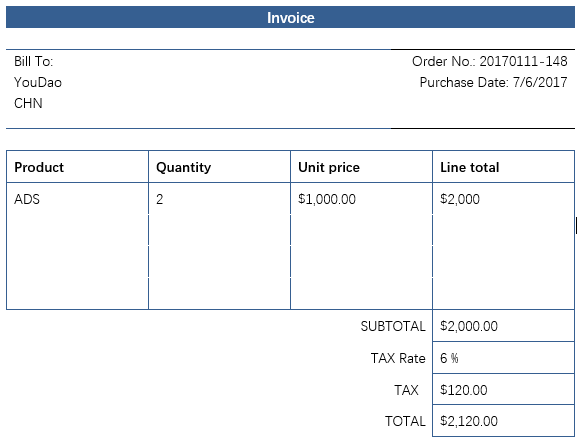
Click Generate button. Wait for a few seconds, and then the document is generated in DOCX format as following.
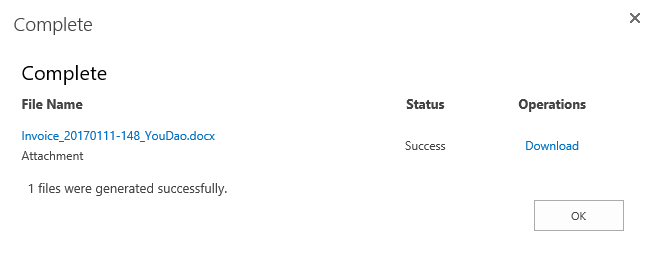
Here, click Download to save the generated document to local computer and check the generated document.
In the document, the calculated fields will show the results of calculations as following.