- BoostSolutions
-
Products
-
- Microsoft Teams
- HumanLike Alert Reminder
- View All Apps
- Pricing
- Support
- Company
When you are using Excel Import to import data from an Excel spreadsheet to a SharePoint list, you may need to import various data type to different list columns, SharePoint lookup column is one of them.
In this article, we will demonstrate you how to import values to a SharePoint lookup column.
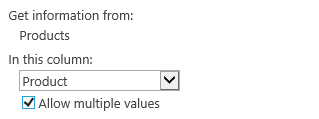
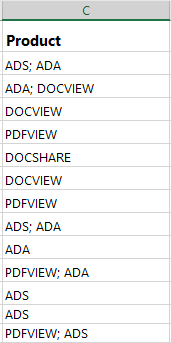
The values of Product column are imported to the SharePoint Lookup column “Product” list
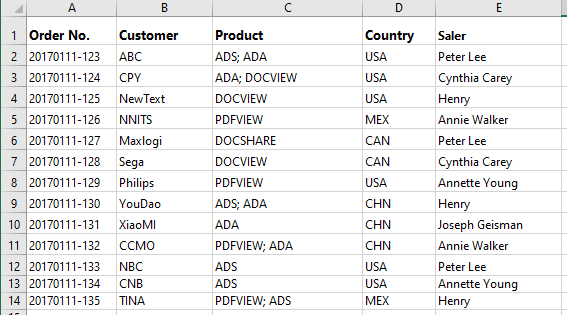
And there is an Excel file named as Orders, the Excel file contains the order details as following.
Firstly, download the trial version of Excel Import and install it to your SharePoint server.
Open the Orders Excel spreadsheet, and separate the values of Product column with “; ” as following, and save the spreadsheet.
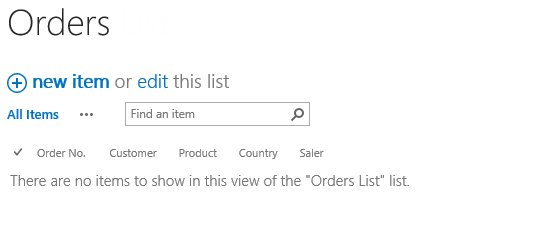
Navigate to the Orders list.
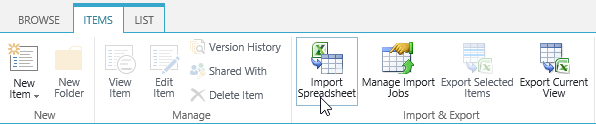
Under ITEMS tab, click Import Spreadsheet command in Import & Export group.
When the Import from Spreadsheet dialog appears, click Browse… button to choose the Orders file already prepared.
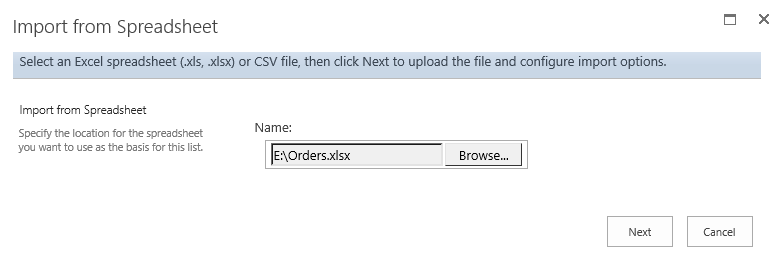
Click Next button.
In the Import from Spreadsheet dialog, configure these import options.
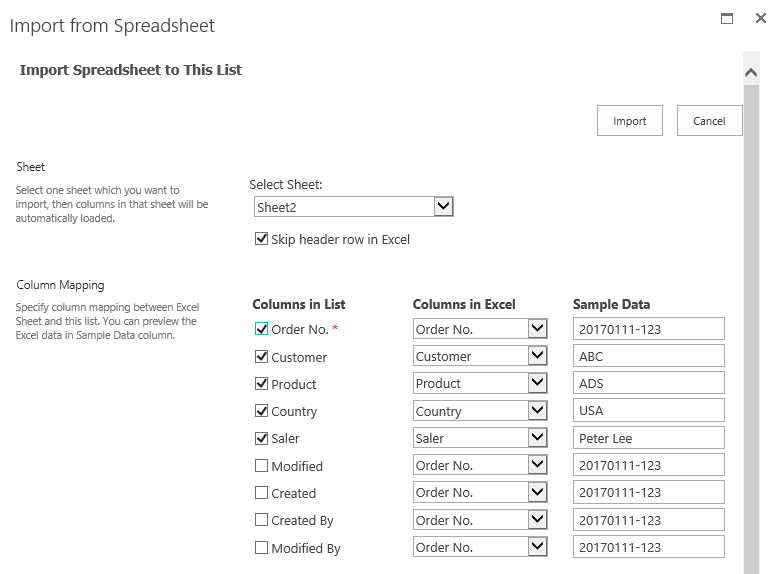
In the Sheet section, select USA to import. And select Skip header row in Excel option to skip importing header row into the list.
In the Column Mapping section, select these columns (Order No., Customer, Product, Country and Saler) to import to the list.
Keep other settings as default and click Import button.
After importing process finished, click Close button.
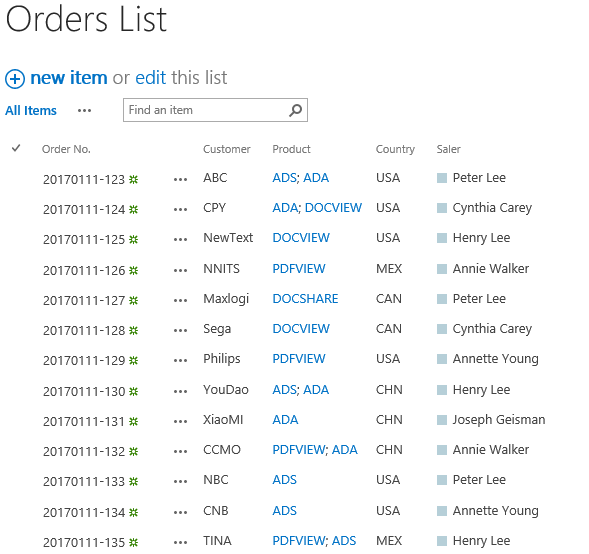
Go to the Orders list, you will find that the values are imported to the Product column (which is a SharePoint Lookup column) as following.
