- BoostSolutions
-
Products
-
- Microsoft Teams
- HumanLike Alert Reminder
- View All Apps
- Pricing
- Support
- Company
SharePoint AD Information Sync provides a quick and convenient way to synchronize information from Active Directory to SharePoint lists based on a profile; you can synchronize information manually or automatically by schedule. AD Information Sync supports two-way synchronization where changes made in list can be synced to Active Directory and vice versa.
For more details about AD Information Sync, please check the AD Information Sync User Guide.
To configure the settings of AD Information Sync, ensure you have the following permissions: Manage Web Site, Manage Lists, Add Items, Edit Items, Delete Items and View Items.
2.1. Enter AD Information Sync Settings page
a. Click Settings and then click Site Settings.
b. On the Site Settings page, under BoostSolutions Software, find AD Information Sync settings and click on it to access AD Information Sync settings page.
On the AD Information Sync Settings page, click Create Profile.
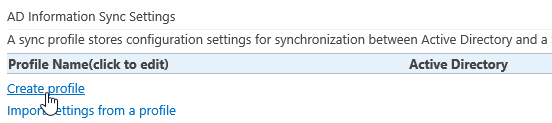
In the Create Profile page, configure the following settings:
In the Profile Name section, enter a name for your profile.

In the List section, select a SharePoint list in which you want to store your Active Directory information.

You can sync Active Directory information to these list types: Custom List, Task, Calendar, Announcement, Custom List in Datasheet View, Issue Tracking, Project Tasks and Discussion Board and Contacts.
You can also sync information to SharePoint User Information List.
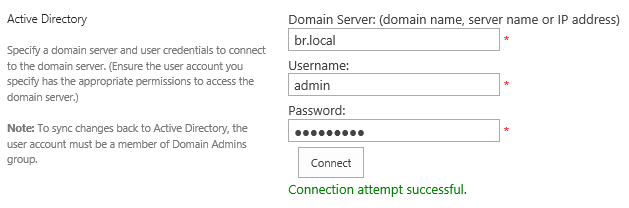
In the Active Directory section, specify user credentials to connect to a domain server as follows:
a. Specify the domain name, server name or IP address of the Domain server in the Domain Server text box.
b. Specify the username and password.
c. Click Test Connection to test whether the connection is successful.
In the Filter section, you can choose what AD objects should be synchronized. AD objects can be filtered based on Organizational Units or by entering LDAP query sentences.
Note: If you do not select either of these options, all information in the domain will be synchronized to the list. Also, regardless of whether you select an option or not, you must select an Object type from the drop-down list (User, Contact, Computer or User & Contact).
To filter information by Organizational Unit:
Select the Filter by Organizational Unit option and select the organizational units that you want to synchronize.

Select the object type you want to synchronize, User, Contact, Computer, or User & Contact.

Follow these steps to filter information by LDAP query:
a. Select the Enable Query option and configure the query string. You can create a query filter using Custom Search or Enter LDAP query.
Custom Search
The Custom Search option allows you to add multiple conditions to filter information.
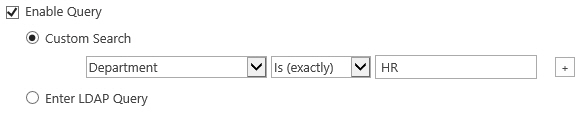
i. In the first column, select an Active Directory attribute.
ii. In the second column, select an operator.
iii. In the third column, specify a value.
iv. To add more filter strings, click  and
specify the logic operator (And or Or).
and
specify the logic operator (And or Or).
v. To remove the filter string, click 
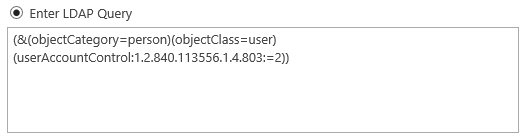
Enter LDAP Query
The Enter LDAP Query option allows you to enter LDAP statements.
In the Column Mapping section, select an AD attribute from the drop-down list and map to the SharePoint list column. The AD attribute value is stored in the column after synchronization.
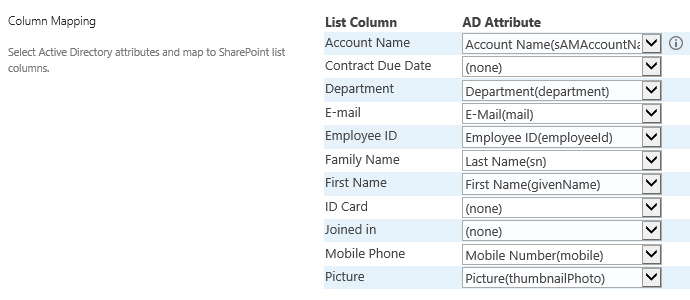
To sync the photo attribute to a non-contact list, you must map the photo attribute to a list column (Hyperlink or Picture) as follows:

If the photo is not shown in the list after synchronization, make sure the Format URL as option is set to Picture.
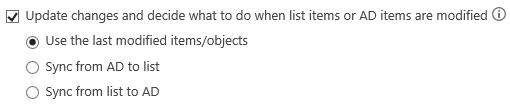
In the Sync Options section, specify whether to create or delete list items when AD objects are created or deleted, or how to sync changes when information is modified in Active Directory or SharePoint.

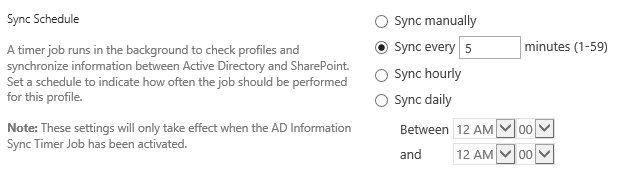
The Sync Schedule section allows you to specify if information is synced automatically in the background based on a sync schedule.
In the Sync Schedule section, you can specify the synchronization schedule as follows:
a. In the Log section, select Enable logging.
In the Sync Schedule section, you can specify the synchronization schedule as follows:

c. To view logs, click the View Logs button.
Once a profile is created, you can sync the information manually. To run a sync profile, follow these steps:
a. Go to the AD Information Sync Settings page and find the profile you want to run. Click Sync Now.
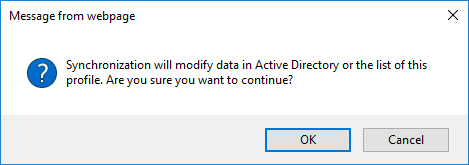
b. A confirmation message will appear. Click OK to continue.
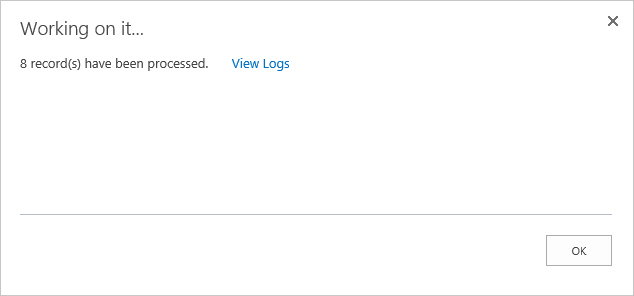
c. After the synchronization is completed, a pop-up window will open highlighting the Synchronization Status. In this window, you can click View Log to view the details of the synchronization.
d. Click OK to close the window.
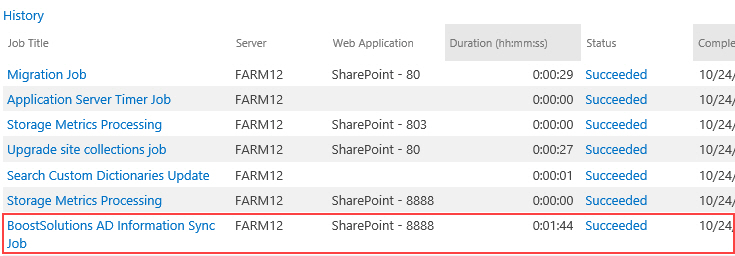
By default, the sync schedule is set to Sync manually. To perform synchronizations automatically, you must specify sync schedule by minutes, hourly or daily in the Sync Schedule section in the profile.
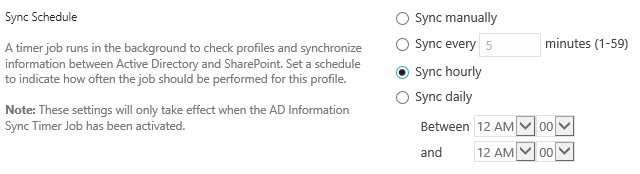
A timer job will run in Central Administration and sync the information based on the schedule you set.