- BoostSolutions
-
Products
-
- Microsoft Teams
- HumanLike Alert Reminder
- View All Apps
- Pricing
- Support
- Company
Alert Reminder Boost sends detailed, fully customizable alert notifications to users whenever an item is created, modified, or deleted. Changes are highlighted in the notification and reminder notifications are automatically sent at customizable intervals.
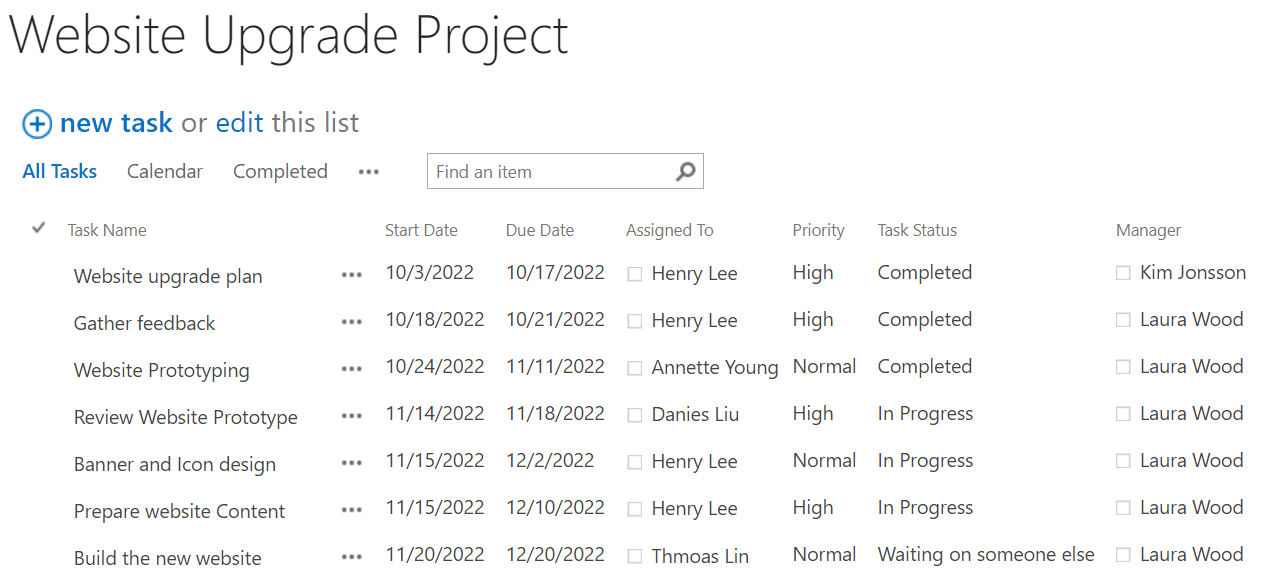
This is a task list tracking the tasks progress with these details: start date, due date, priority, status, assignee, and manager.
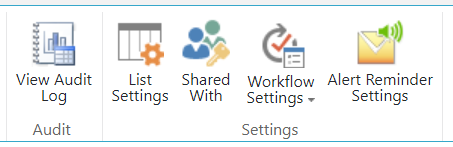
After you install Alert Reminder Boost on the SharePoint Server, you will find Alert Reminder Boost on the Ribbon.
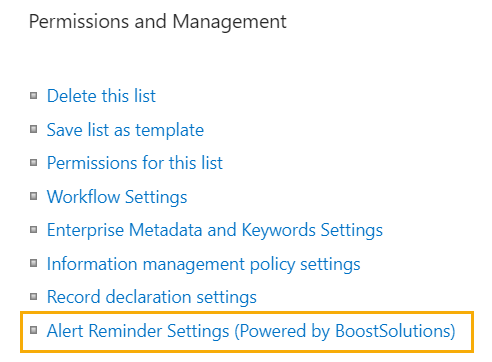
Or go to the list settings and find the entry Alert Reminder Boost under the Permissions and Management section.
Using either method, enter the Alert Reminder Settings page. On this page, you can manage Alert and Reminder items. There are two tabs, one for Alert and one for Reminder. You can view the following information for Alert or Reminder on this page: Title, Delivery Method, Status, Modified, and Modified By.
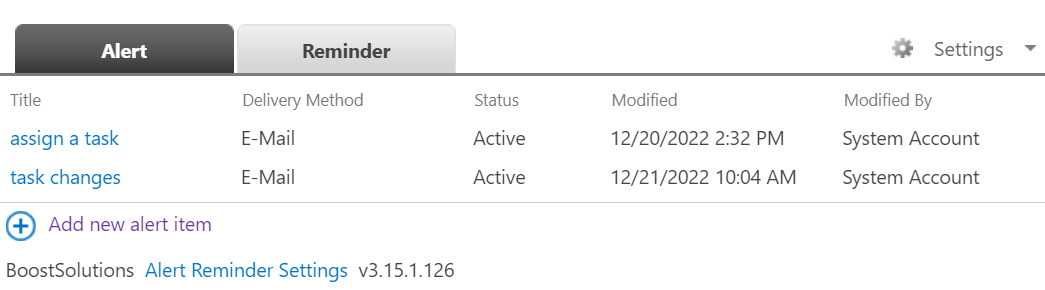
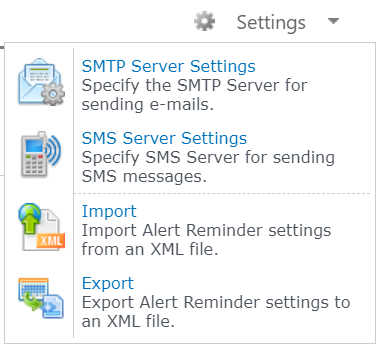
To the right of the Alert and Reminder tabs, there is a settings drop-down menu which contains the following settings:
Navigate to the task list, click Alert Reminder Boost on the Ribbon, or go to the list settings and find the entry Alert Reminder Boost under the Permissions and Management section.
Click Alert Reminder Settings to enter the settings page and click Add new alert item.
Specify a meaningful name for this alert item.
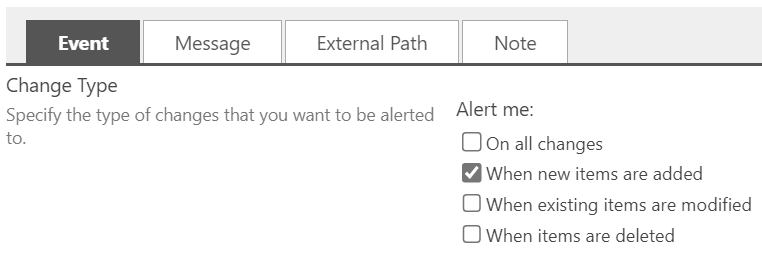
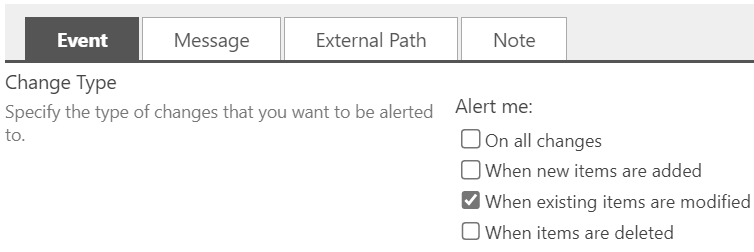
Under Event tab, in Change Type section, select When new items are added option.
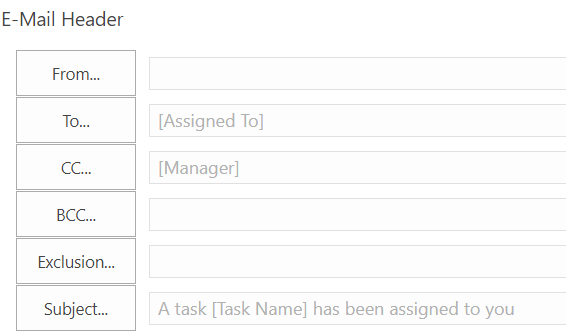
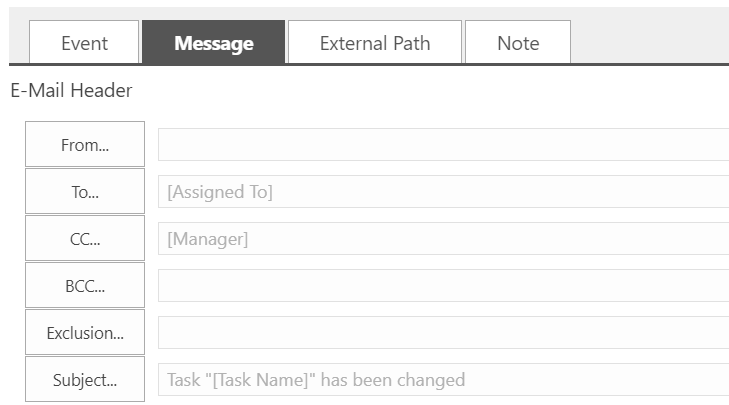
Under Message tab, in E-Mail Header section, specify the recipients. Here we specify the users represented by [Assigned to] column and [Manager] as the recipients.
Specify a meaningful subject for this email.
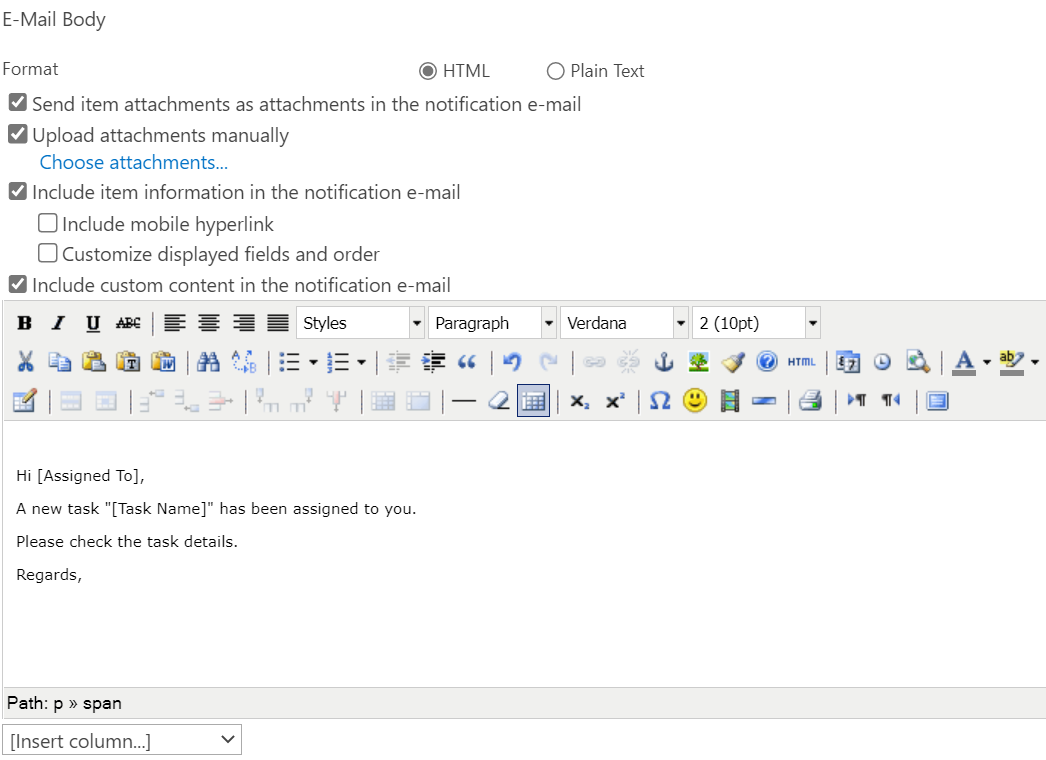
In E-Mail Body section, select Include item information in the notification e-mail option, with this option, the email body will contain the item information.
Select Include custom content in the notification e-mail option and enter the customized email content.
Leave other settings as default and click OK to save the settings.
In the list, create a new task as following.

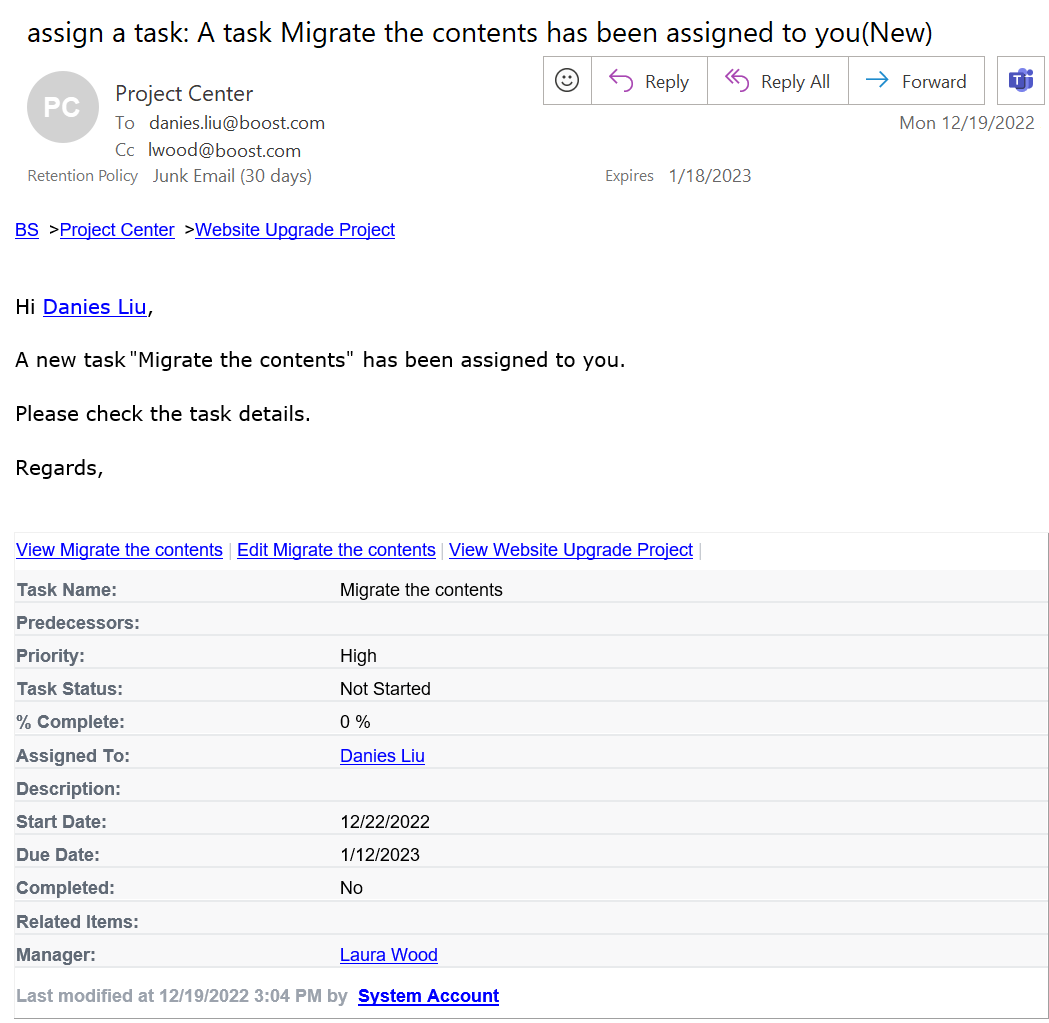
Then the assignee and manager will receive a notification email as follows.
In this chapter, we demonstrate how to send notification email when a task is modified.
On the list ribbon, click Alert Reminder Settings in Settings group.
In Alert Reminder Settings page, click Add new alert item.
Specify a meaningful name for this alert item.
Under Event tab, in Change Type section, select When existing items are modified option.
Under Message tab, in E-Mail Header section, specify the recipients. Here we specify the users represented by [Assigned to] column and [Manager] as the recipients.
Specify a meaningful subject for this email.
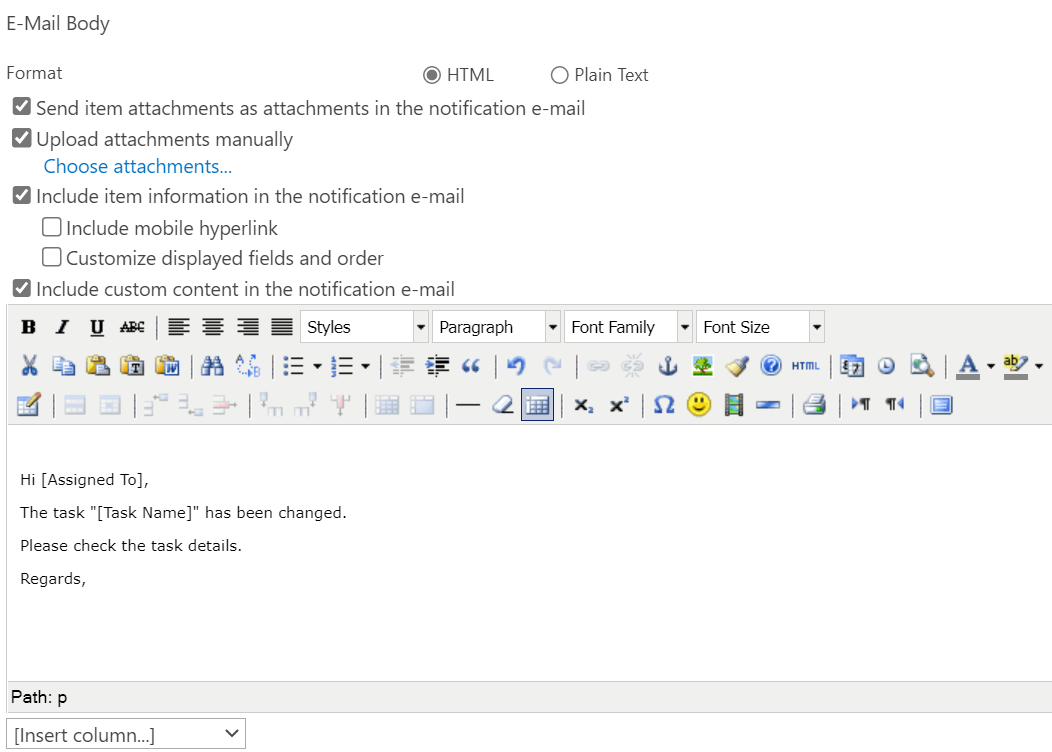
In E-Mail Body section, select Include item information in the notification e-mail option, with this option, the email body will contain the item information.
Select Include custom content in the notification e-mail option and enter the customized email content.
Leave other settings as default and click OK to save the settings.
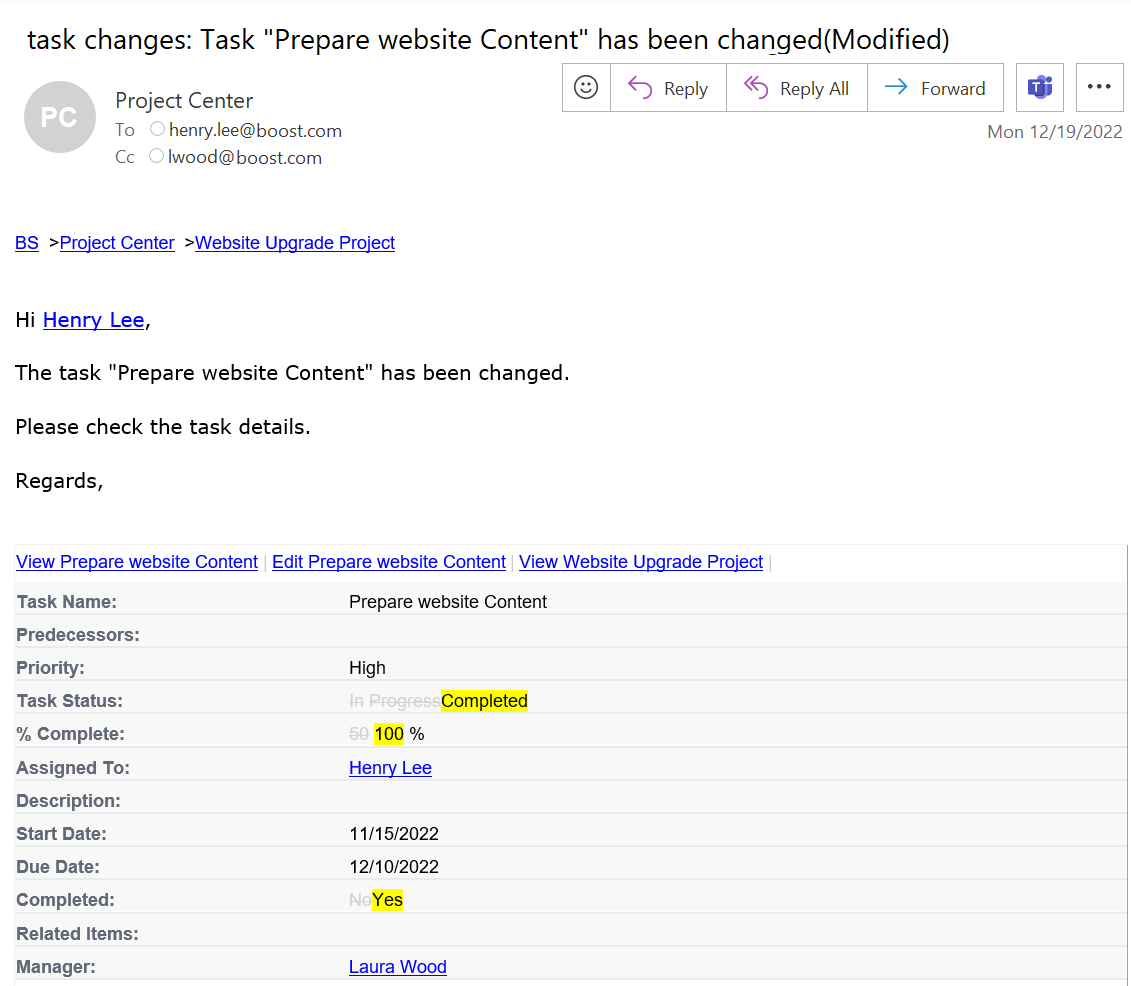
In the list, modify the existing task 'Prepare website Content'. Then the assignee and manager will receive a notification email as follows.
Sometimes, it is required to automatically send a reminder email to the team that the task is due soon. In this chapter, we demonstrate how to send a reminder email when the task is coming to due.
On the list ribbon, click Alert Reminder Settings in Settings group.
In Alert Reminder Settings page, click Reminder tab.
Click Add new reminder item to create a new reminder item, specify a meaningful title for it.
Select E-Mail in Delivery Method section.
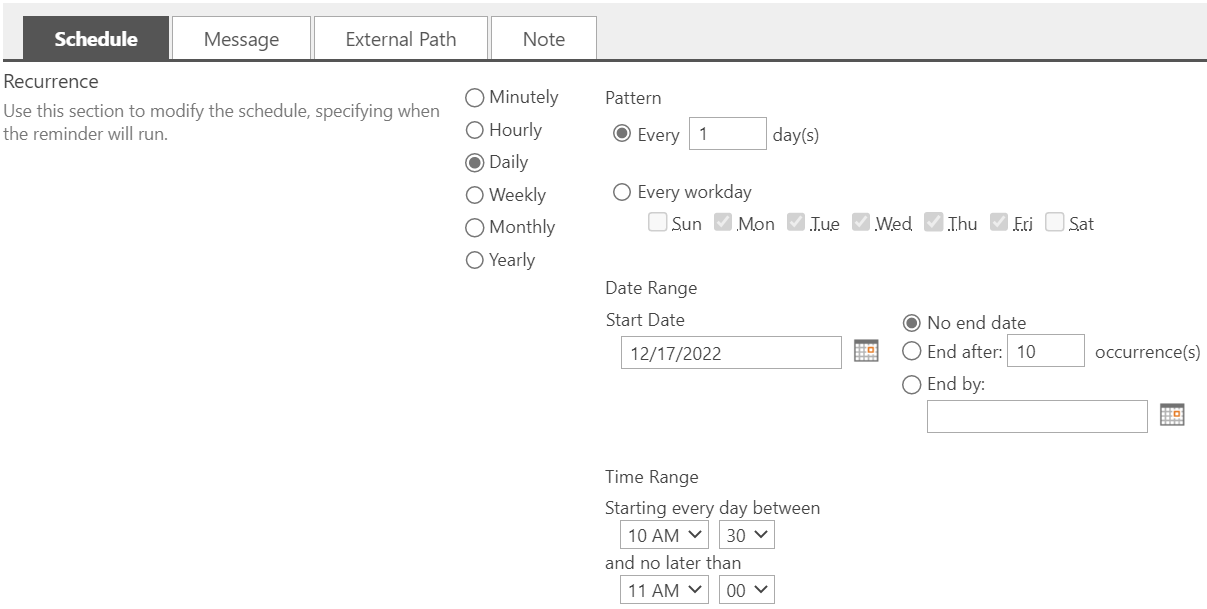
Under Schedule tab, in Recurrence section, select Daily option, enter 1 in Every [ ] day(s) field.
For Time Range field, specify 10:30 AM and 11:00 AM (this configuration means that the reminder email will be sent between 10:30 AM and 11:00 AM).
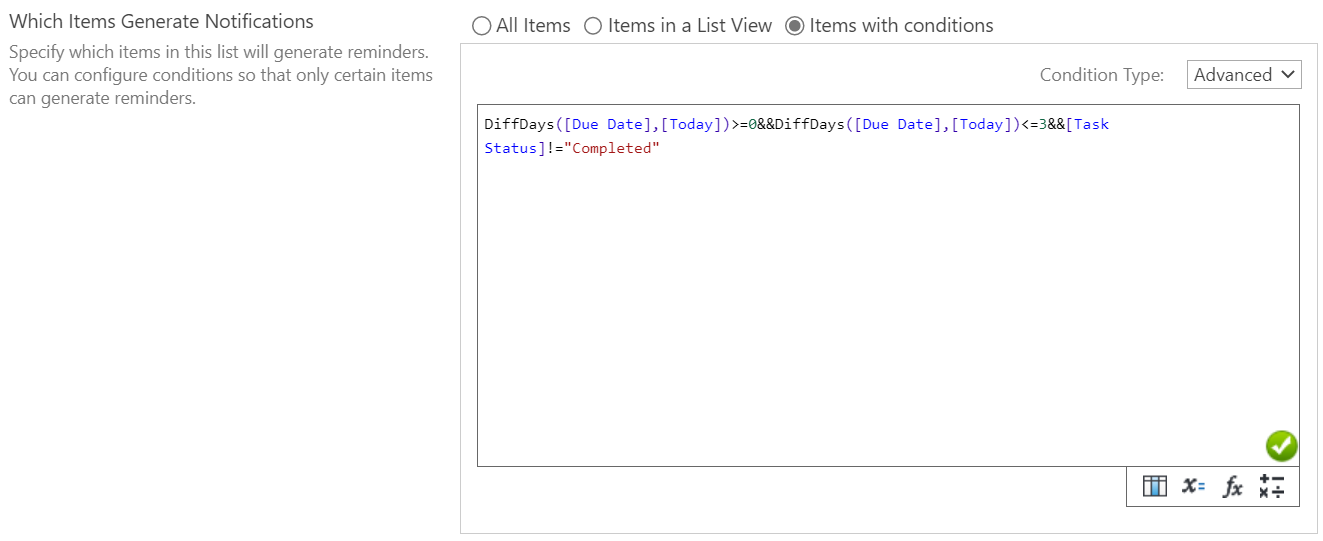
In Which Items Generate Notifications section, select Items with conditions and specify the following conditions, which means sending the reminder emails only when the tasks have 3 or less days left before the due date and status are not completed.
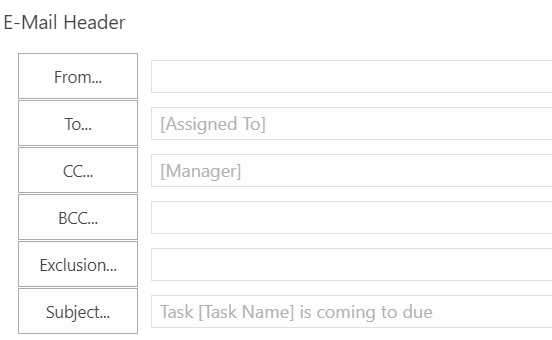
Under Message tab, in E-Mail Header section, specify the recipients. Here we specify the users represented by [Assigned to] column and [Manager] as the recipients.
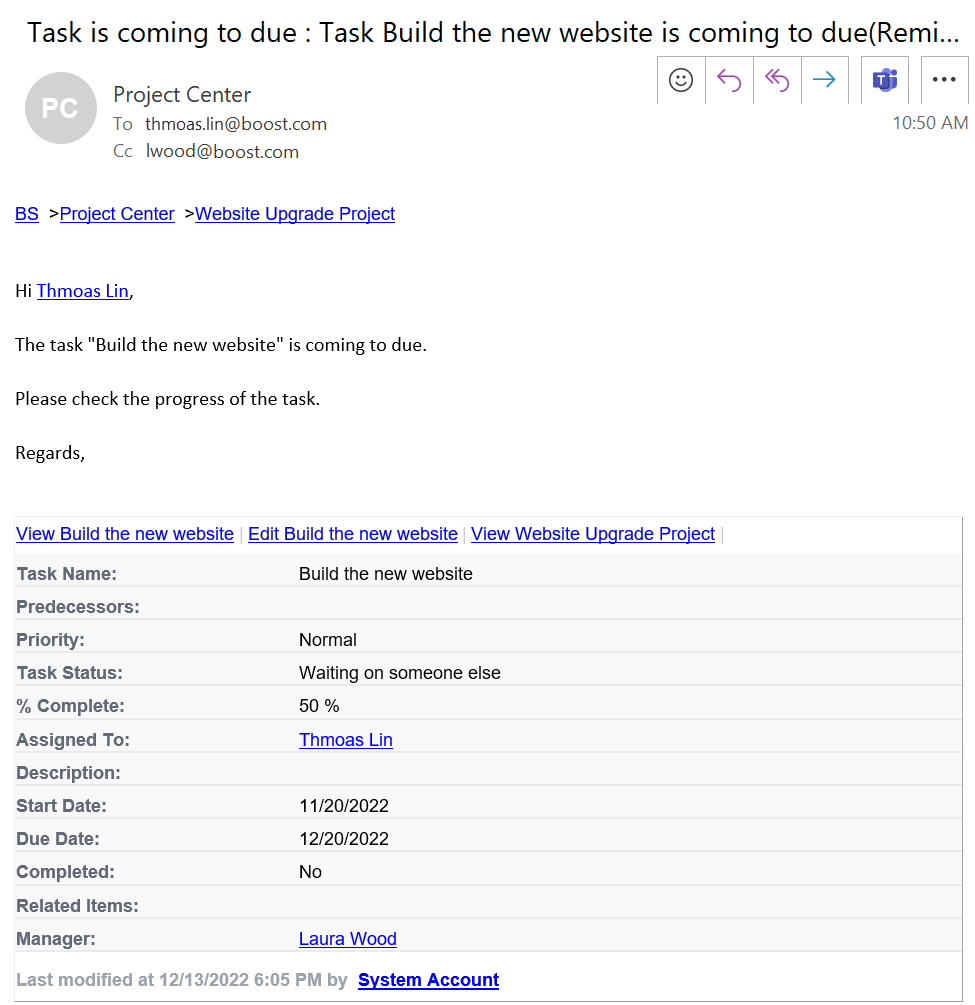
Specify a meaningful subject for this email.
In E-Mail Body section, select Include custom content in the notification e-mail option and enter the customized email content.
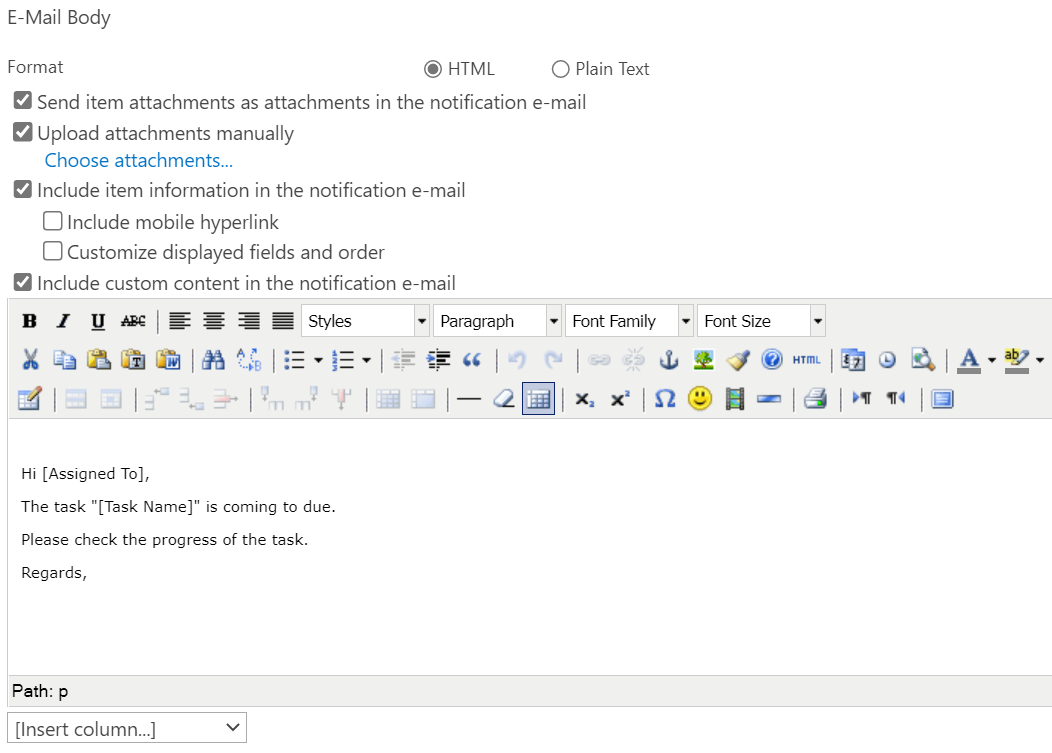
Leave other settings as default and click OK to save the settings.
Since the task ‘Build the new website' is coming to due and not completed yet, the assignee and manager will receive the reminder email as this.