- BoostSolutions
-
Products
-
- Microsoft Teams
- HumanLike Alert Reminder
- View All Apps
- Pricing
- Support
- Company
Entrust AD management tasks to specific users
Save time and decrease your workload

Delegate limited AD administration privileges to specific users so that they can manage specific OUs, users and groups in SharePoint. This can greatly reduce a highly skilled administrator's workload.
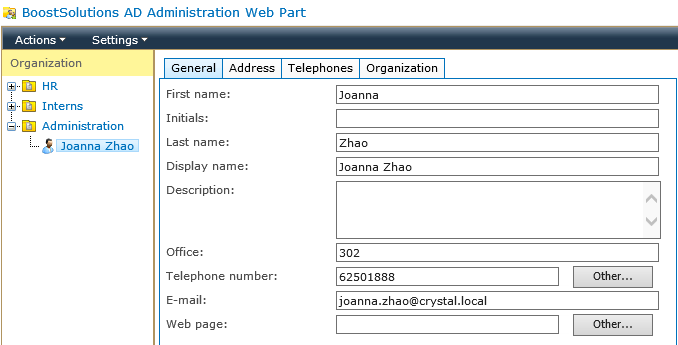
This easy-to-use administrative tool provides the same user experience, as in Active Directory, to create, delete or edit OUs, users and groups. Any modification of AD users within the Web Part can be saved to an Active Directory.
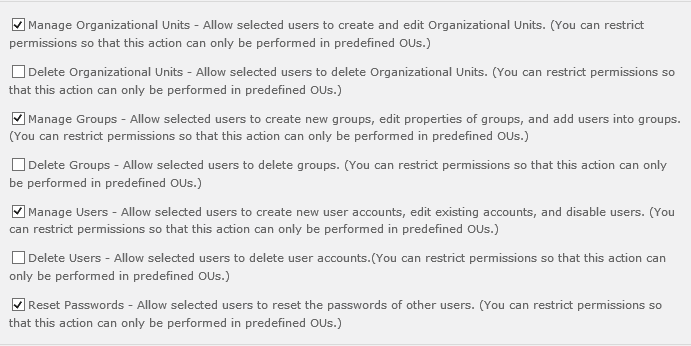
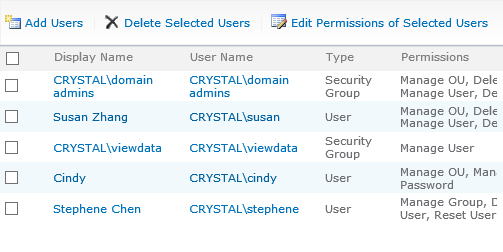
AD Administration gives you granular control over permissions for users. By selecting one or more granular permissions, you can assign users with the proper rights to manage OUs, groups and users.
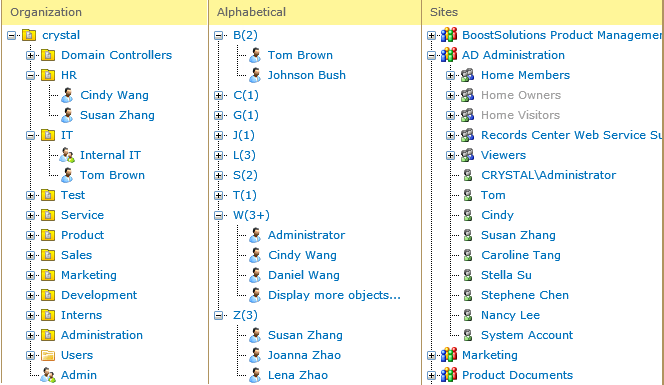
AD Administration offers three views, namely, Organization, Alphabetical and Sites to display the structure and the users within it, helping end users quickly and flexibly locate target users.
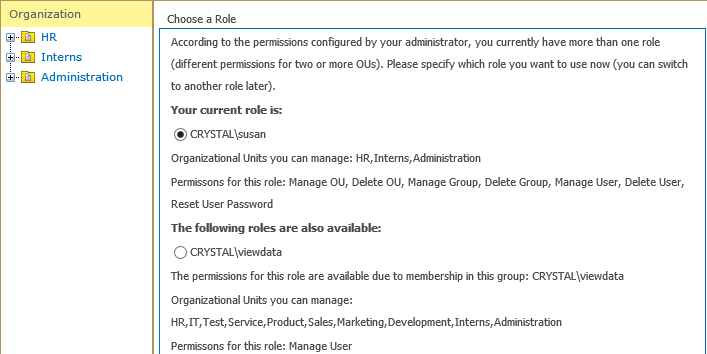
Multiple roles are available because a designated user might be part of one or more groups for which permissions to use the ADA Web Part are needed. Such user can select a role to use and he/she can always change their selection via Change Role.
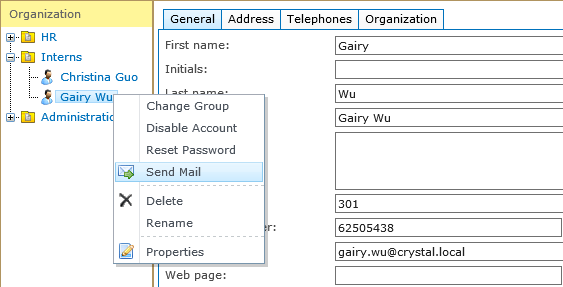
Enable Site Managers to quickly and easily email individual users or entire user groups directly within the Web Part, ensuring that everyone is notified whenever important changes are made. SMTP server settings can be customized to send outgoing emails.
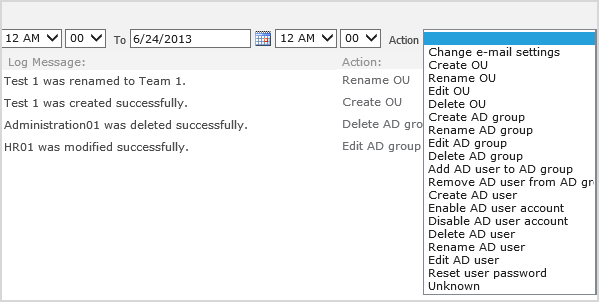
Conveniently check log files to monitor any change or change attempt. You can filter logs based on the time of the change, the nature of the change, or a combination of the two. You can also check specific property change details.
Explore BoostSolutions' product features, user guides, tutorials, specifications and more.
Gain a deep understanding of the product's functionality and learn how to utilize it in your SharePoint server.
Read