Document management is an important function in SharePoint, because many document libraries need to be created in different sites to store all kinds of documents. Due to some reasons, you may have to regularly copy some documents from different libraries to another same library. Fortunately, SharePoint provides Send to Connections to send connection to external document repositories.
Now, I will show you how to configure the Send to Connections in SharePoint 2010.
Step1. Go to Central Administration>General Application Settings>External Service Connections
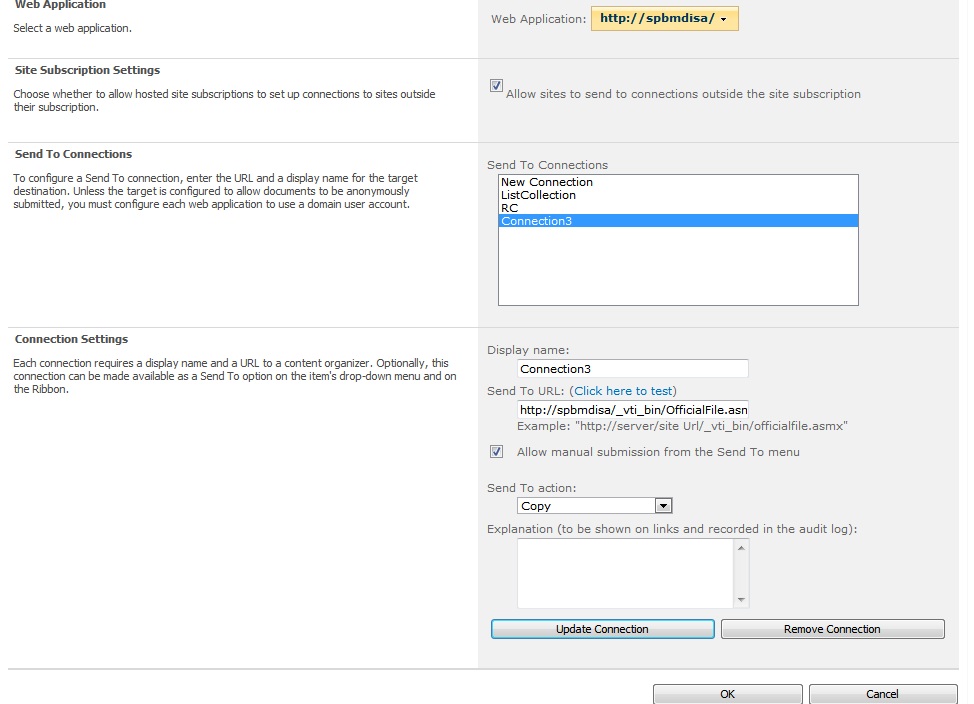
Click Configure send to connections to open the configuration page. Select the web application for which you want to enable the service. Here, for example, select the 80 port. Then, add one connection and the two connections can be created. The URL and a display name for the target destination are required. Note that the display name should be a valid unique name. The format of Send To URL, however, has certain requirements. The following steps will show you how to get the correct URL.
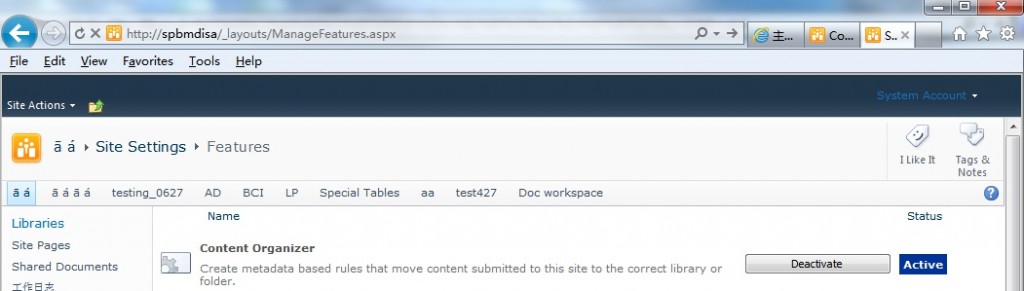
Step2. Go to Site Action > Site Settings > Manage site features.
Activate Content Organizer.
Step3. Go to Site Settings > Site Administration.
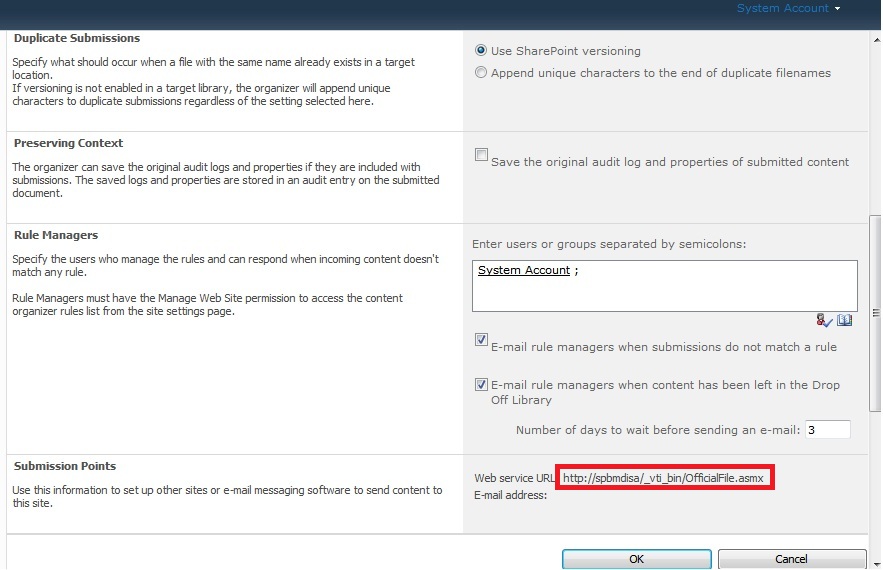
Click Content Organizer Settings. Copy the web service URL as shown in the following screenshot.
Step4. Paste the copied URL to the field Send to URL and type a display name.
You don’t need to modify other settings. Just click add connection and a new connection Connection3 will be added successfully. Click OK to save above settings.
Step5. Open one document library and right-click the document you want to send.
Select Send To in the drop-down menu.

Step6. Click Connection3 in the sub menu and a confirmation dialog will pop up.
Click OK. After a while, it shows the operation result.
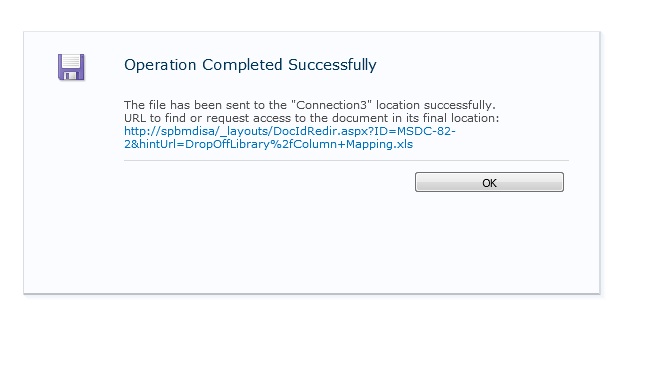
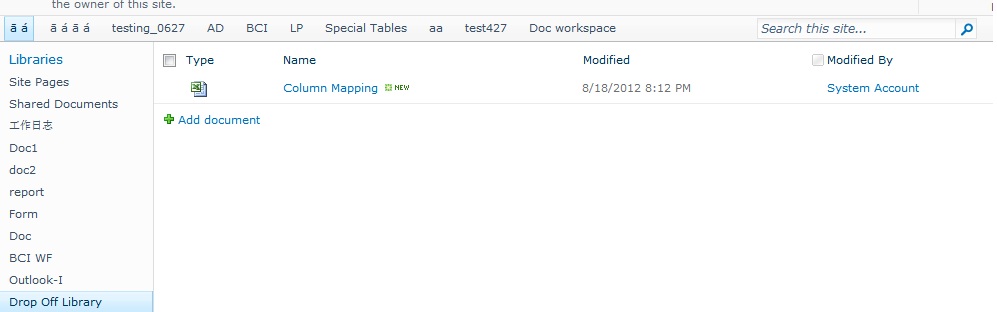
Note that by default settings, the document is copied to the Drop Off Library.
I hope the above steps would help you configure Send to Connections in SharePoint 2010 in an easy way.