We know in SharePoint all web applications and Windows Services need one managed account, or it cannot be running successfully.
Then how to configure service account in SharePoint 2013? The following will teach you step by step.
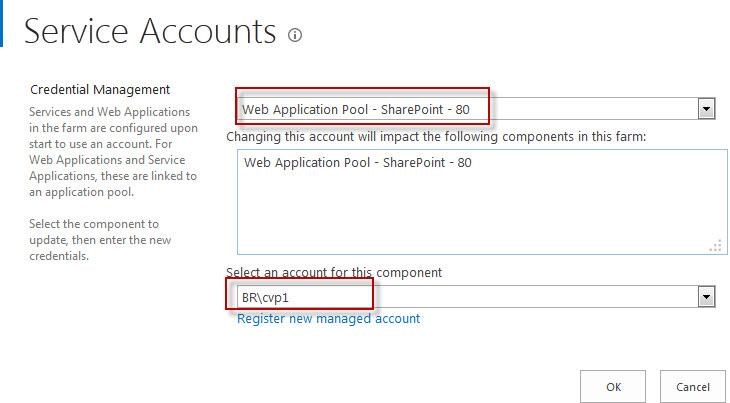
Assume that for some reasons you have to change the current service account to another for Web Application Pool – SharePoint – 80.
- First, you need to register the managed account that you want to change.
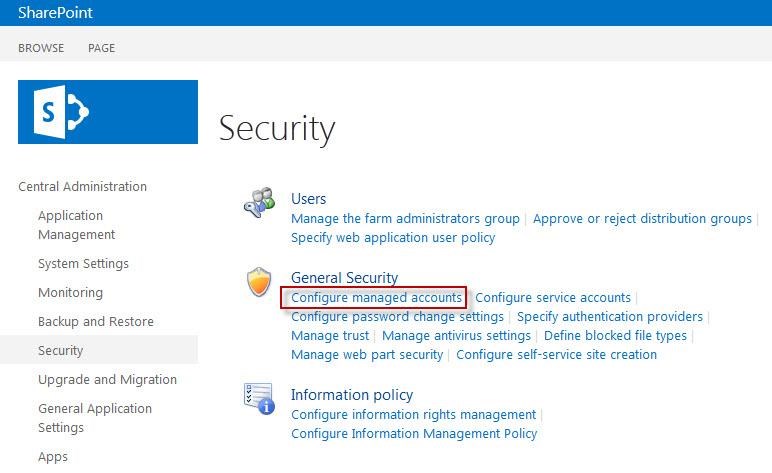
Open Central Administration, click Security tab on the left.
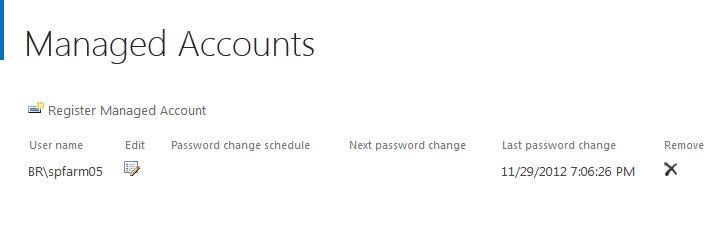
- Click Configure Managed Accounts, enter Managed Account page.
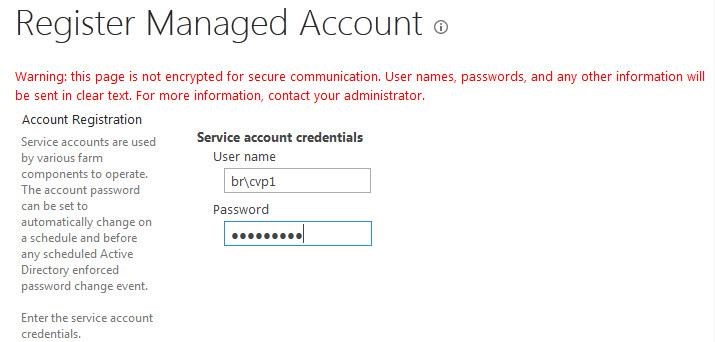
- Click Register Managed Account.
- Enter the User name and Password, click OK and the managed account is registered successfully.
Notes: You need to use NetBIOS name “br” for User name not the fully qualified domain name”br.local”. Or you will see the error message “Specified value is not supported for the domain Name parameter.” In SharePoint 2010, the message is less clear as “Specified value is not supported for the {0} parameter.”
Now let’s specify the service account for the 80 port.
- In Security group, click Configure service accounts.
- Click OK. It’s configured successfully!
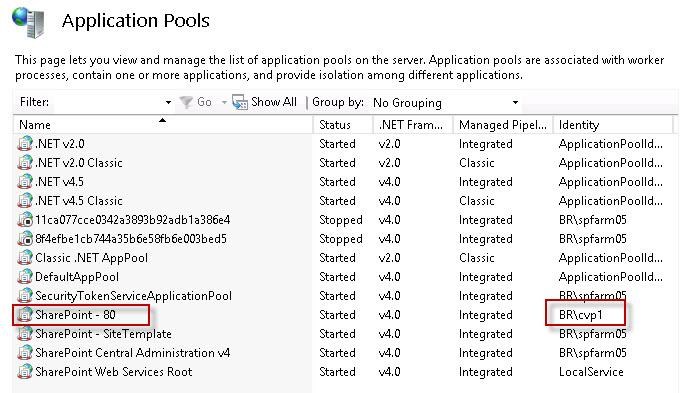
You can check it in IIS.
- Finally, you can access one site collection of this web application to make sure it’s OK.
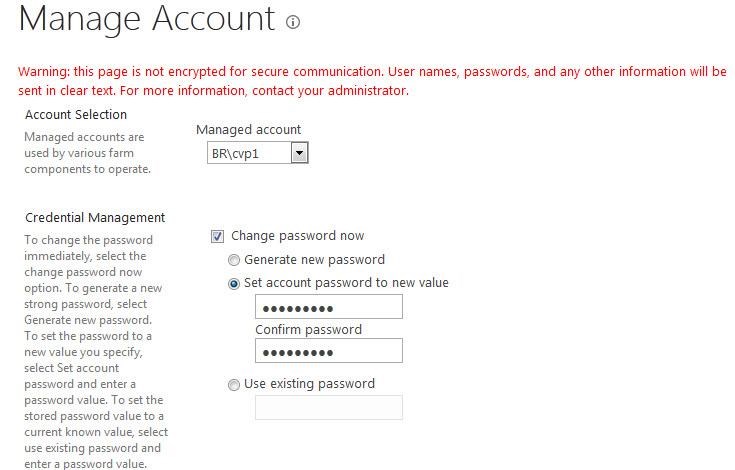
In addition, you can directly change the password of service account.
We always encounter with such problem that we cannot connect to database when access one site collection. Sometimes the reason is just that the password is changed in Active Directory or it has expired. So you can conveniently tackle this problem by changing password just here.
