BoostSolutions Bulk Zip & Unzip enables users to compress and unpack documents inside the SharePoint Library without installing additional software.
2. How to use Bulk Zip & Unzip
Note: To use the zip and unzip features, users must have Contribute permission levels.
This function enables users to compress documents as a zip file in the document library.
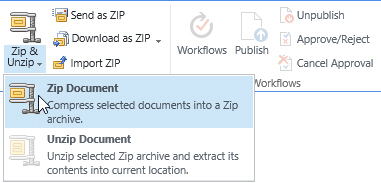
1. Enter a document library, select the desired documents and click Zip Document under the Documents tab.
2. A dialog window will appear as follows:
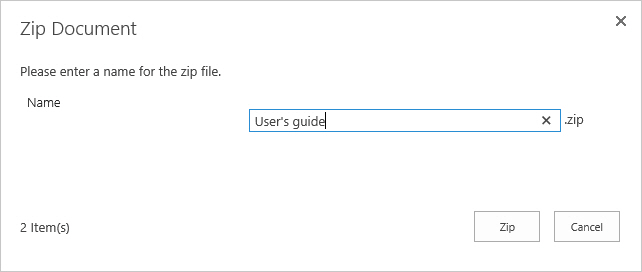
Note: If you select only one file, then the value in the name field will be the same as the source file by default.
3. Enter a name for the zip file and click the Zip button.
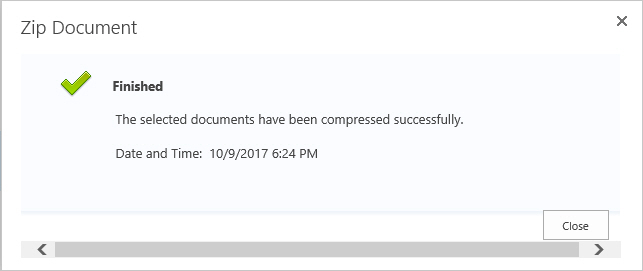
4. Wait for the operation to complete. You will see the following message:
Extract any document or file from the zip file directly in the SharePoint document library.
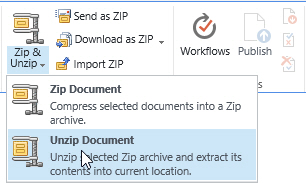
1. Select a Zip file from your document library and click Unzip Document.
2. A dialog window will appear as follows:
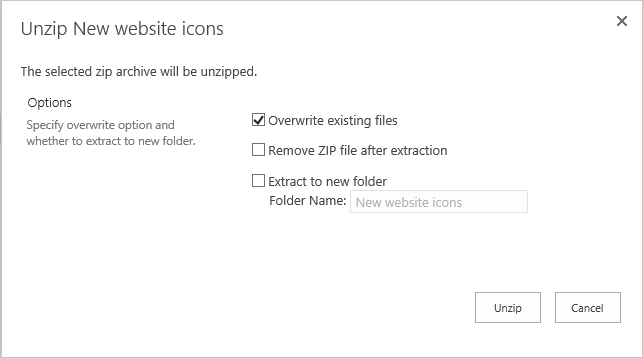
Overwrite existing files: Overwrite existing files in the current location.
Remove ZIP file after extraction: Delete the source Zip file after the extraction is successfully finished.
Extract to new folder: Extract all contents in the zip file to a new folder. The new folder name is the same as the zip file name by default and can be modified.
Note: If you select both Overwrite existing files and Extract to new folder and the Folder name you entered already exists in the library, then the new folder will overwrite the existing folder.
3. Click the Unzip button. Wait until the operation is complete. You will see the following message:
Note: The Unzip Document button is only available when you select a Zip file in the SharePoint document library. This button will be disabled when multiple documents are selected or if there is no zip file.
This function helps users to upload documents or files from a zip file to a document library. Note that the Zip file imported to a document library must be 2047 MB or smaller.
1. Click the Import ZIP button in the ribbon and a dialog window will appear as follows:
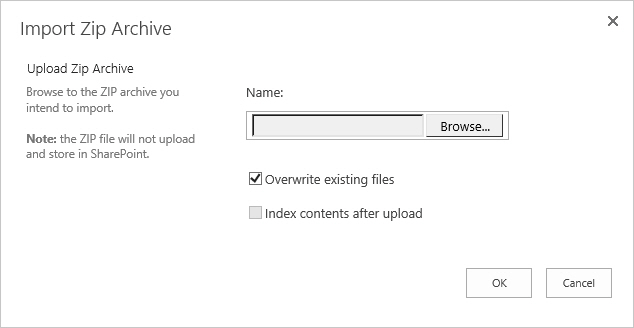
Overwrite existing files: Overwrite existing files in the current location.
Index content after upload: Edit document properties for the documents after they have uploaded successfully. This option will redirect you to the bulk edit page.
Note: The Index contents after upload feature is only available when the Bulk Properties Editor product is installed on your SharePoint.
2. Select a zip file from your local computer and click OK.
3. Wait for the operation to finish; your documents will be uploaded into the document library.
Enable users to send documents or zip files as an email attachment.
Note: This feature currently ONLY works in Internet Explorer. You must also enable the “Initialize and script ActiveX controls not marked as safe for scripting” feature.
2.3.1 Send documents as an attachment
To send documents as an email attachment, follow the following steps:
1. Select the documents in a document library and click the Send as Attachment button.
2. The document will be attached in an email.
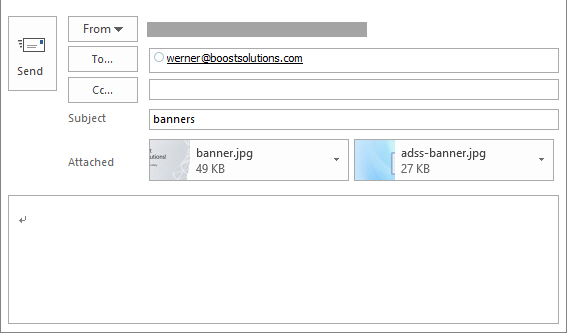
3. Compose your email and send it.
This feature will compress your documents as a zip file and then attach it to an e-mail.
1. Select your documents in the document library and click the Send as ZIP button.
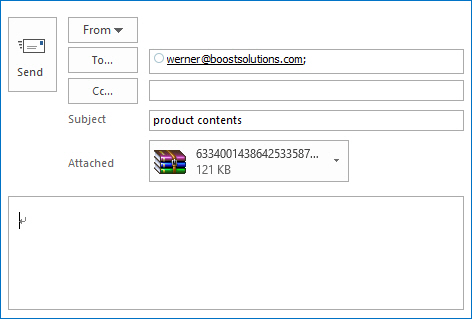
2. The zip file will be attached in an email.
With this function, it is easy to share any document with your colleagues or customers.
1. Select your documents in the document library and then click the Send Links button in the Documents tab.
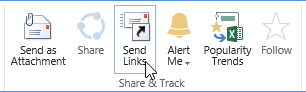
2. An email message window will pop-up with all your documents links in the body of the message.
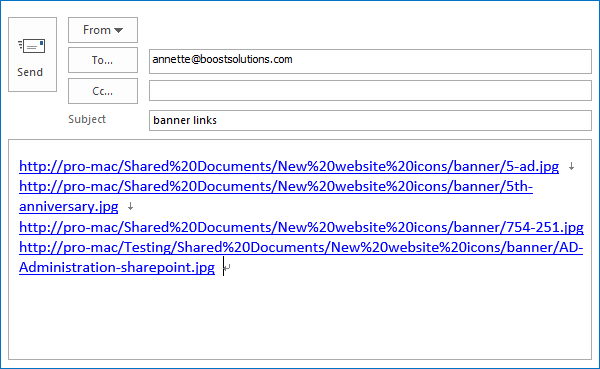
3. Compose the email and send it.
Note: Unlike the native SharePoint Email a Link function, this feature works with multiple files as well.
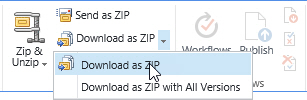
Bulk download documents as a ZIP file.
1. Select documents in the Document Library. Click the Download as ZIP button.
2. A dialog box will appear as follows:

3. Click the Save button to download the zip file to your local computer.
Note: The Zip file name is generated randomly each time.
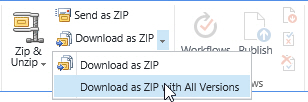
2.4.2 Download as Zip with All Versions
This feature will download the document and older versions as a ZIP file.
1. Select the documents in the document library and click Download as ZIP with All Versions.
2. A dialog box will appear as follows:

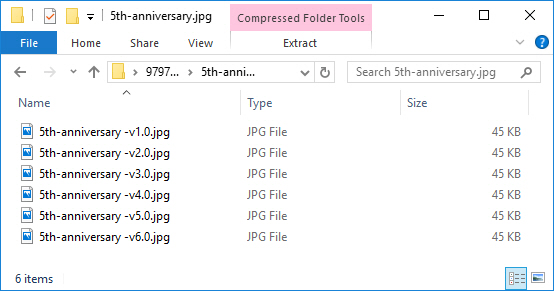
3. Click Save to save the zip file to your local computer. Open the file to view your documents.
The new folder is created using the same name as the original file name. If a file doesn’t have any versions, then no folder will be created.
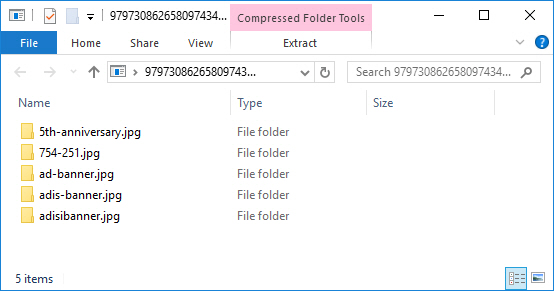
4. Open the folder; the versions are sorted by version number.