
With Bulk Properties Editor, end users can bulk edit properties and check in documents. Additionally, it is possible to bulk approve/reject documents or list items.
2. How to use the Bulk Properties Editor
2.1.1 Bulk Edit Documents Properties
This function allows you to bulk edit documents properties so documents can be quickly indexed.
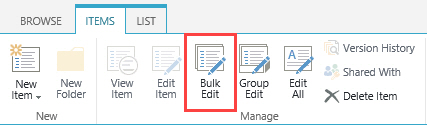
1. Select the desired documents and click the Bulk Edit button in the Documents tab.
2. A dialog box will appear as follows:
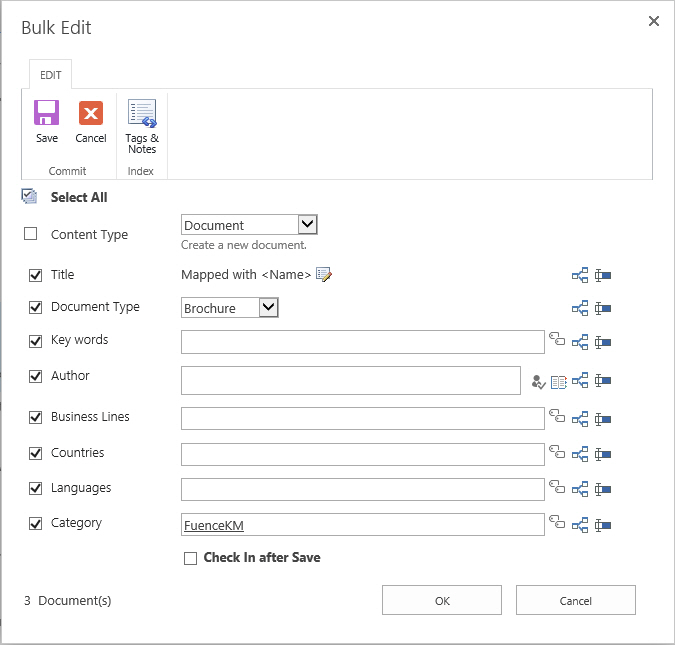
There is a checkbox along the left side of each field. The * (red asterisk) indicates that this field is required and cannot be left empty once it is checked.
You can retain the existing value by unselect the checkbox.
The  icon on the right side of each field
indicates
the Field Mapping function:
icon on the right side of each field
indicates
the Field Mapping function:

Field Mapping is used to dynamically map and assign another field to the current field.
When
you click this icon you will bring up the
Field
Mapping window.
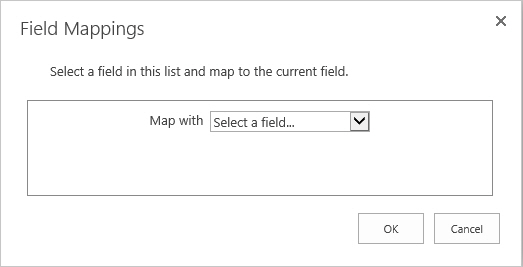
In the Map with dropdown menu you can select any available field. Please note that the availability of fields will vary.
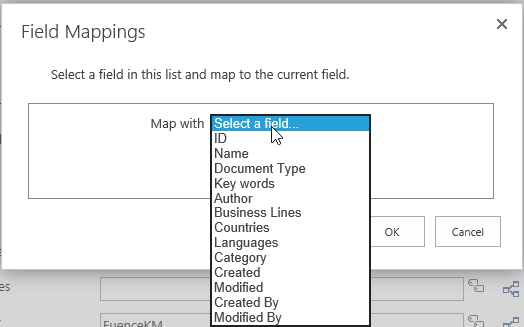
Select a field you want to use and click OK. The Field Mappings window
will
close and a new  icon will appear on the
right
side of the field.
icon will appear on the
right
side of the field.

The icon indicates the custom value that
you
set. If you click on this icon, the field
mapping
will be lost and the field will revert back to its original state.
Append changes to existing value: Check this option if you want to append changes to an existing value for a respective field.

Preserve Authors and Timestamps: Preserve the value for system reserved fields (Modified & Modified by)

Check In after Save: The selected documents will be checked in after saving.
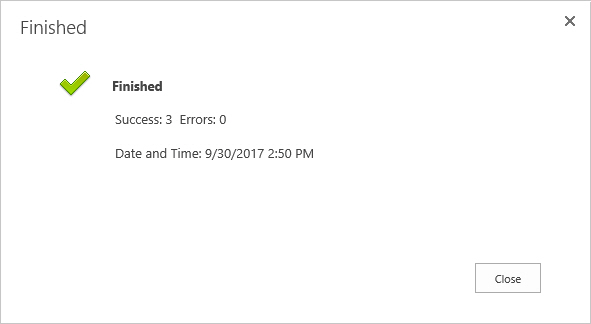
3. Fill in these columns and click OK. When the bulk edit operation is finished, a window will pop-up as follows:
2.1.2 Group Edit Documents Properties
This function gives you the ability to edit multiple documents individually.
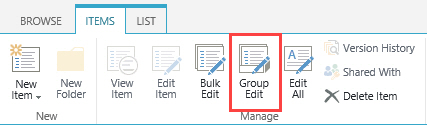
1. Click the Group Edit button on the ribbon menu to open the Group Edit window.
2. A dialog box will appear as follows:
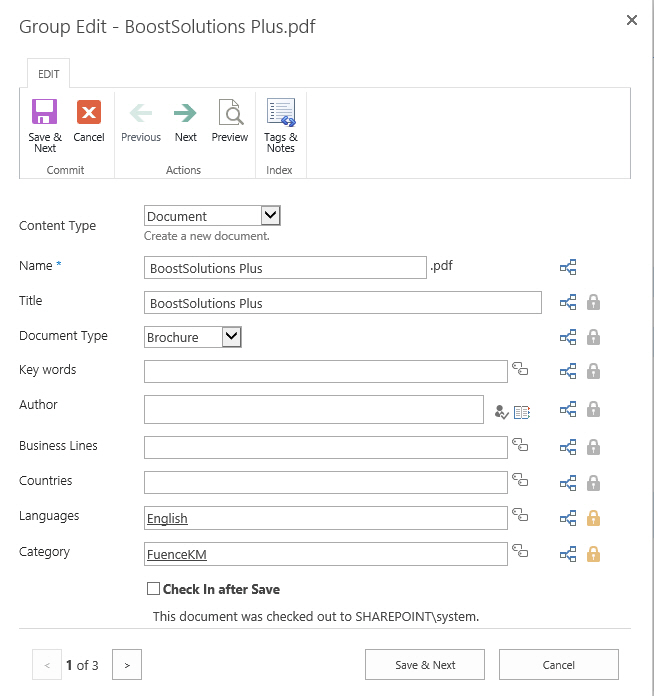
The  icon on the right side of the field
is set
as a default value for the next document/list item. When clicked the icon will change to a yellow lock as
shown
below:
icon on the right side of the field
is set
as a default value for the next document/list item. When clicked the icon will change to a yellow lock as
shown
below:

The respective field value will be kept for next document or list item until you manually modify it. This can save you a lot of time, especially if most fields are exactly the same or similar and when only a few items need to be changed.
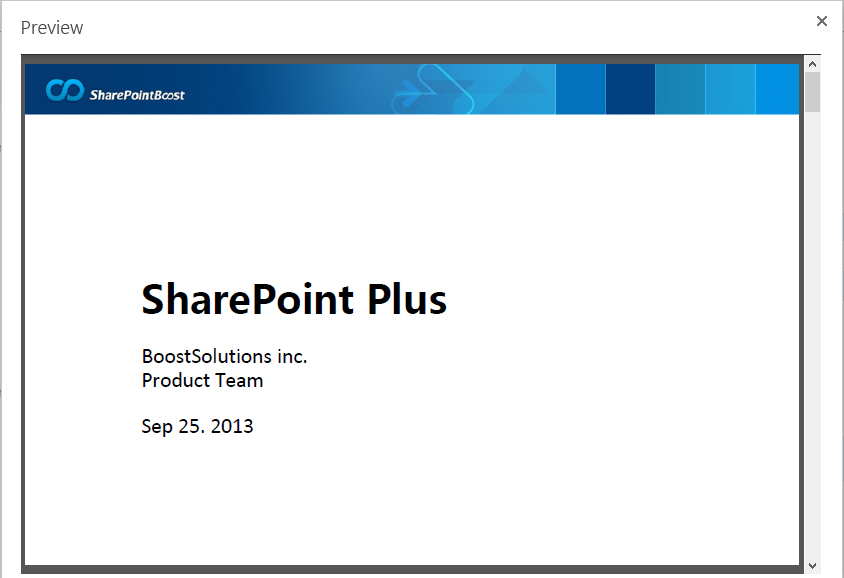
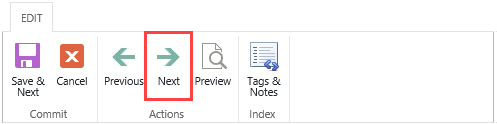
If you need to preview the document when entering metadata, simply click the Preview button on the ribbon menu and a new window will open.
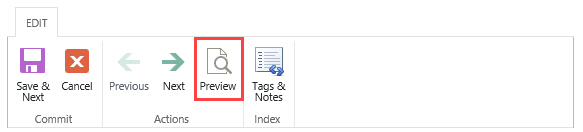
If no fields need to be changed in the current document, simply click the Skip button on the ribbon menu and it will skip the current document or list item.
This function gives you an easy way to edit all documents in a library or list.
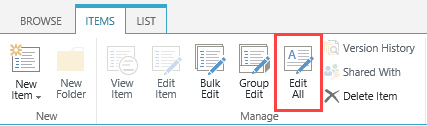
1. Click the Edit All ribbon button in the Documents tab.
2. When the dialog box appears, follow the steps (starting with step 2) found in Section 3.1.1.
This function allows you to add tags & notes for multiple documents or list items in bulk.
1. Click the Tags & Notes button on the Bulk Edit ribbon.
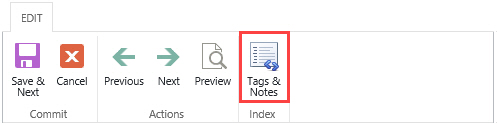
2. A dialog window will open as follows:

In the text field, you are able to enter tags. Click Save and the changes will be save to the selected documents or list items.
Private: With this option selected, other people cannot see that you tagged this item, but the tag text is public.
Appending changes to existing tags: With this option enabled, the original tags will not be overwritten when you click Save and all tags entered in this field will be appended to existing values.
Native SharePoint Approve/Reject function does not allow you to approve or reject multiple documents/list items in bulk. However, with Bulk Properties Editor this is possible.
1. Select the desired documents or list items which have published. For example, Approval Status is Pending. Then click the Bulk Approve/Reject button in the Documents tab.
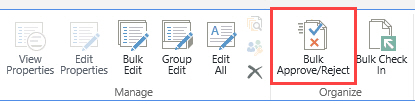
2. You will see the following dialog window:

3. On the Approve/Reject page:
• Select the Approval Status in the first selection.
• Enter any comments in the text box below, and then click OK.
• The Approval Status for the selected documents or list items will be changed.
Note: You have to select at least one previously published document before you click the Bulk Approve/Reject button or it will display a notice in notification bar similar to the following.
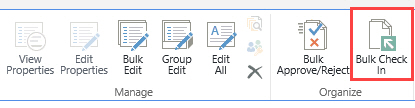
This function helps users to mass check in documents in a document library.
To check in multiple documents at a time, you need to:
1. Select the documents that you want to check in.
2. Click the Bulk Check In button on the ribbon.
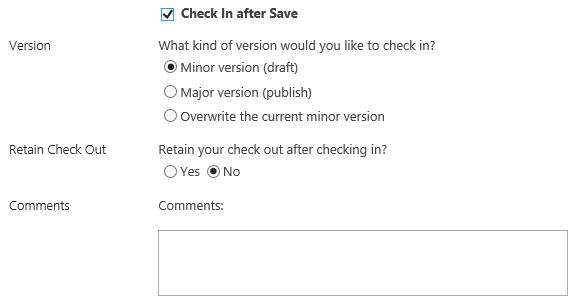
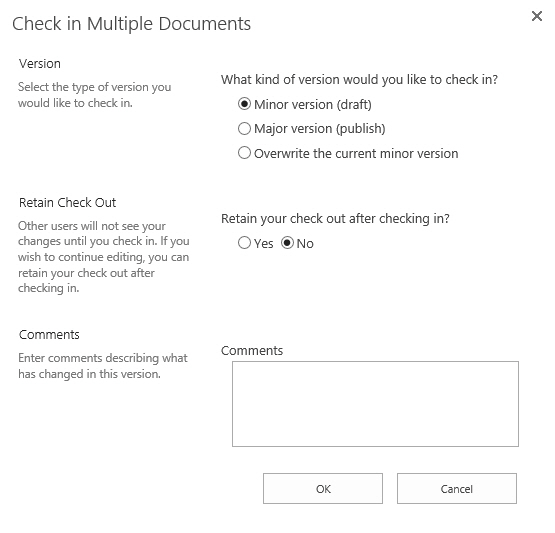
3. On the check in page:
- Select the type of version you want to check in.
- Next select whether you want to retain your check out to continue editing.
- Enter any comments in the text box and then click OK.
This function allows you to import multiple documents into the SharePoint document library and index them by entering metadata information.
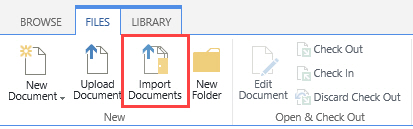
1. Click Import Documents in the Upload Document menu on the ribbon.
2. You will see the following dialog window:
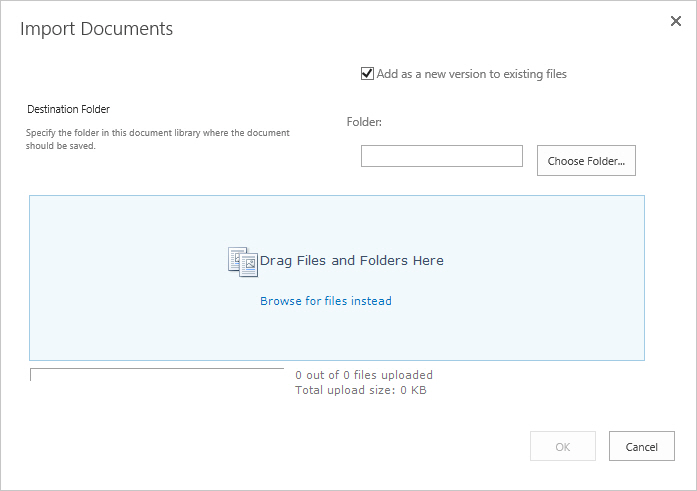
3. You can browse files on your computer or drag and drop files directly into this window. Click OK and files will be ready to upload.
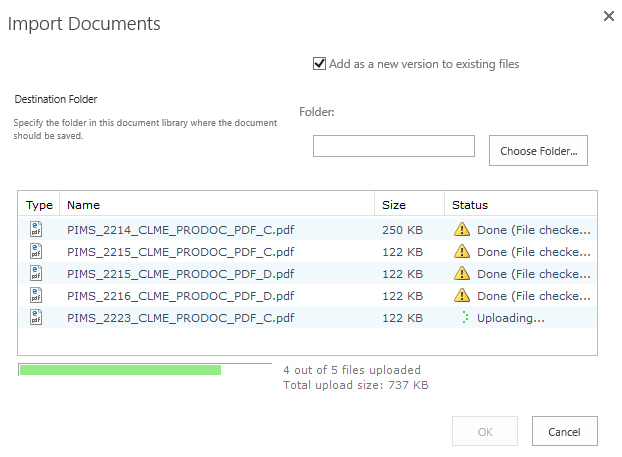
4. Once the files are uploaded you will be redirected to a new window:
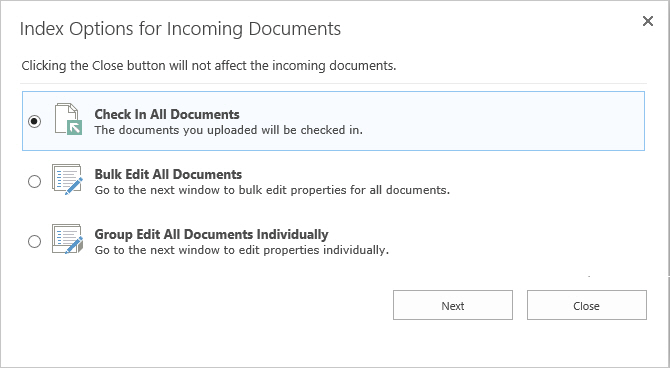
There are 3 options you can use for the documents which you have just uploaded:
• Check In All Documents: This option will navigate you to the document check in page where you are able to check in all document in bulk.
• Bulk Edit All Documents: This option will navigate you to the bulk edit documents properties page.
• Group Edit All documents Individually: This option will navigate you to the Group Edit page.
2.4 Manage Bulk Properties Editor Settings
This product provides a settings page to configure and edit options when indexing multiple documents or list items. You can manage settings on a site or site collection level. After the settings are configured on a site, the sub sites or contained lists can inherit or customize (stop inheriting) settings. Follow these steps to enter the Bulk Properties Editor Settings page:
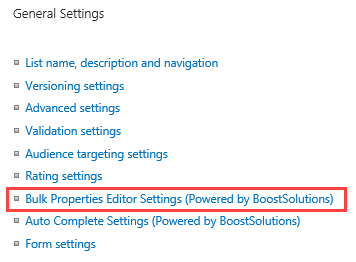
1. Click Settings and then click Site Settings.
2. On the Site Settings page, in the BoostSolutions Software section, click Bulk Properties Editor Settings.
If you want to manage settings in a root site, under Site Collection Administration, click Go to top level site settings.
3. In the settings page, you can configure the following options:
If you enter the settings page from a sub site, you can choose to inherit or stop inheriting settings from a parent site.

To customize the settings for a site, select Stop inherting settings and then configure each section.
General Settings
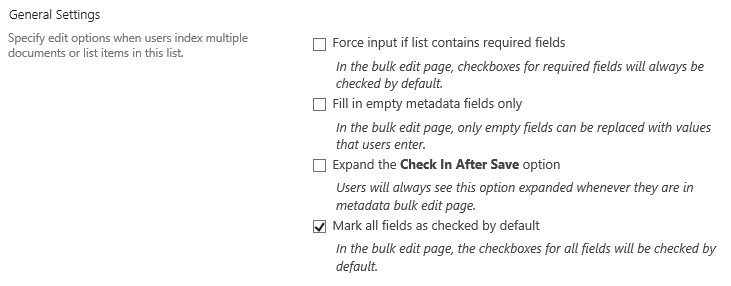
- Force input if list contains required fields: In the bulk edit page, users are not allowed to SKIP all required fields if this option is enabled.
- Fill in empty metadata fields only: In the bulk edit page, only empty fields are replaced with a value that users have entered
- Expand Check In After Save: Users will always see this option expanded in the metadata bulk edit page.
- Mark all fields as checked by: In the bulk edit page, the checkboxes for all fields will be checked by default.
Enable Edit All
In this section, you can specify if the Edit All command is available and decide who can access this function in the document library or list.
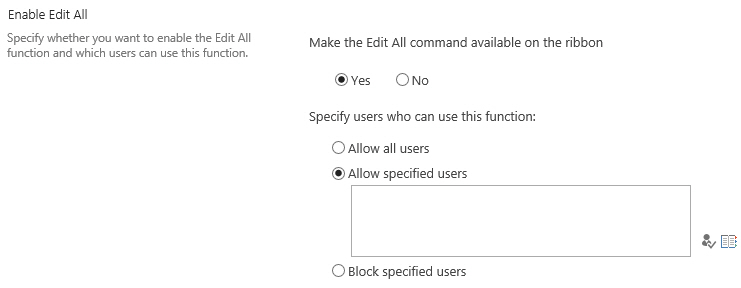
To make the Edit All command avaliable on the ribbon, click Yes; otherwise, click No. Once you select No, the Edit All command will not appear on the ribbon.
Specify which users can access this feature:
-
Allow all users
All users can use this feature in this document library or list.
-
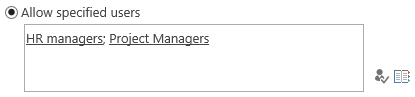
Allow specified users
Only specified users can access this feature in this document library or list. You can input any user, SharePoint groups and/or domain group.
-
Block specified users
All users except the specified users can access this feaure in this document library or list. You can input any user, SharePoint groups and/or domain group.

Preserve Options
In this section, you can specify if the Preserve Authors and Timestamps function is available and decide who can access this function in document library or list.
To make the Preserve Authors and Timestamps function avaliable on the Edit Properties window, click Yes; otherwise, click No. Once you select No, the Preserve Authors and Timestamps function will not appear on the Edit properties window.
Specify which users can access this feature:
-
Allow all users
All users can use this feature in this document library or list.
-
Allow specified users
Only specified users can access this feature in this document library or list. You can input any user, SharePoint groups and/or domain group.
-
Block specified users
All users except the specified users can access this feaure in this document library or list. You can input any user, SharePoint groups and/or domain group.
Besides managing settings on a site level, you can configure the above settings for an individual list or library.
1. To access this page, go to: Library Settings – Bulk Properties Editor Settings.
2. In the Bulk Properties Editor Settings page, click Stop inheriting settings, and then configure the unique settings.
If you want to use settings from a parent site, click Inherit settings.
3. Configure the following sections: General settings, Enable Edit All and Preserve Options. The steps for configuration are similar to those found in Section 3.4.1.
3. Supported libraries or lists
Bulk Properties Editor can work on following lists and document libraries.
Libraries: Asset Library, Document Library, Picture Library, Slide Library, Dashboard Library, Form Library, Report Library and Site Pages Library
Lists: Announcements, Tasks, Contacts, Custom List, Issue Tracking, Links, Project Task and Agenda