SharePoint Membership Form Authentication Configuration Guideline
Step 1 Create MemberShip DataBase:
Run the aspnet_regsql.exe tool and open the configuration wizard.
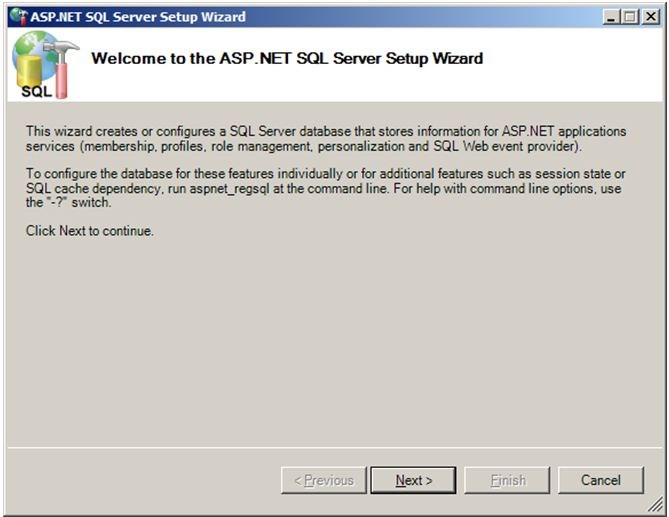
Press the Next button.

Select the database task mode and then press the Next button.

The wizard tool will get the server name automatically, you can select the database name by yourself, in the guideline we select the database name as LandpyMembershipDB and then press Next button.

Now the configuration is finished, you can get the summary of the settings, press the Next button.

Press the Finish button. The database of Membership is ready now.
Step 2 Create a FBA site:
Create a Web Application with Claims Based Authentication.

Select Claims Based Authentication radiobutton.

Fill the blank of the ASP.NET Membership provider name and the ASP.NET Role manager name(Note: the name must be same as the membership section of the web.config file)

The above is screenshot is the sign in UI of the SharePoint site. At present you can’t use Forms Authentication because you should set web.config at first.
Step 3 Configure the Membership with IIS7.5:
IIS7.5 is so powerful that you can setting the web.config file in UI.
Input inetmgr command in running dialog to open IIS7.5 manager.

First, add the Sql connection string, double click the above icon.
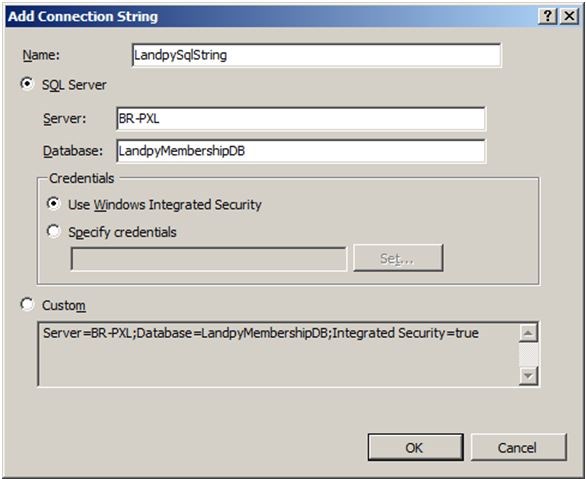
Click the Add button and open the above dialog, and then input the blank of the dialog. Click OK to save the connection string.

The connection strings screenshot.

We should add the Provider in CA, Form Authentication Site and SecurityTokenServiceApplication WebService.

Double click the Providers icon.
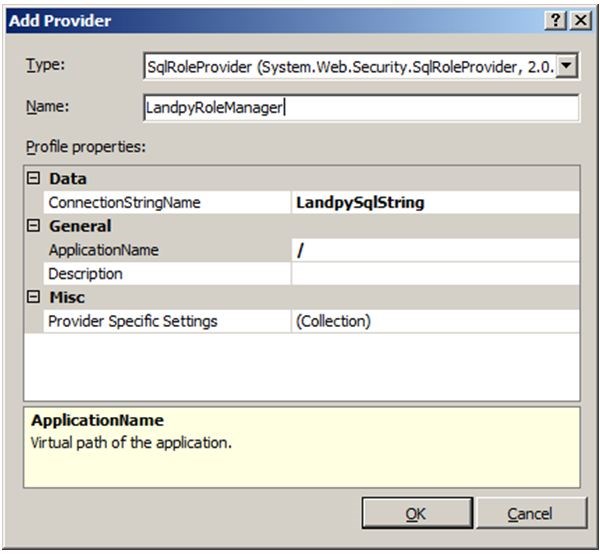
Open Add Provider dialog and fill the blank to add the SqlRoleProvider.

Open Add Provider dialog and fill the blank to add the SqlMembershipProvider.
When the Provider is ready you can use Form Authentication.
Note:ConnectionStringName can’t be modified directly, you should select a value and then modify it at Misc-> Provider Specific Settings.
Step 4 Add MemberShip Role and User:
We suggest you to add an alone site to manage the MemberShip users and roles. The MemberShip Provider should be configured the same as above steps.
Set the provider which we configured as the default provider.

Double click the .NET Roles icon.
Add .NET Role dialog is as following:
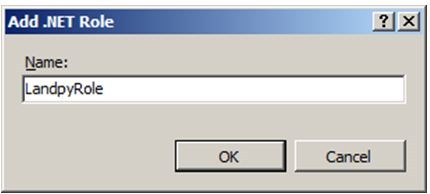
Click the OK button to save the MemberShip Role.

Double click the .NET Users icon.
Add .NET User dialog is as following:

Fill the blank of the dialog and then click the Next button.
You can add the new MemberShip user to the role(s).
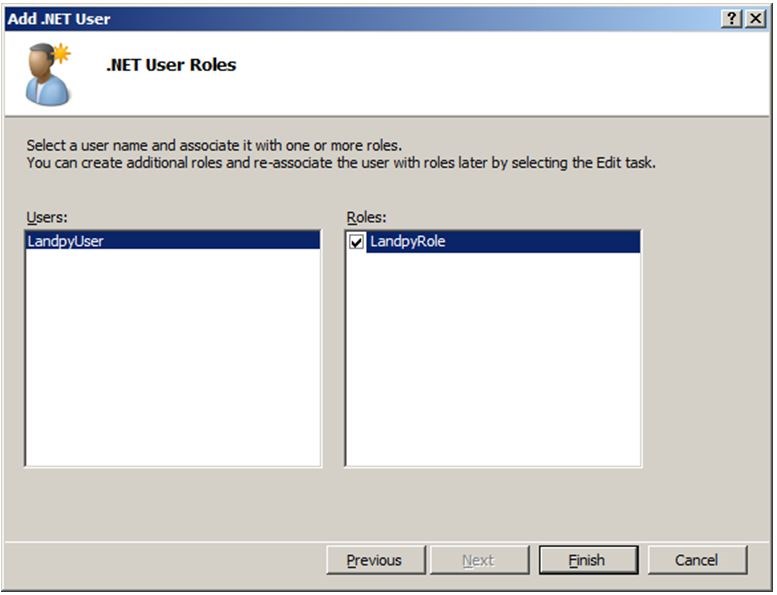
Click the Finish button to save the MemberShip user information.
Step 5 Everything is ready:
Everything is ready, you can add new MemberShip user to the SharePoint site now. Enjoy!